Spotlight: Brewster Flats House

2018-09-A3-Brewster©Cutrona-0562.jpg

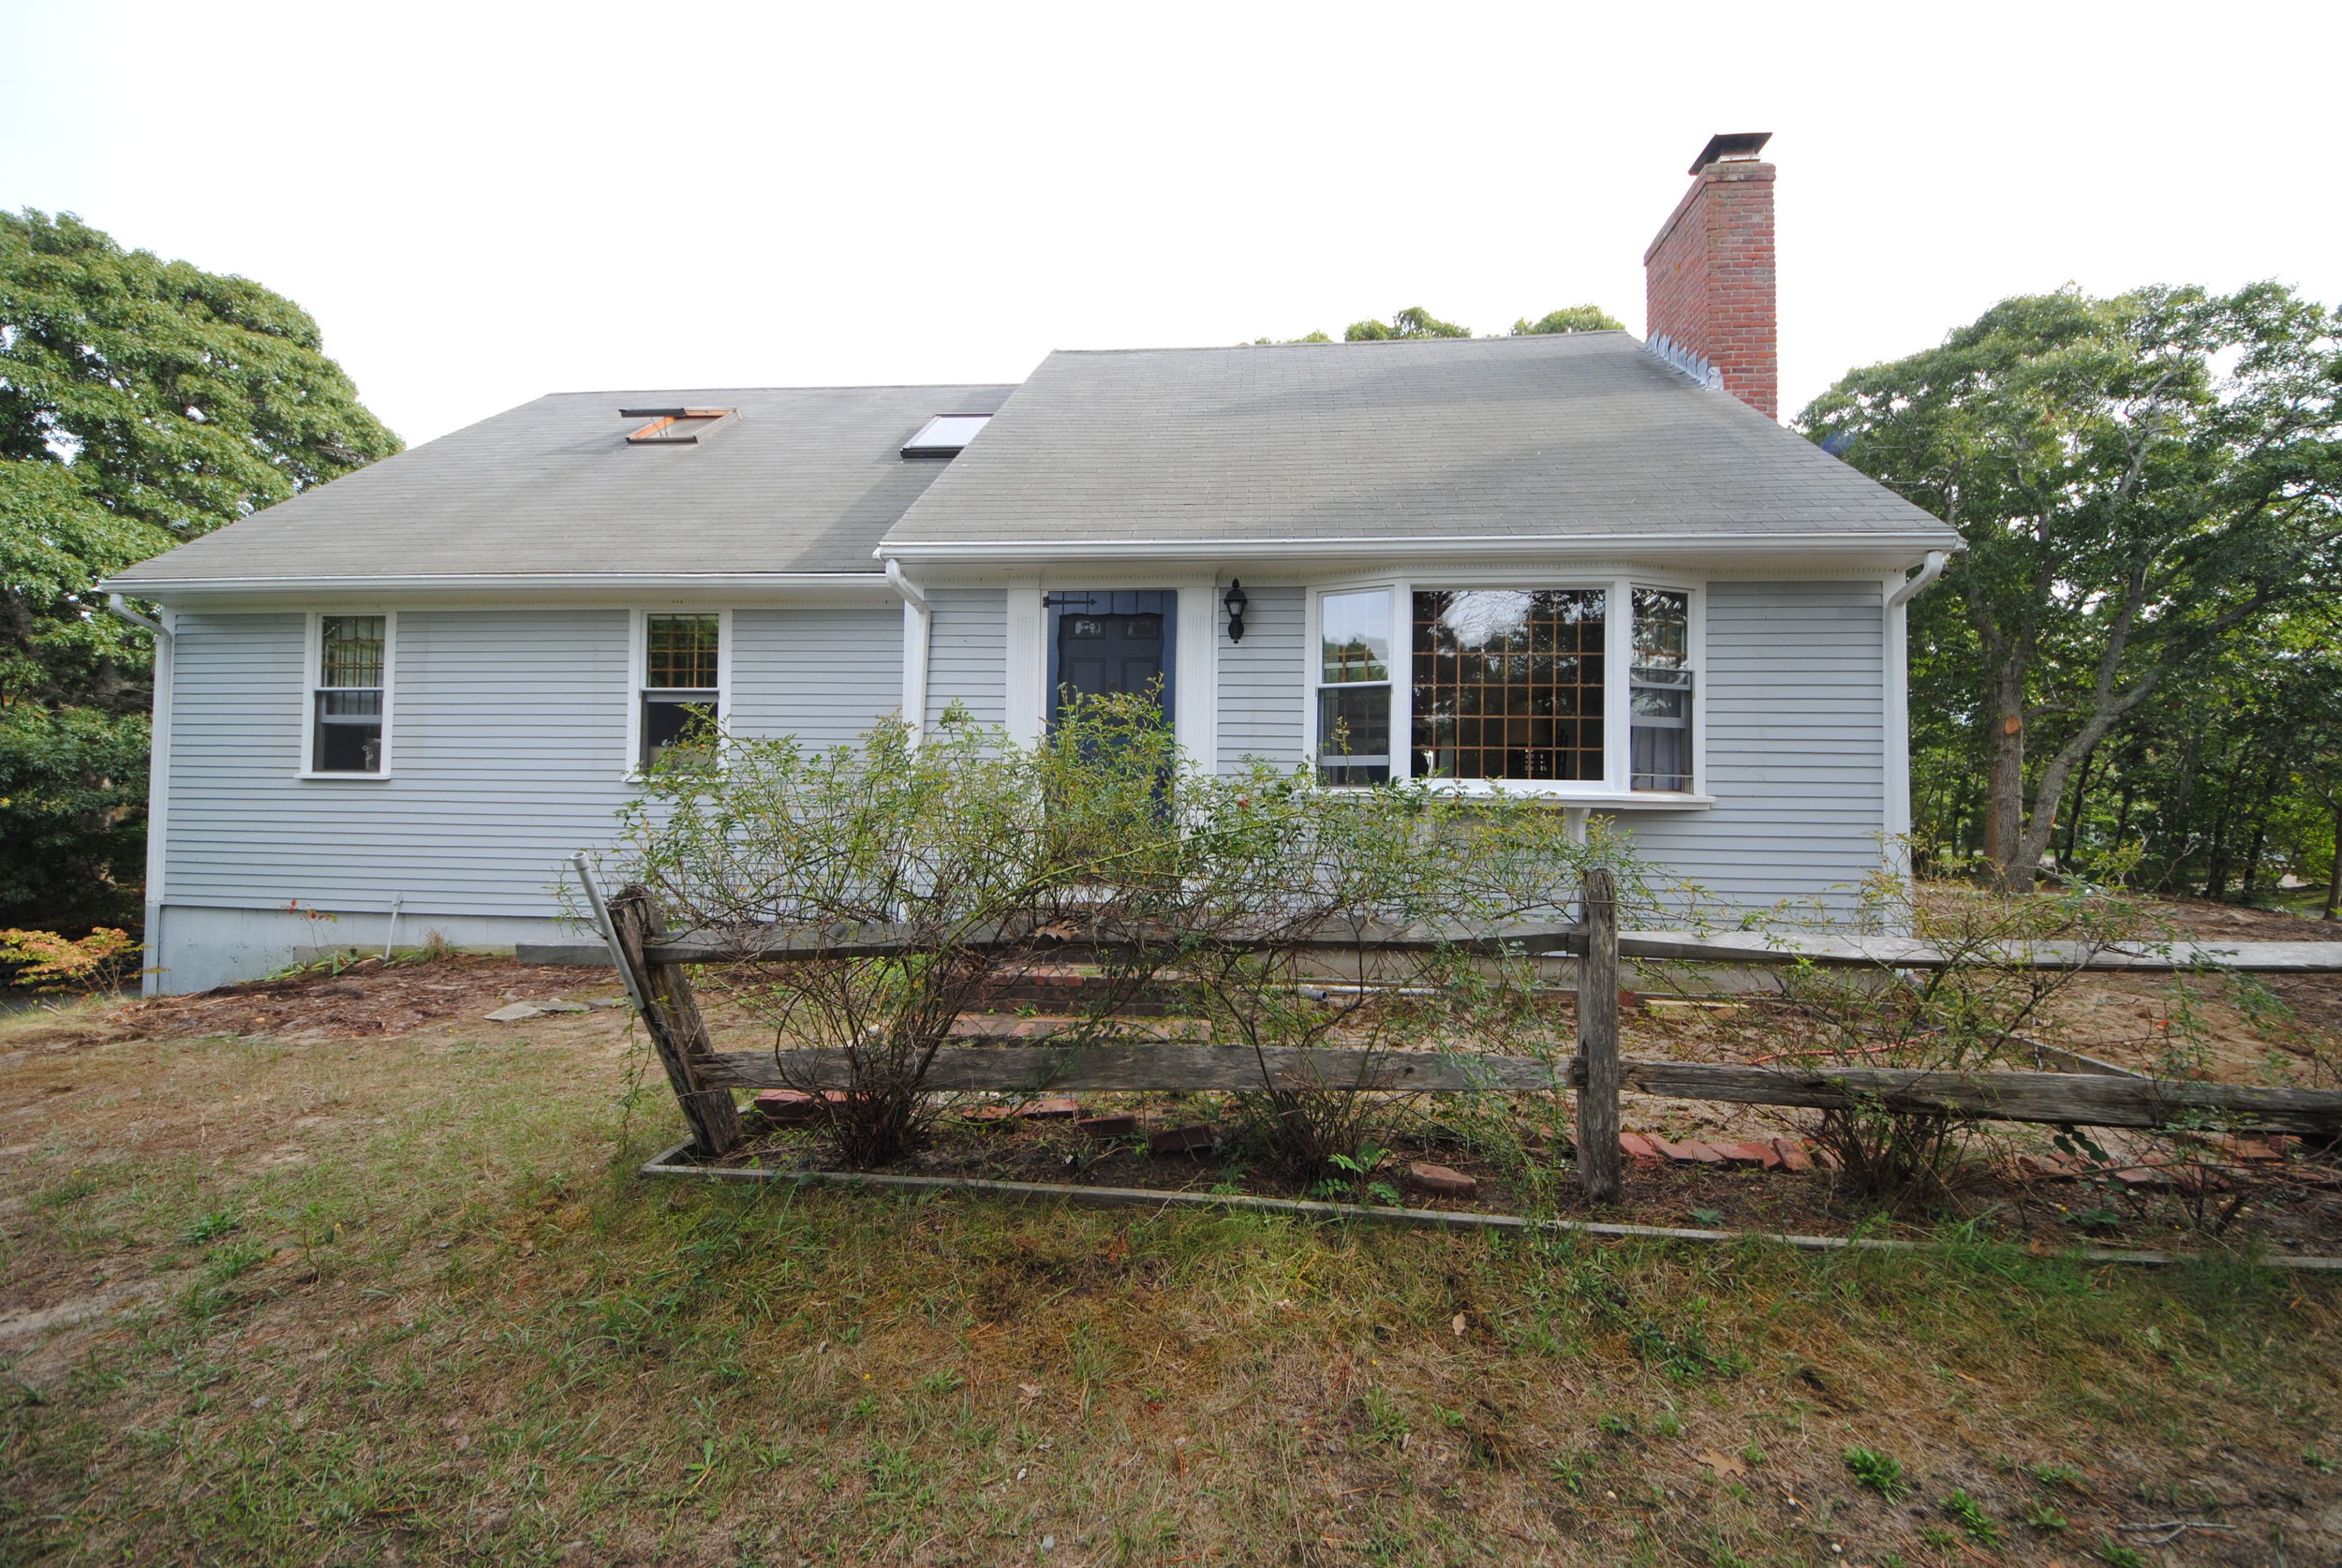
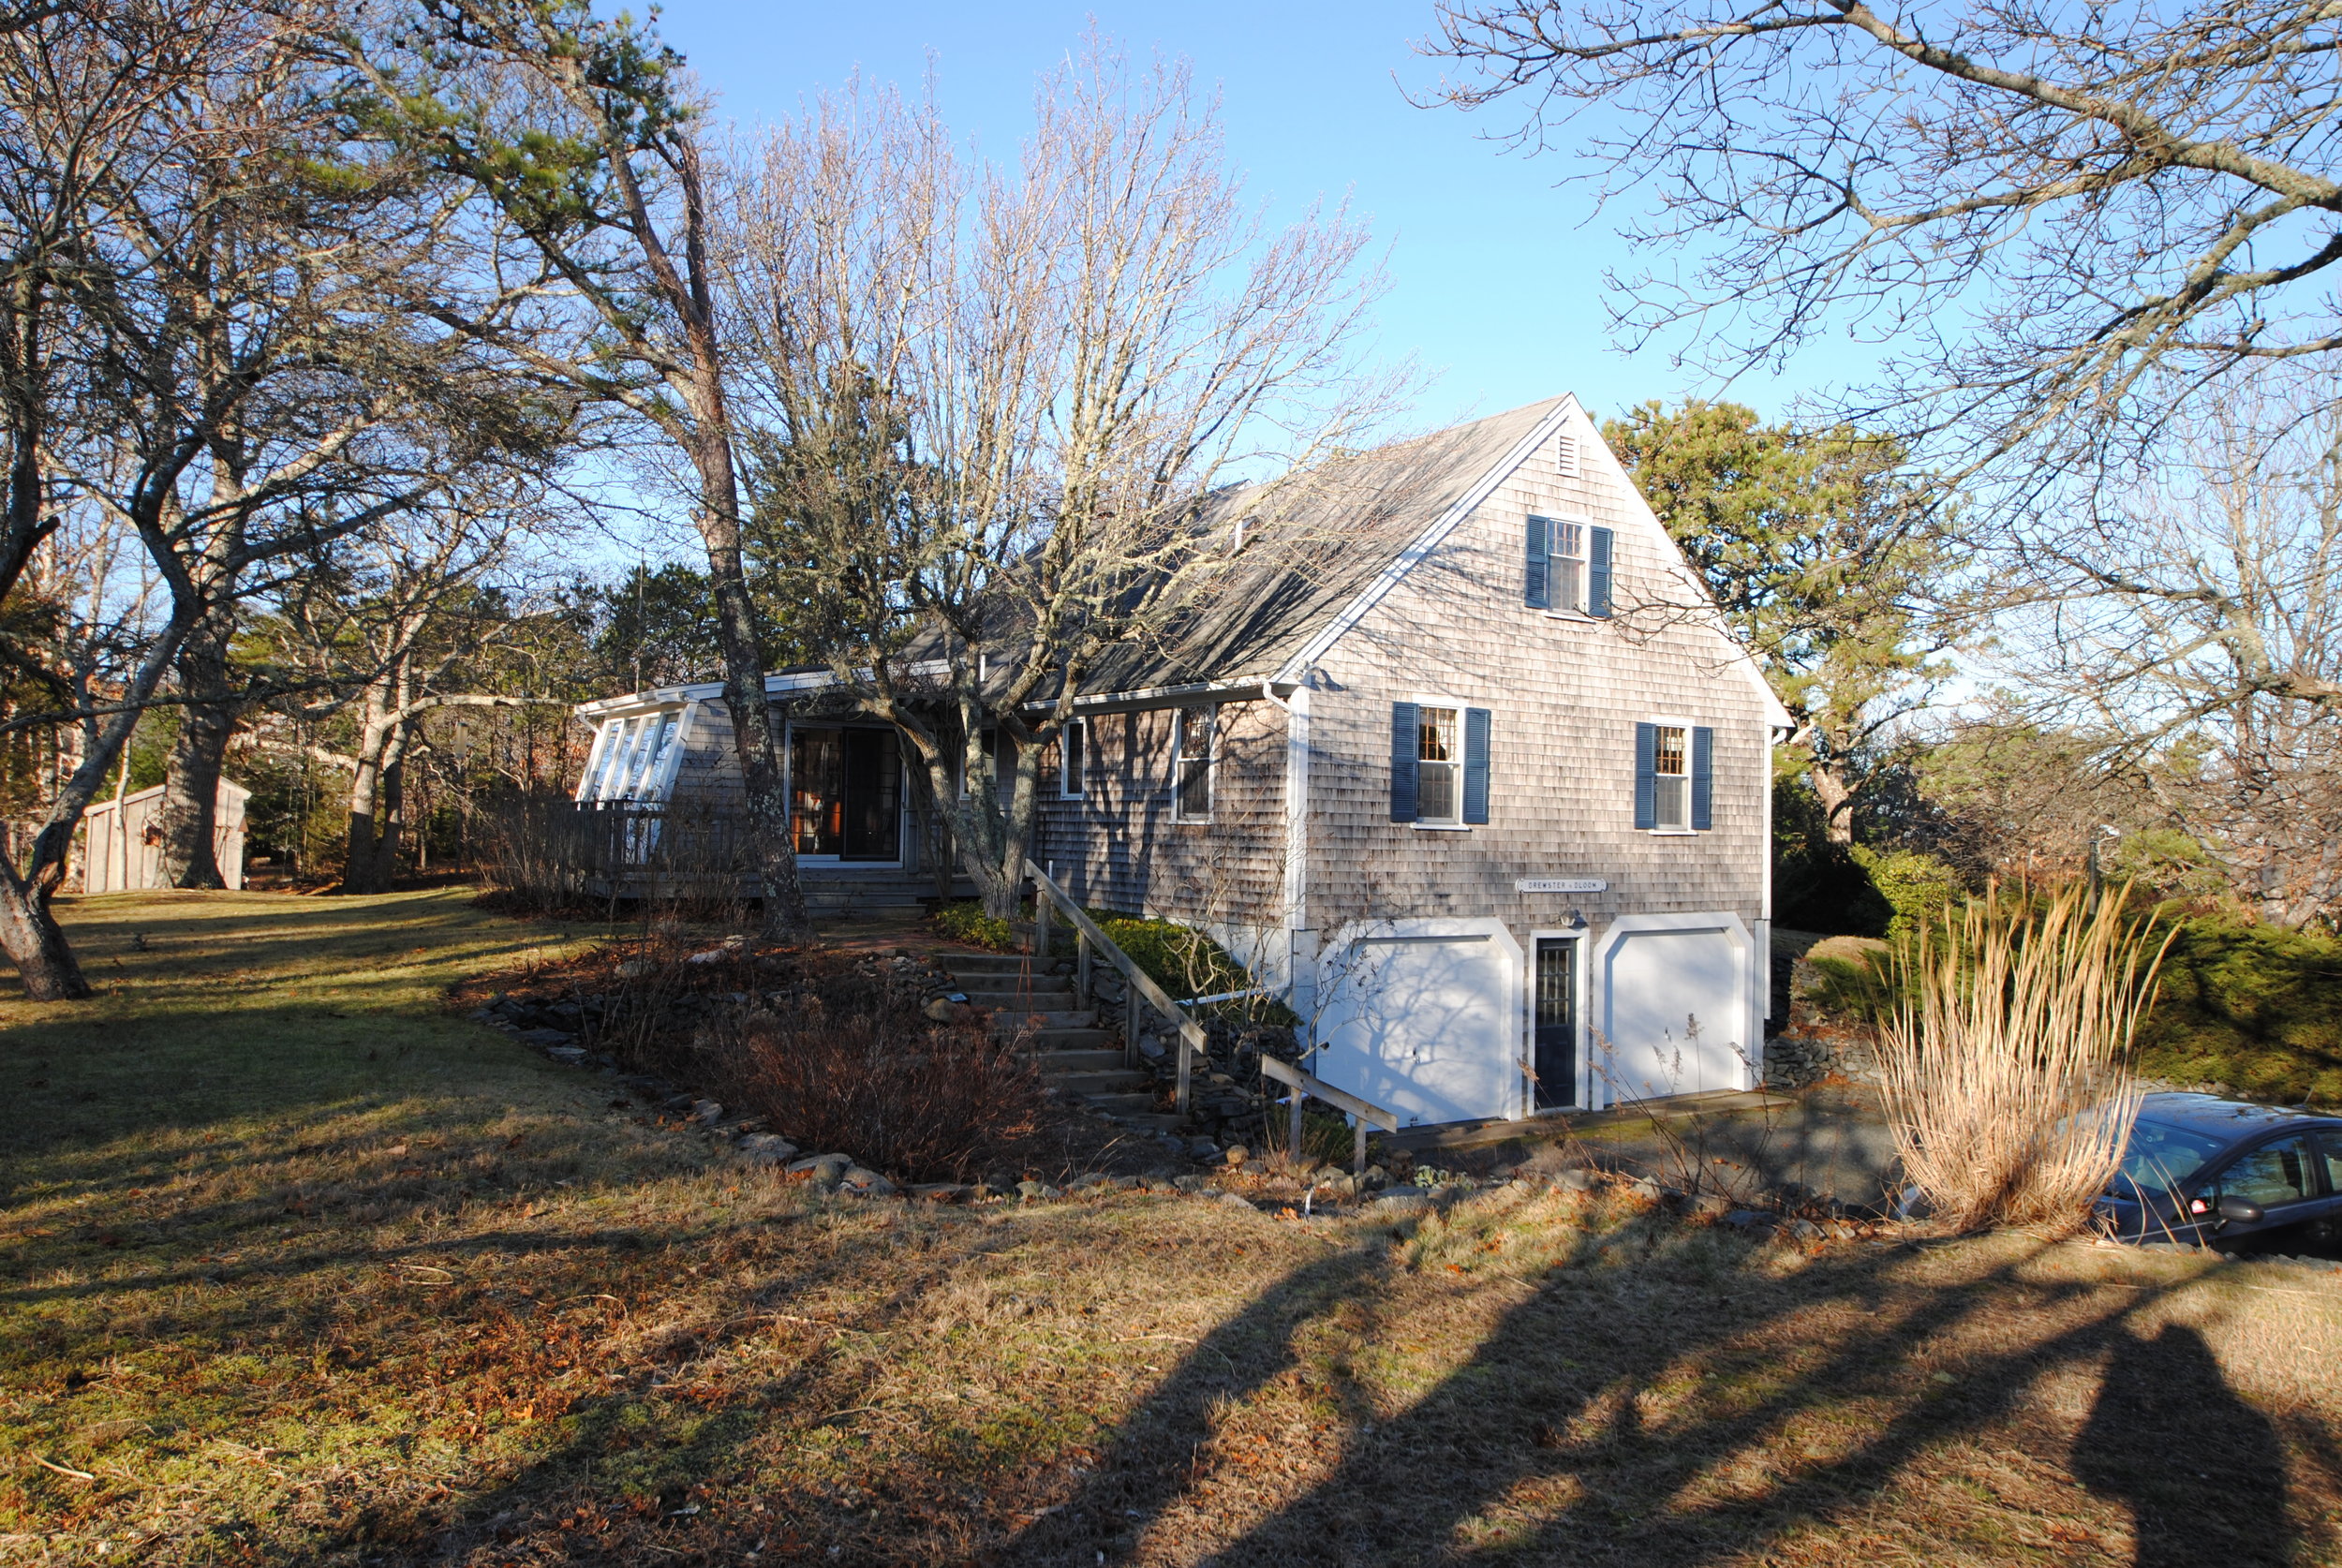
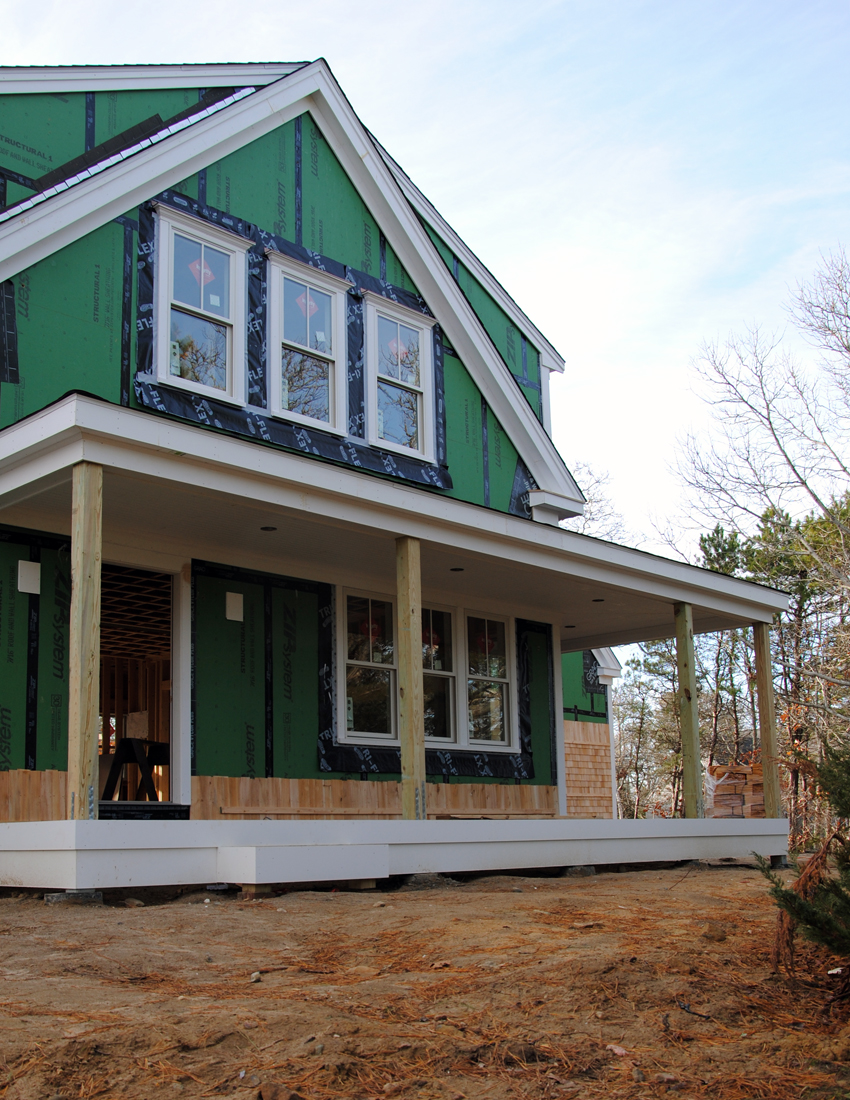
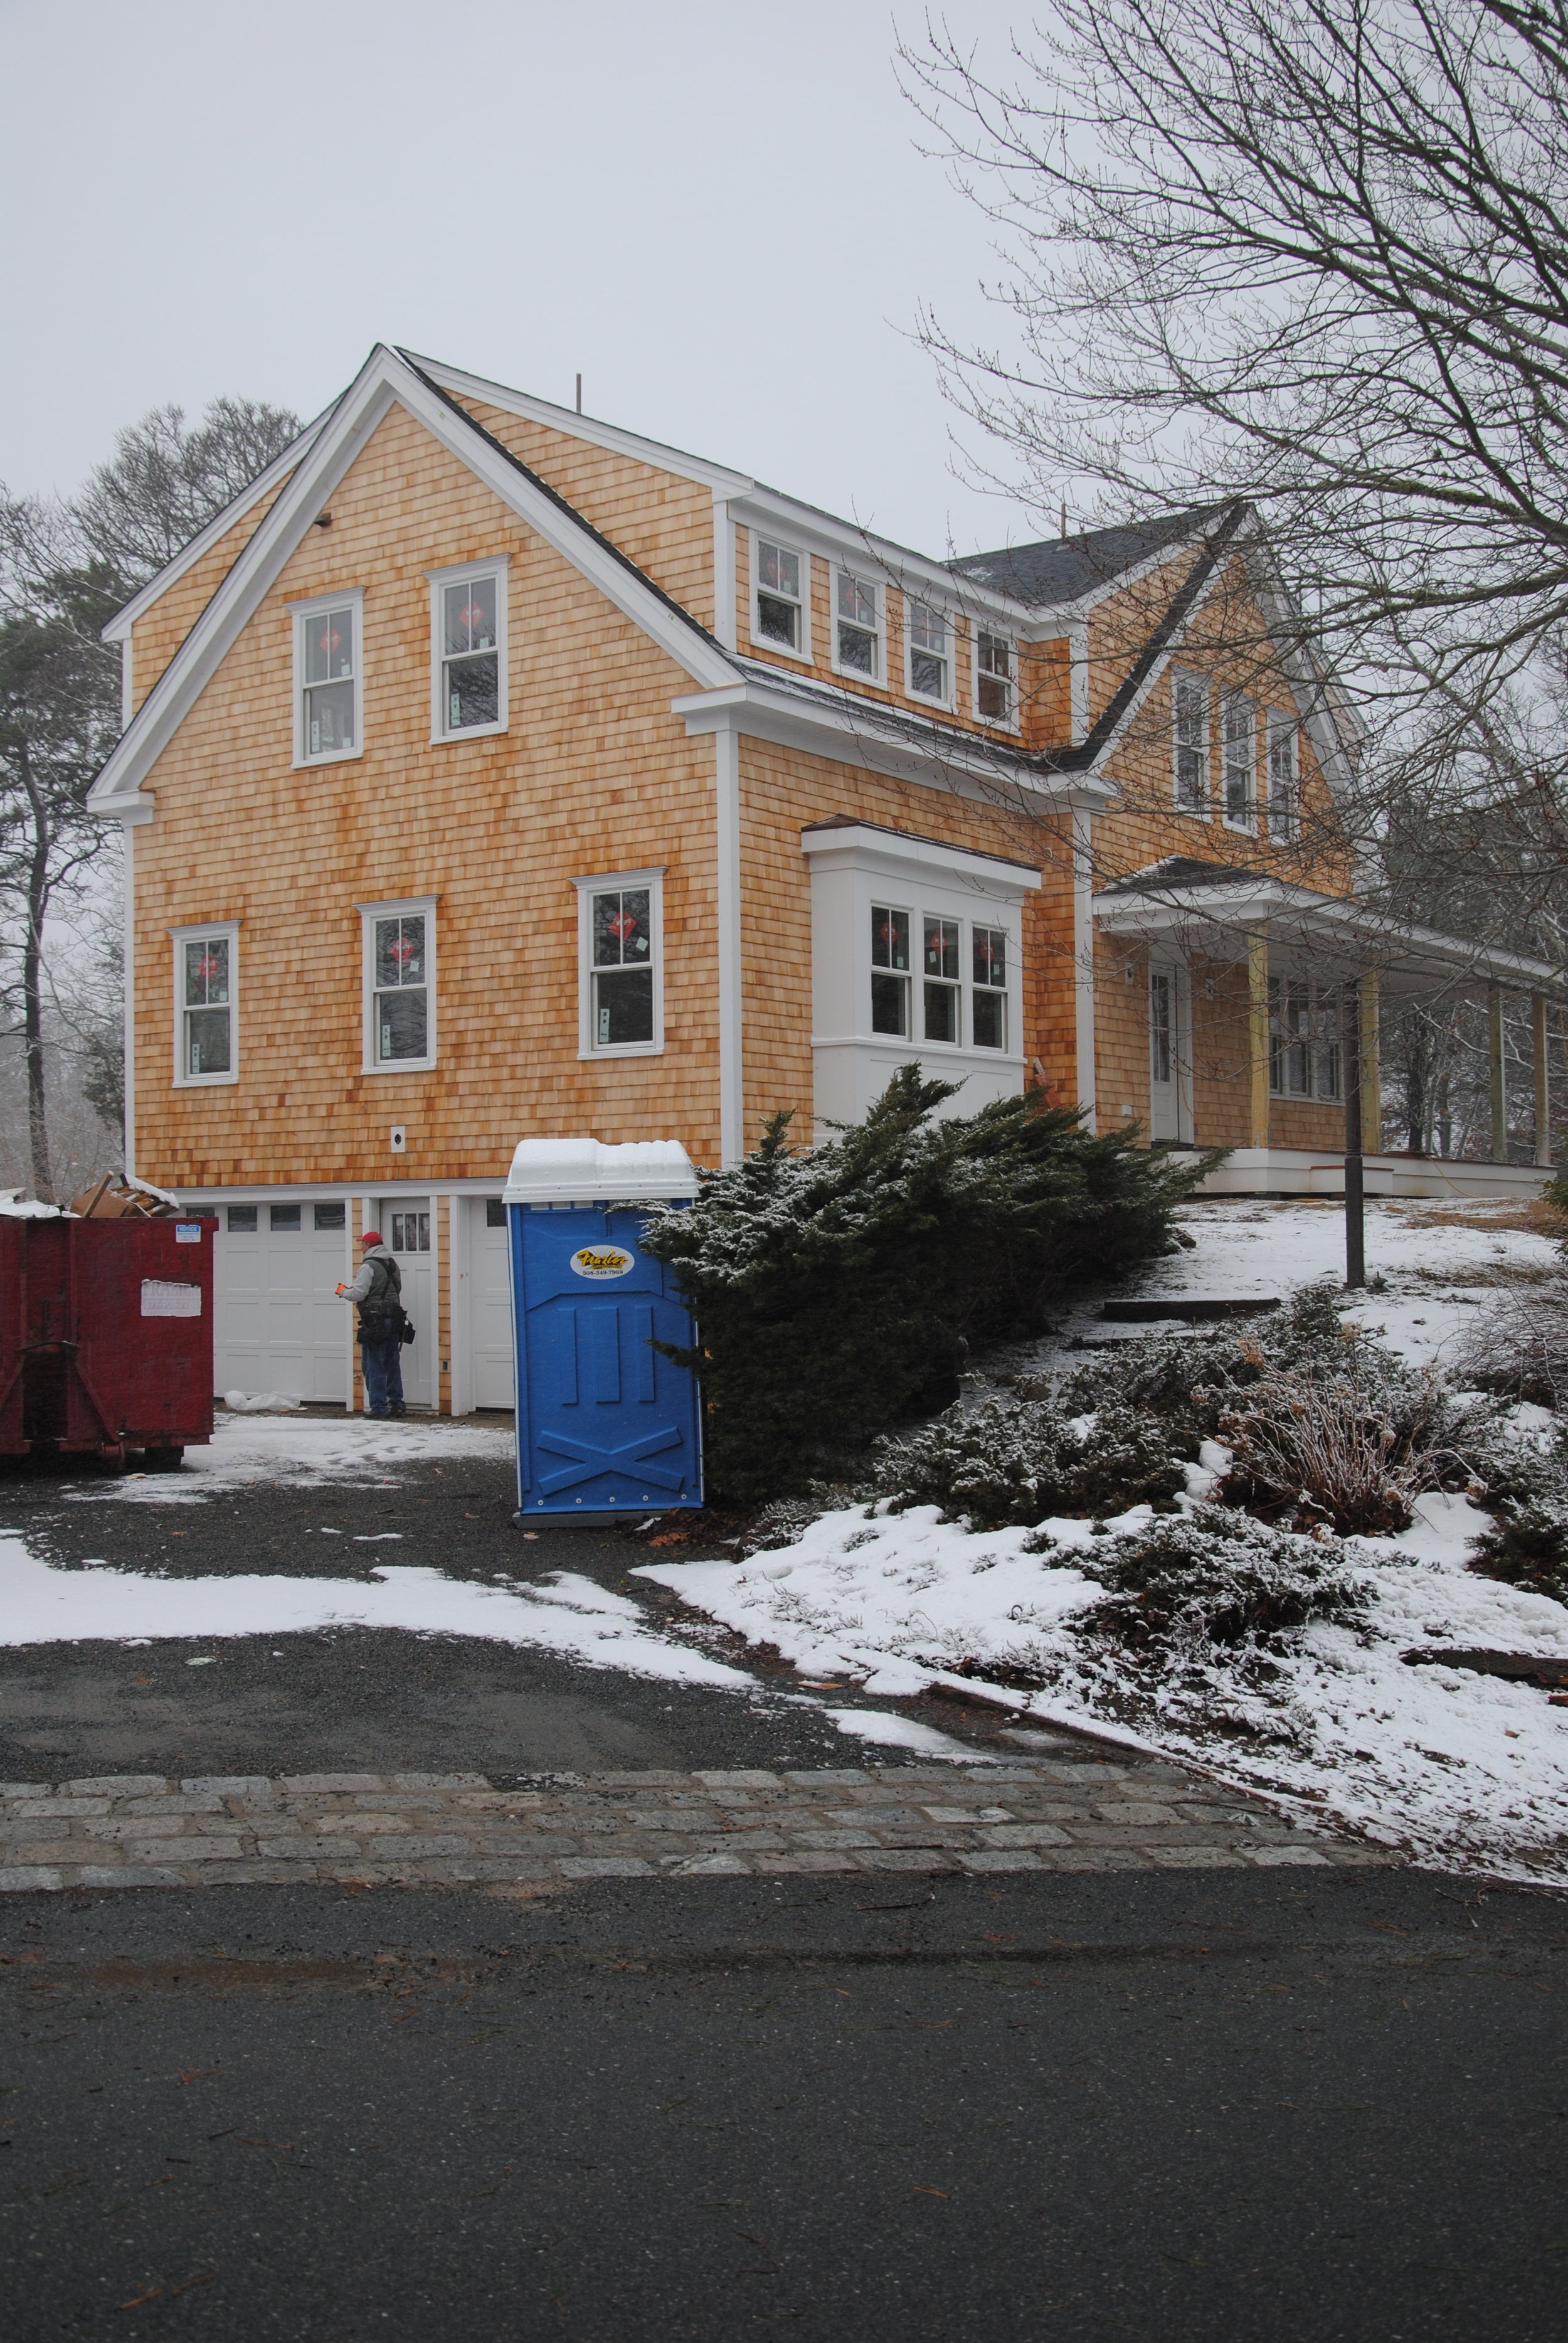
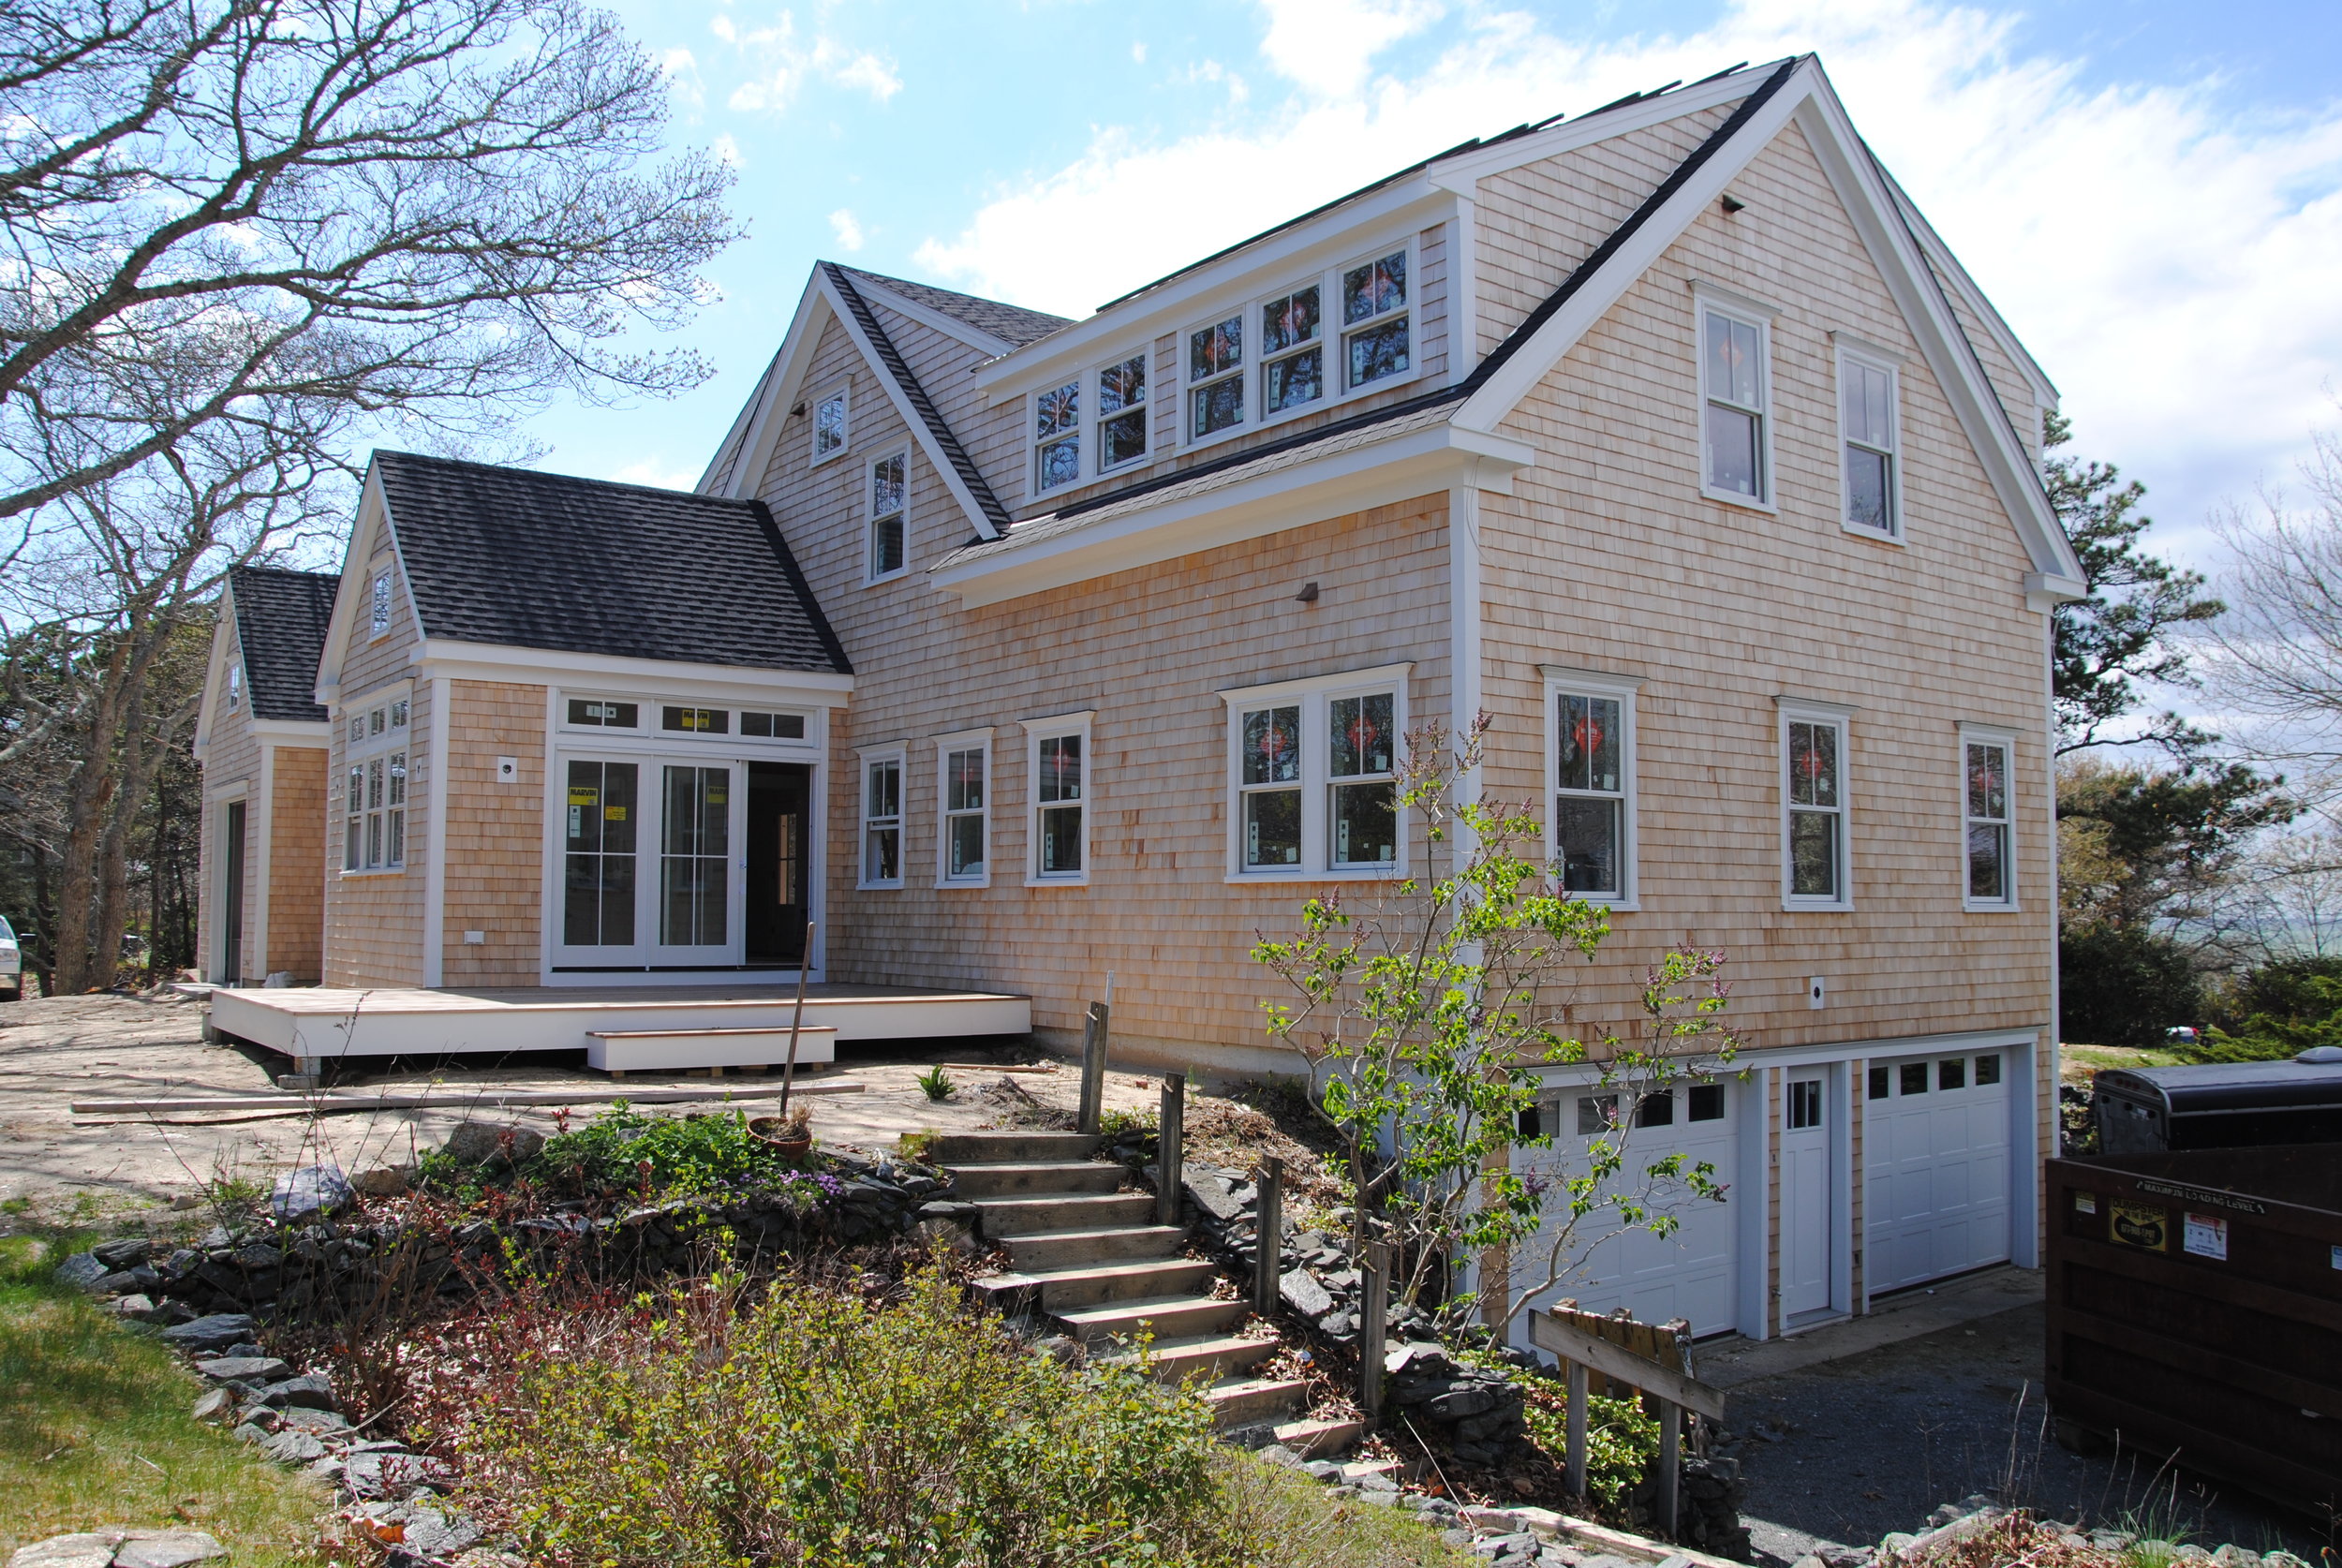
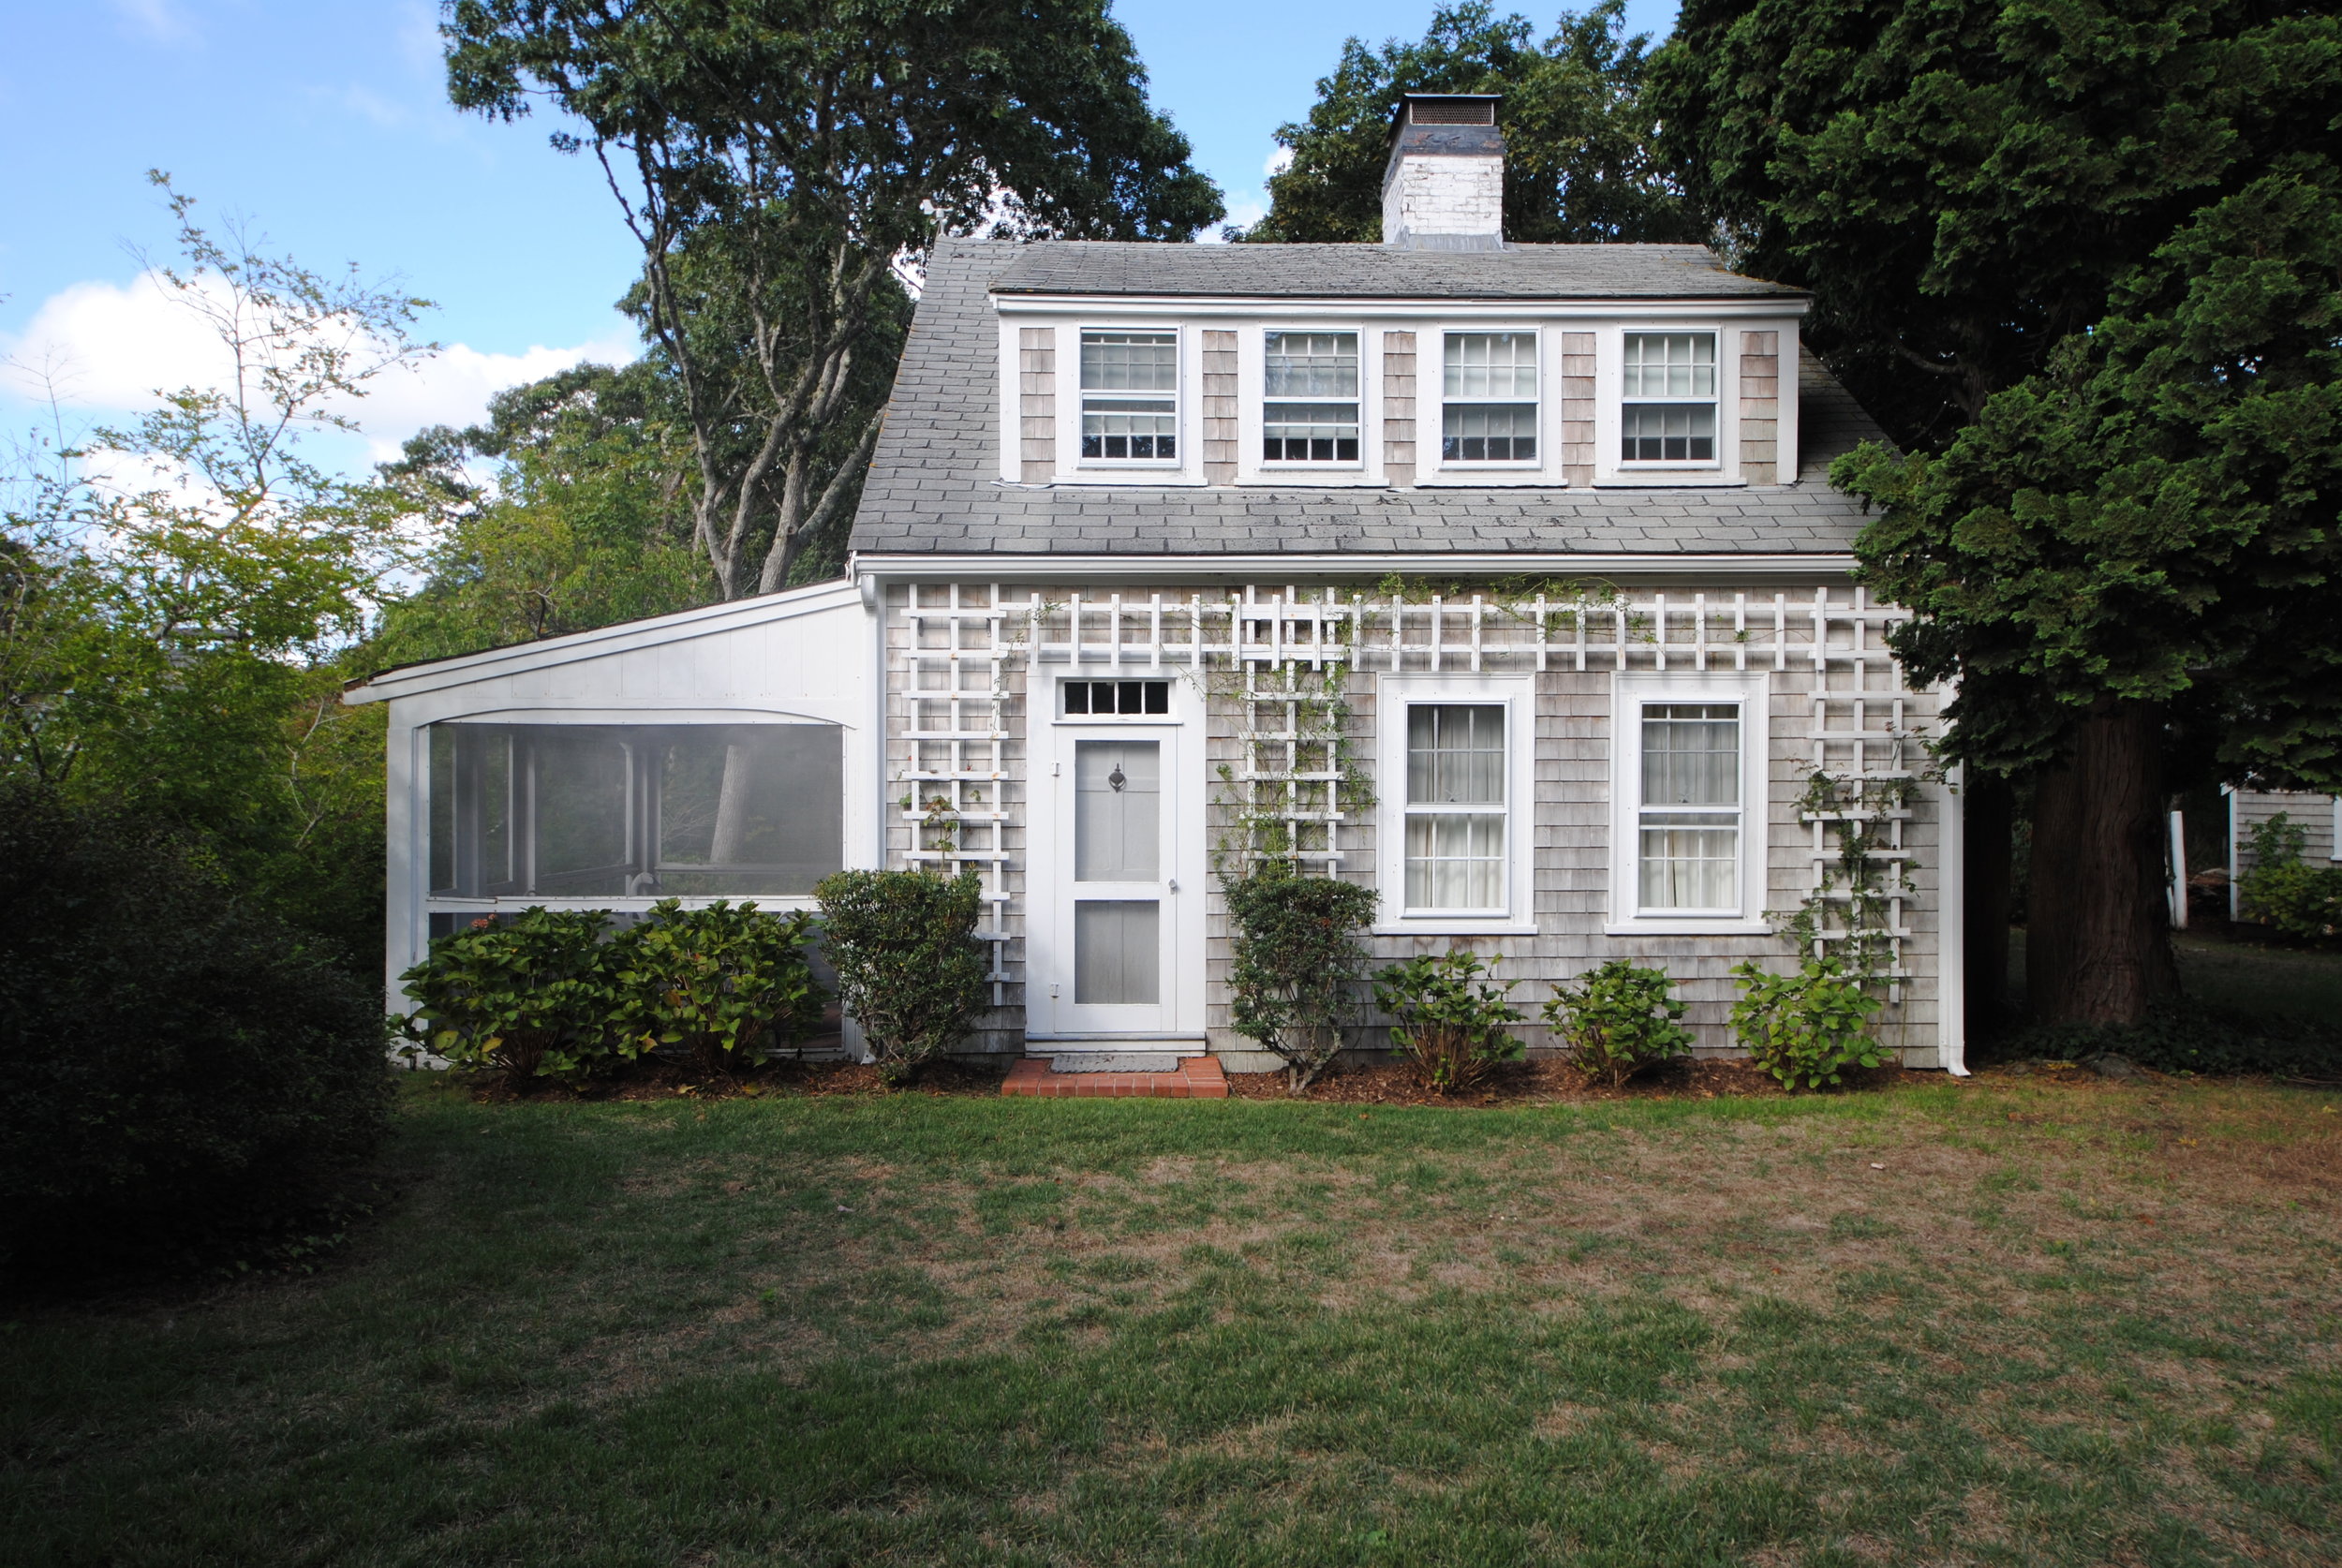
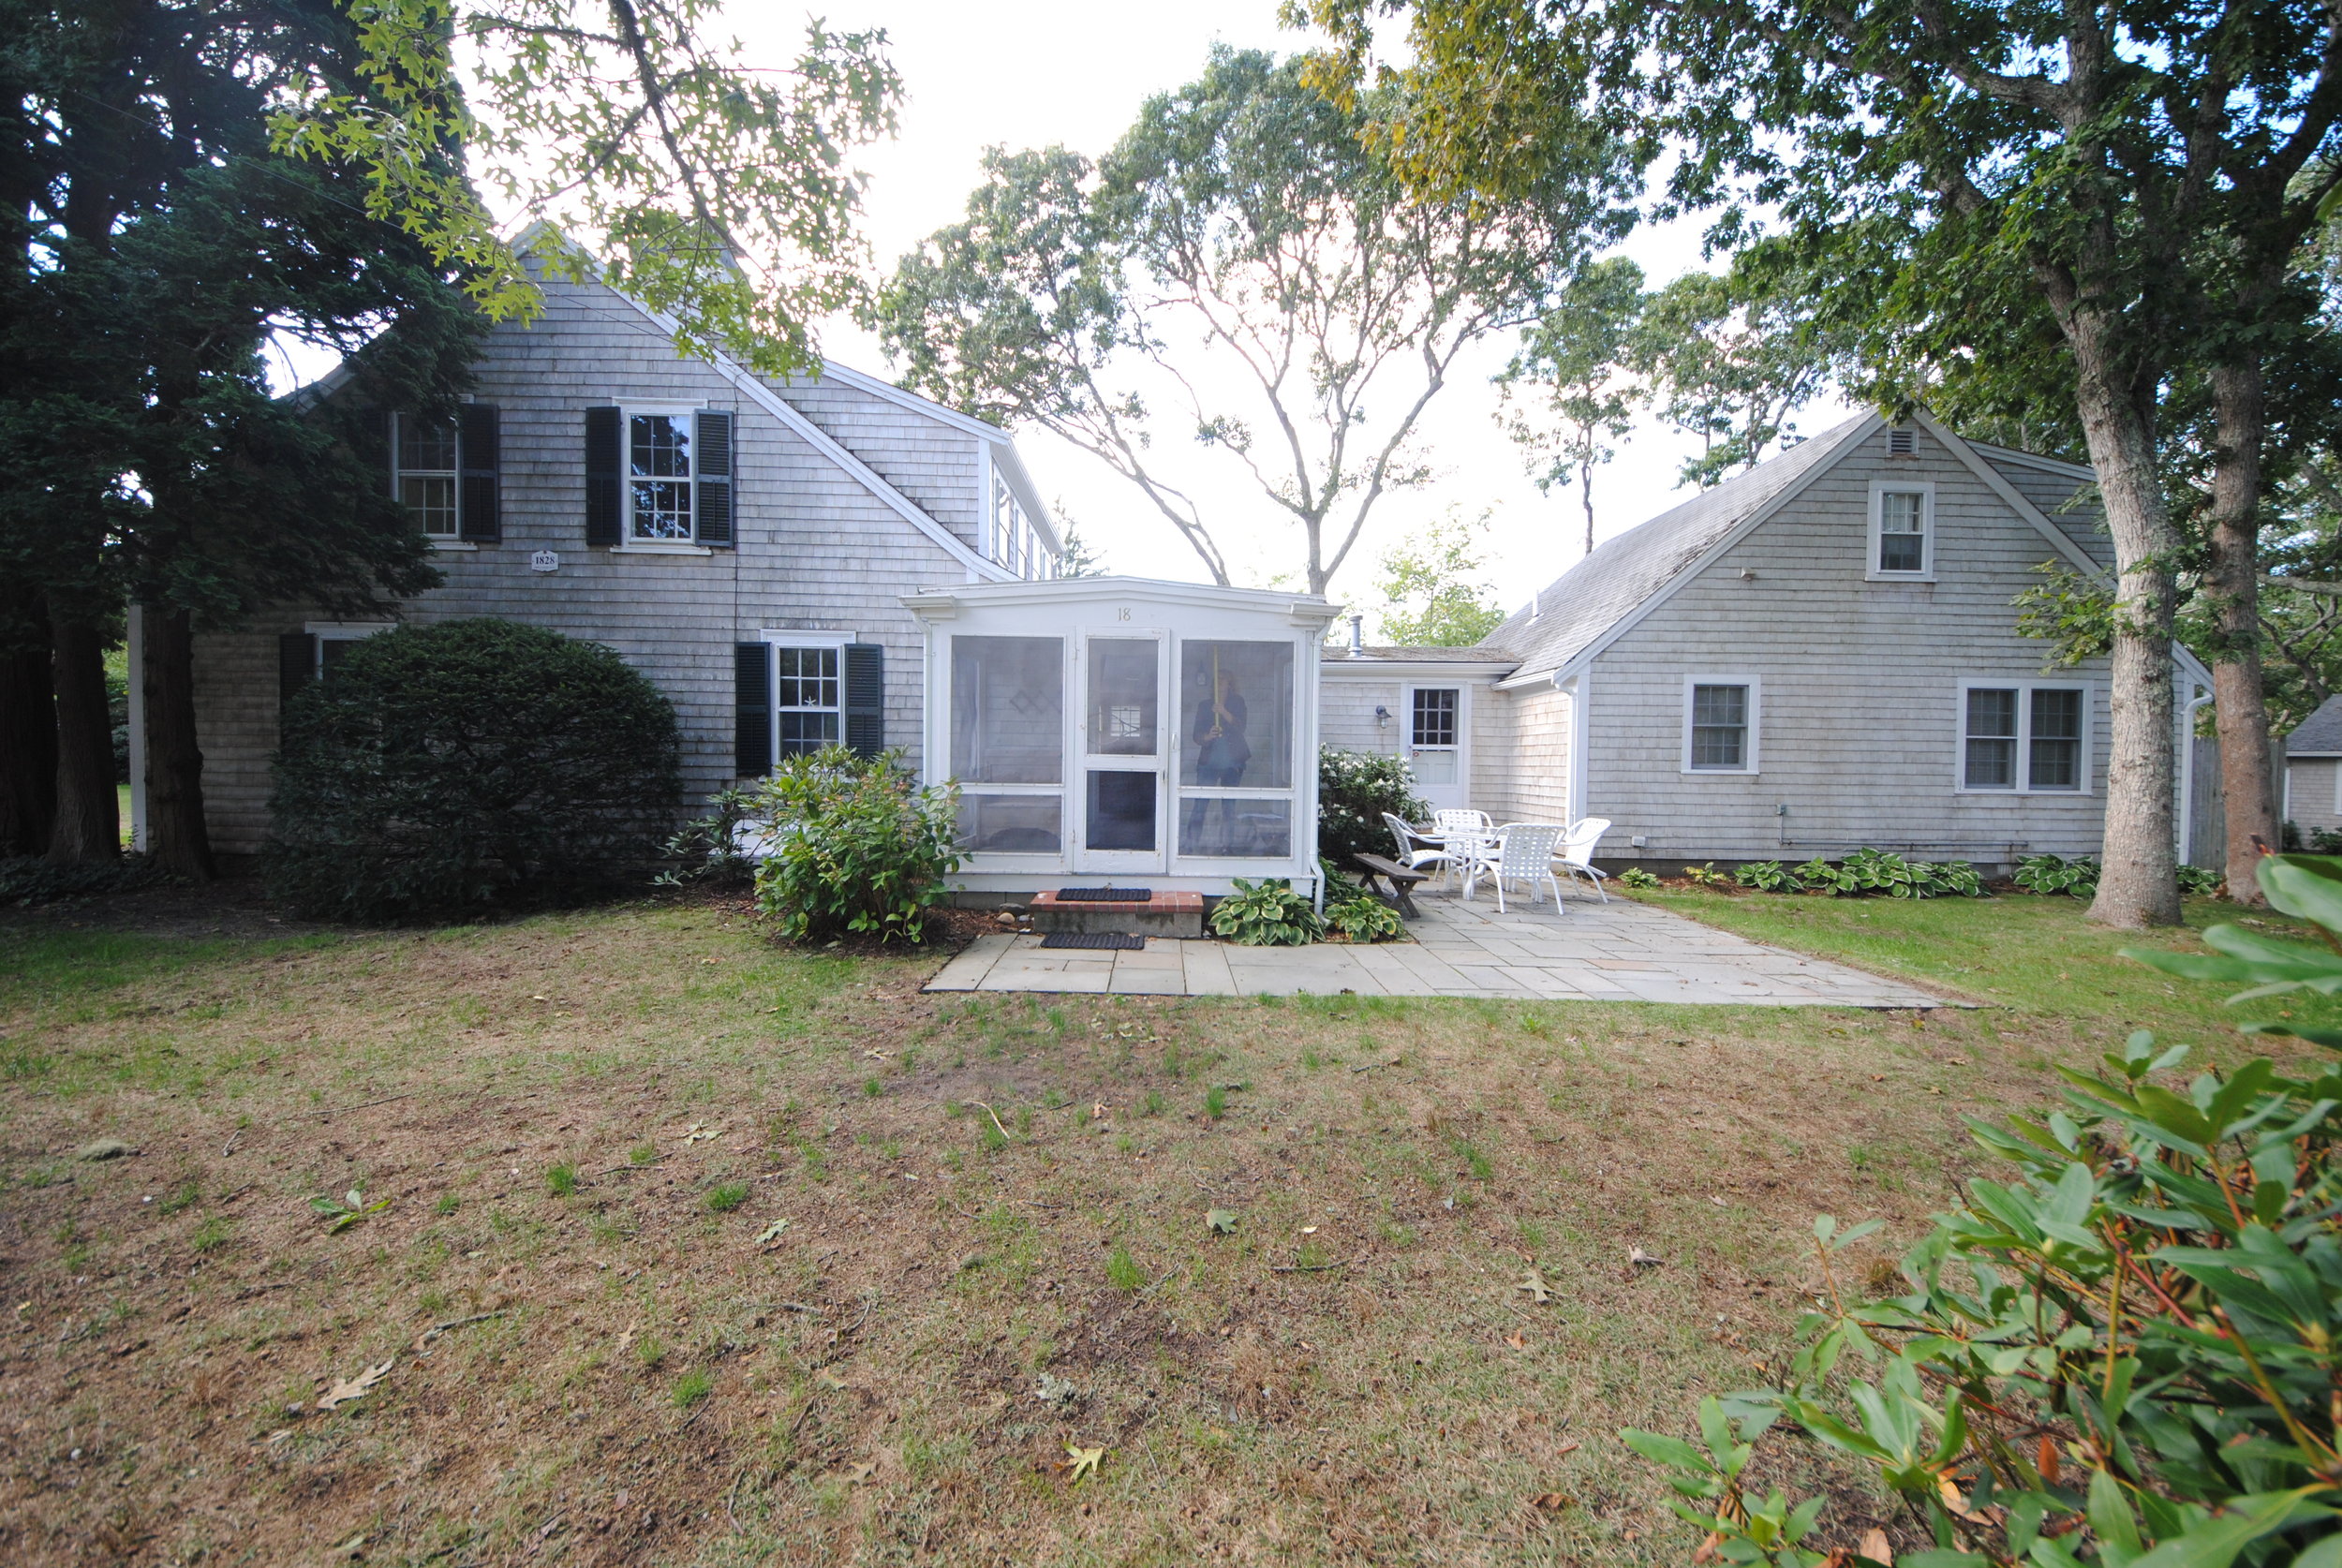
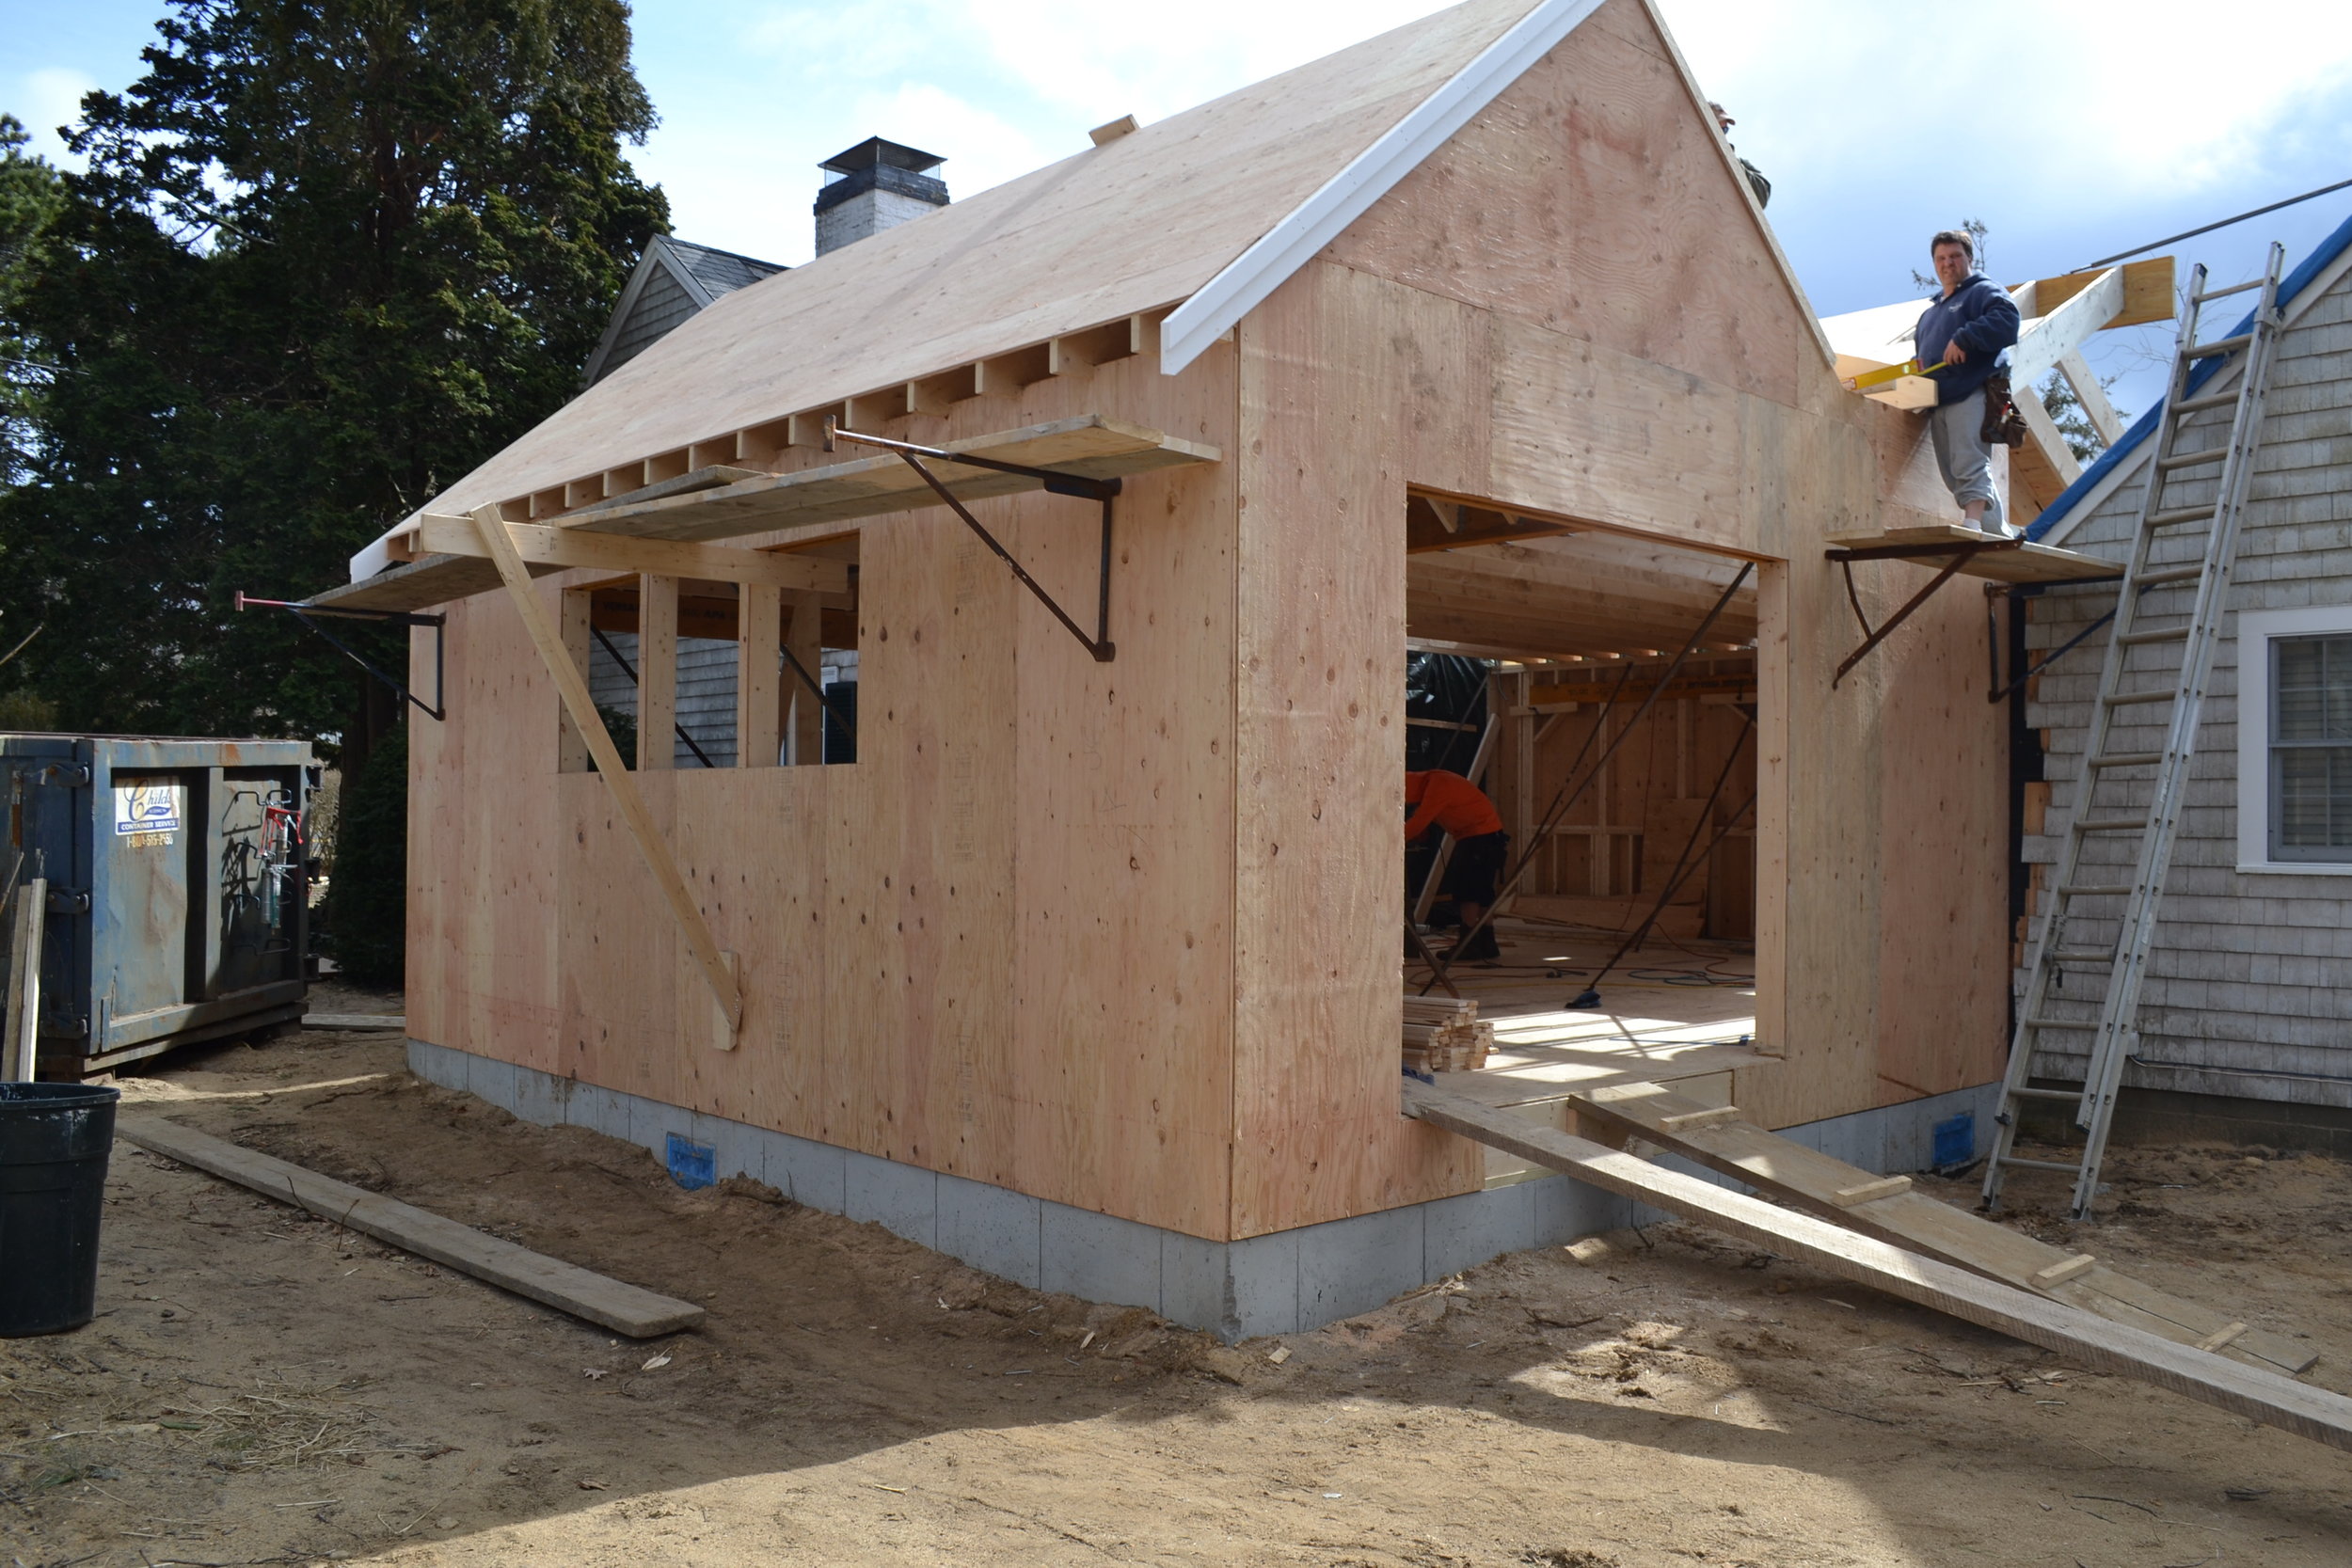
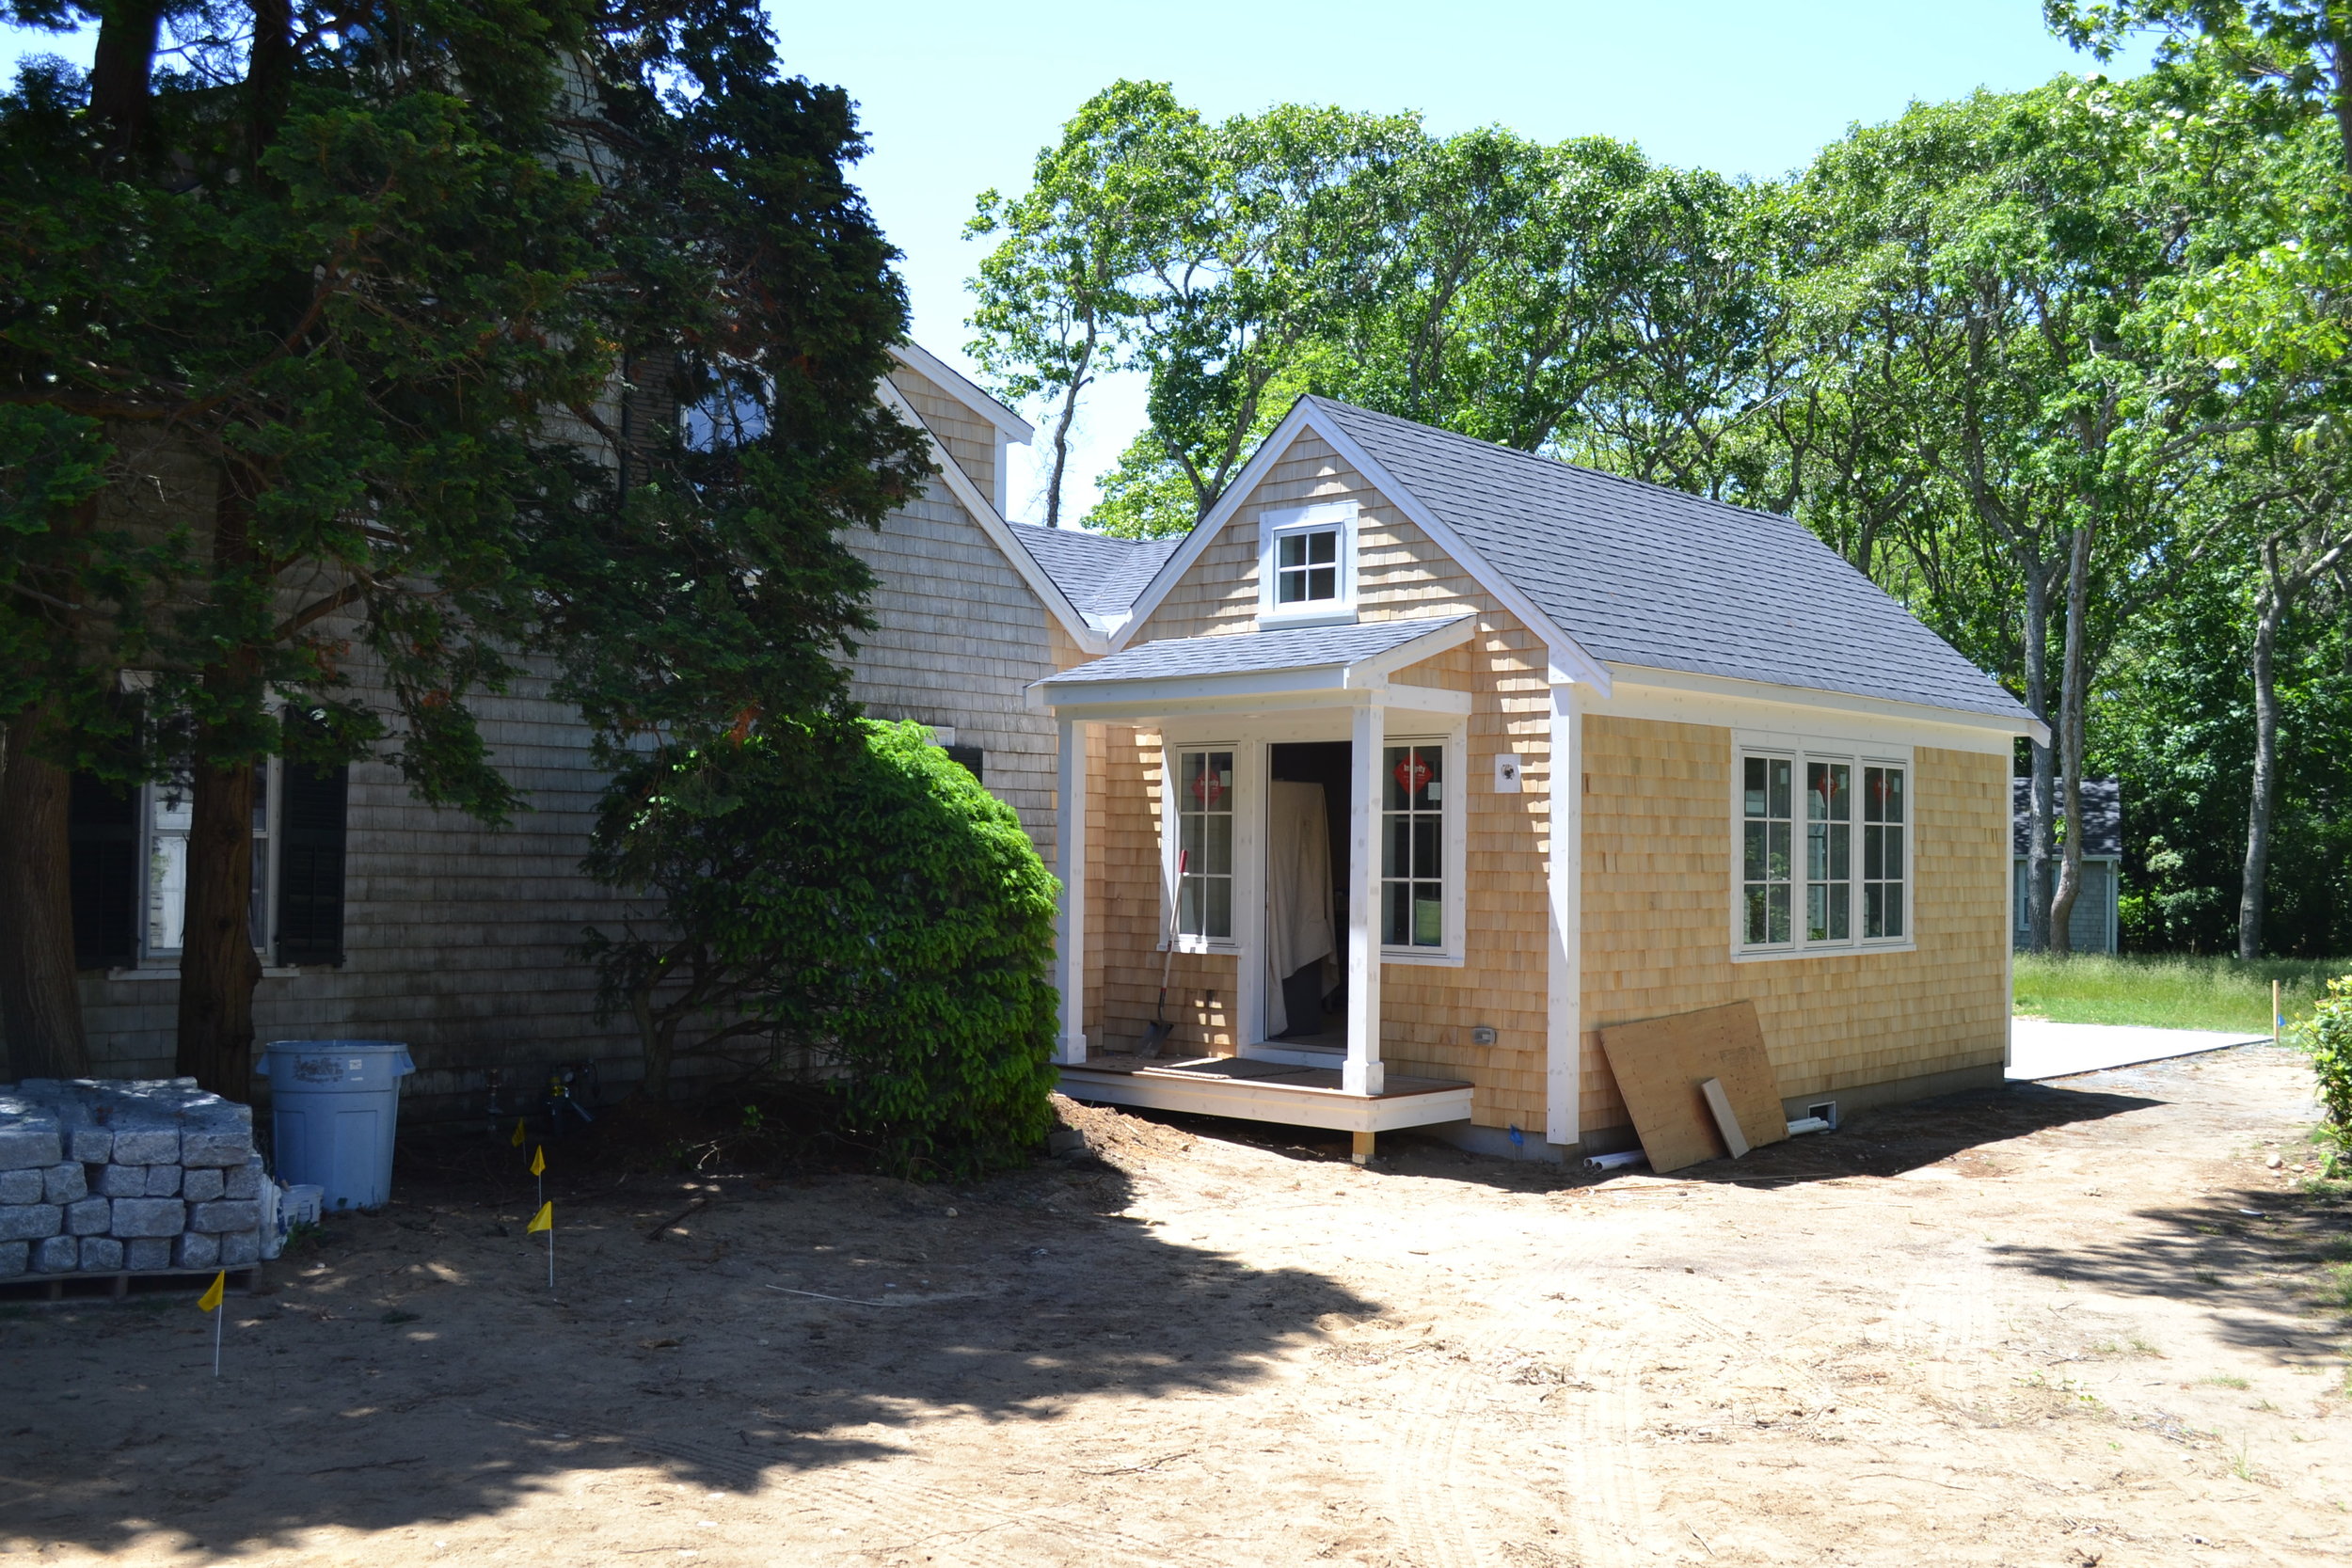
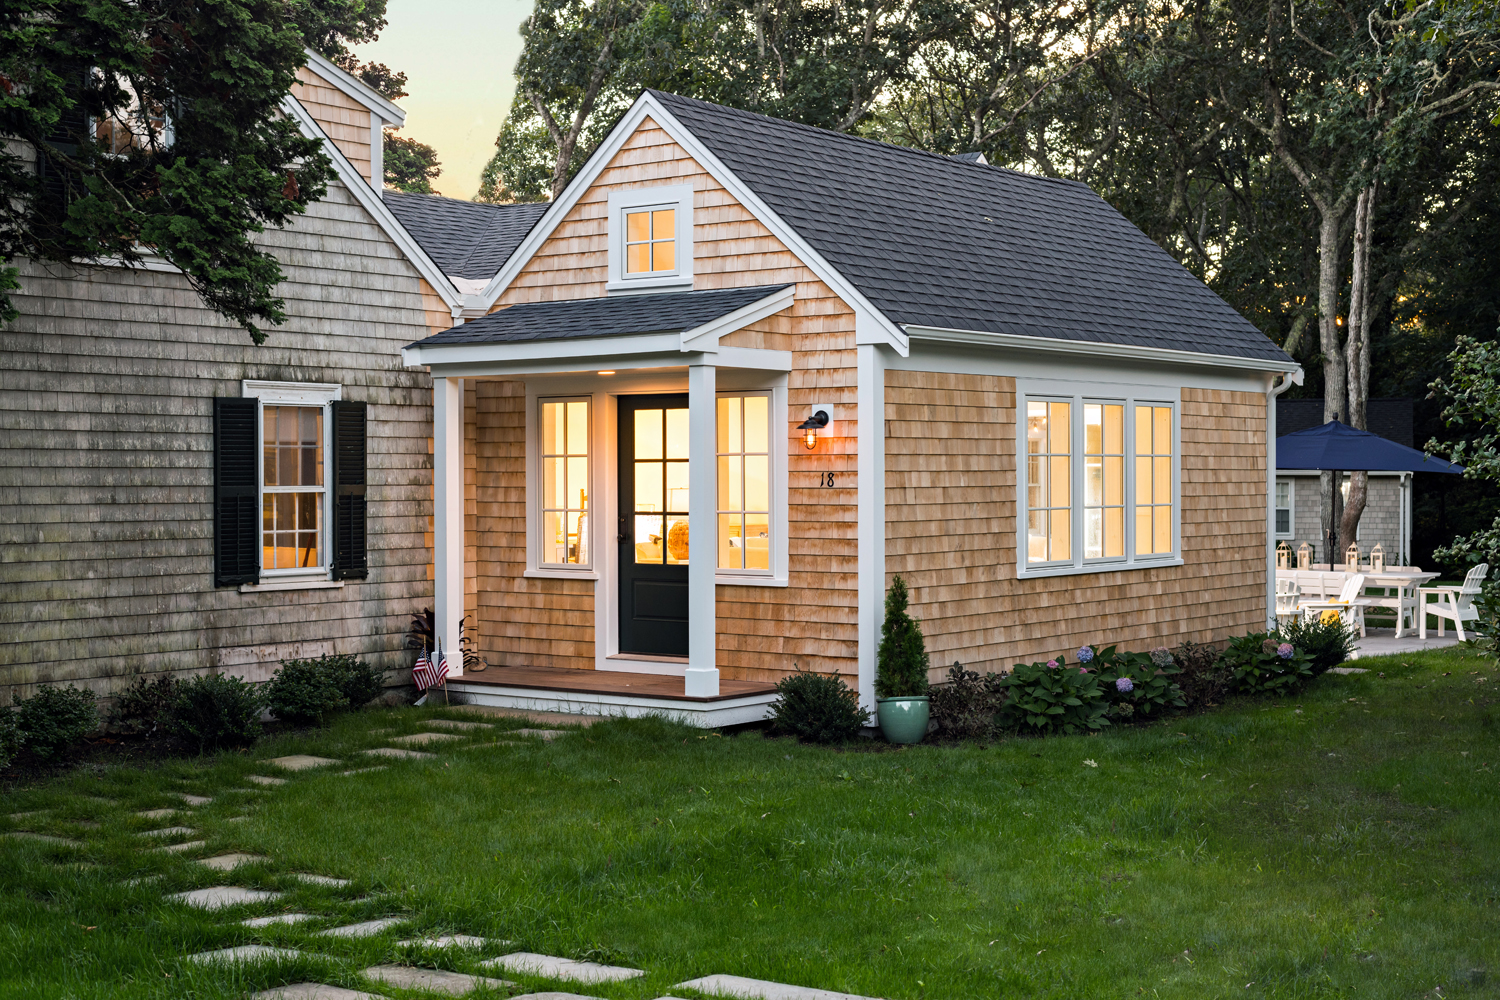
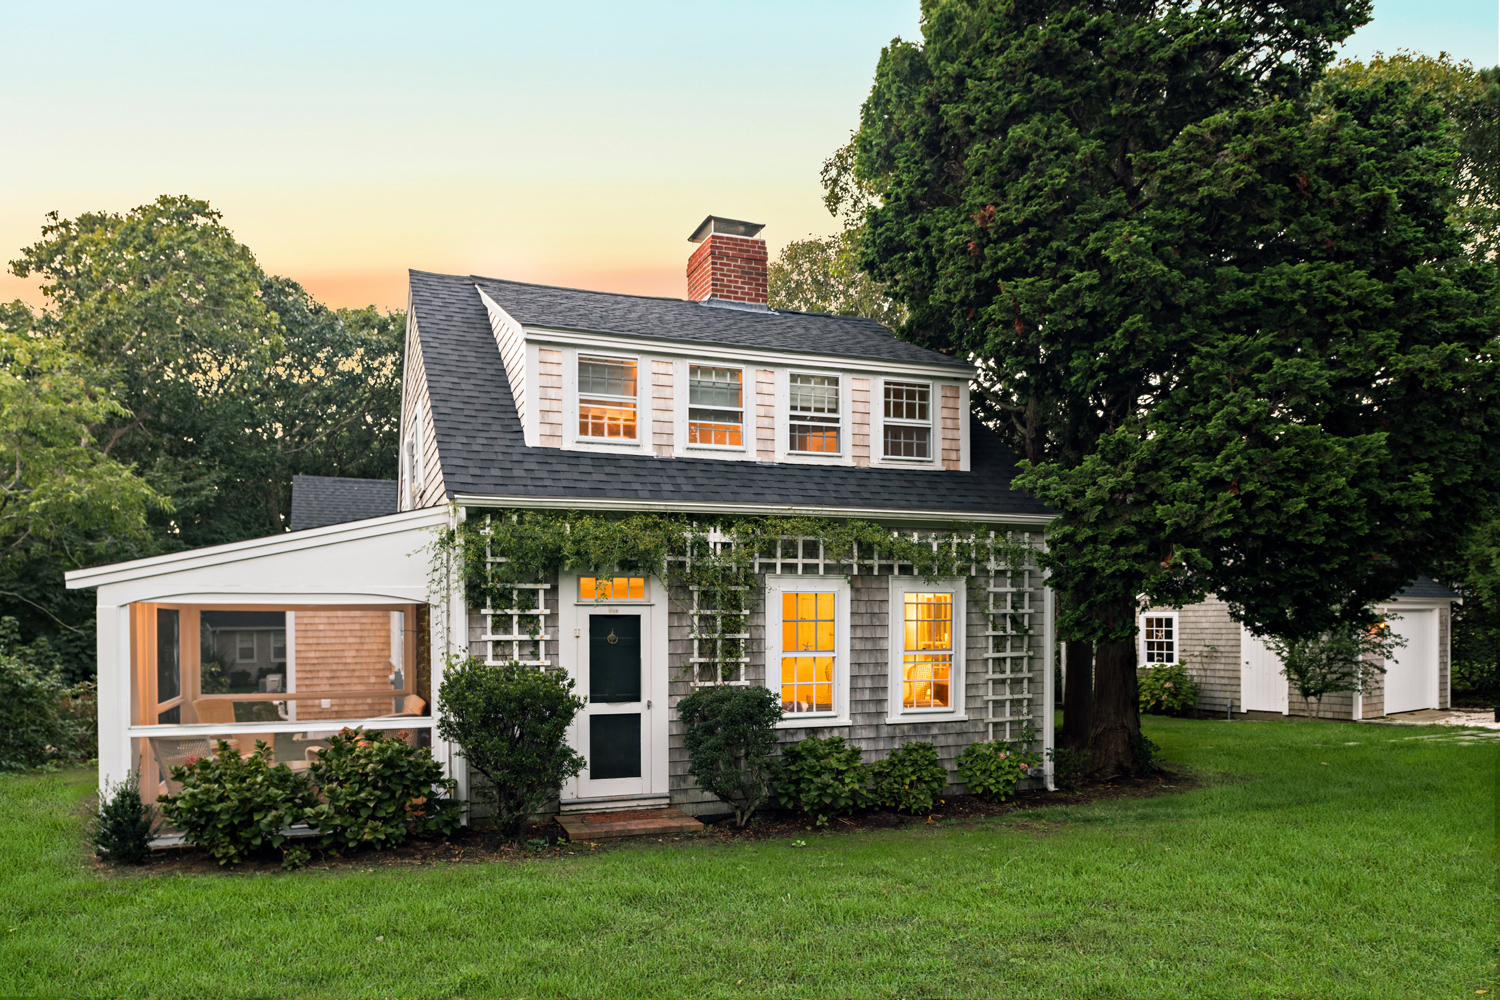
Expats Stu and Nancy had spent the last 10 or so living in Asia, and despite raising their family on the west coast, when it came time to put down permanent roots, the answer was Brewster.  Nancy’s father had built a small cottage on the top of a small hill on their lot that afforded peeks of the Bay from the front of the house.  We decided to save the existing foundation,  and rebuild up from there to create a larger and brighter family home that still fits in the streetscape of the existing seaside neighborhood along the Bay.

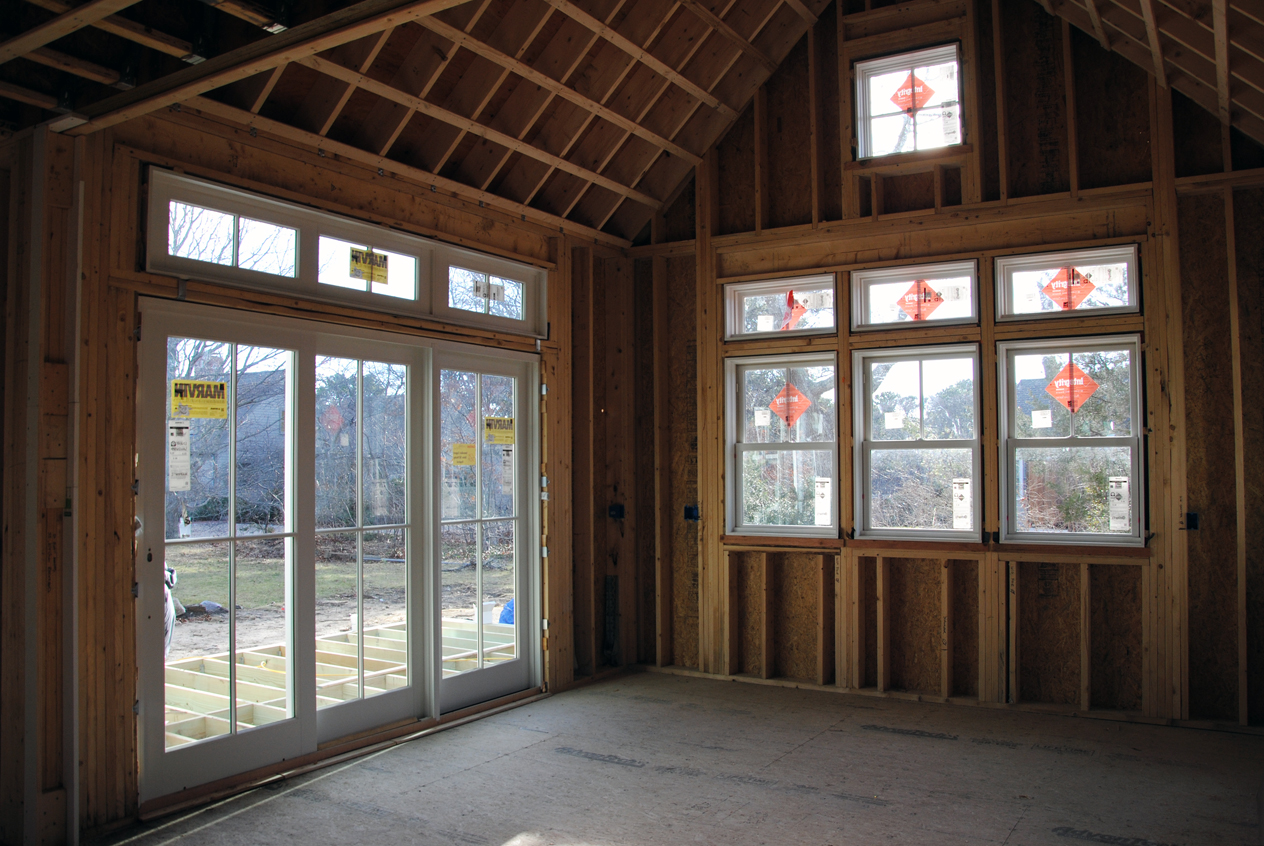
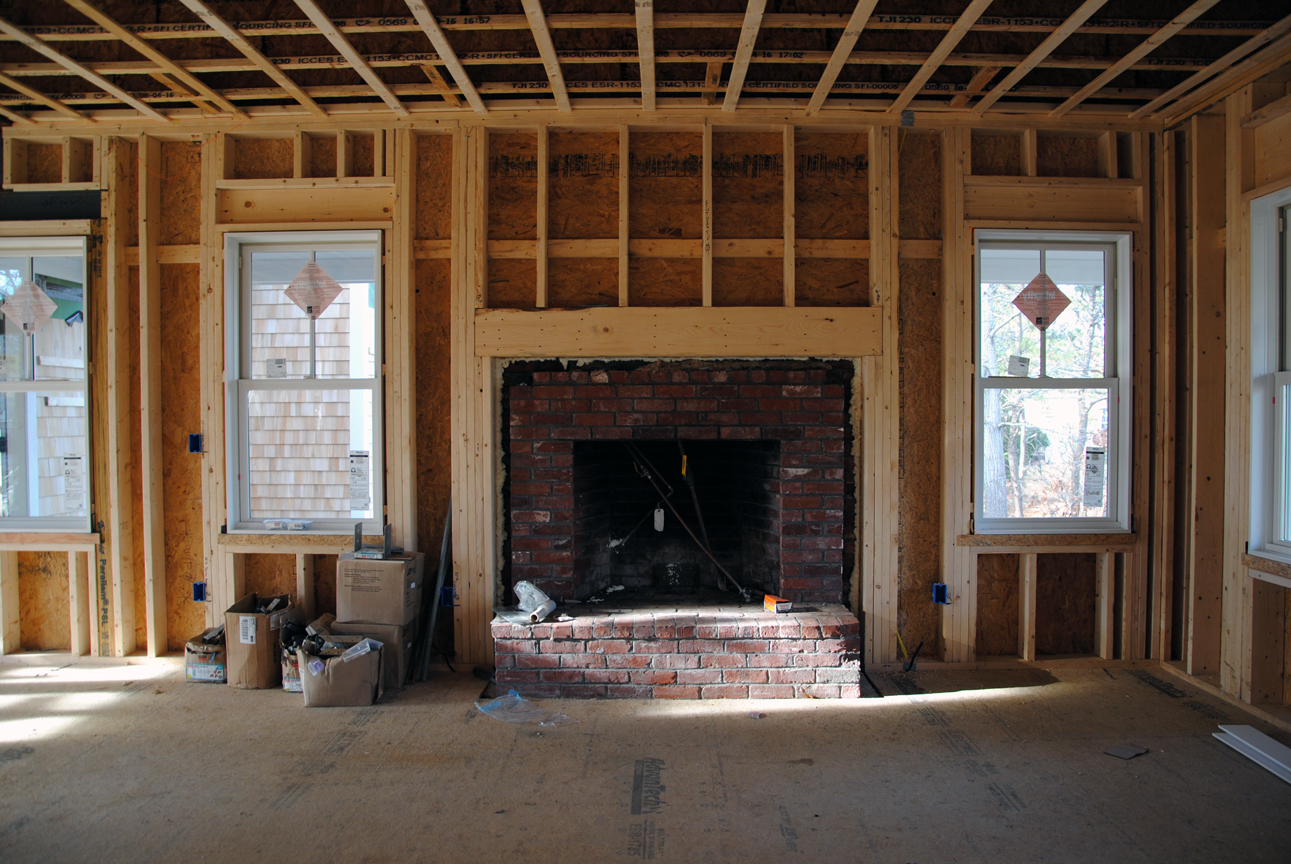
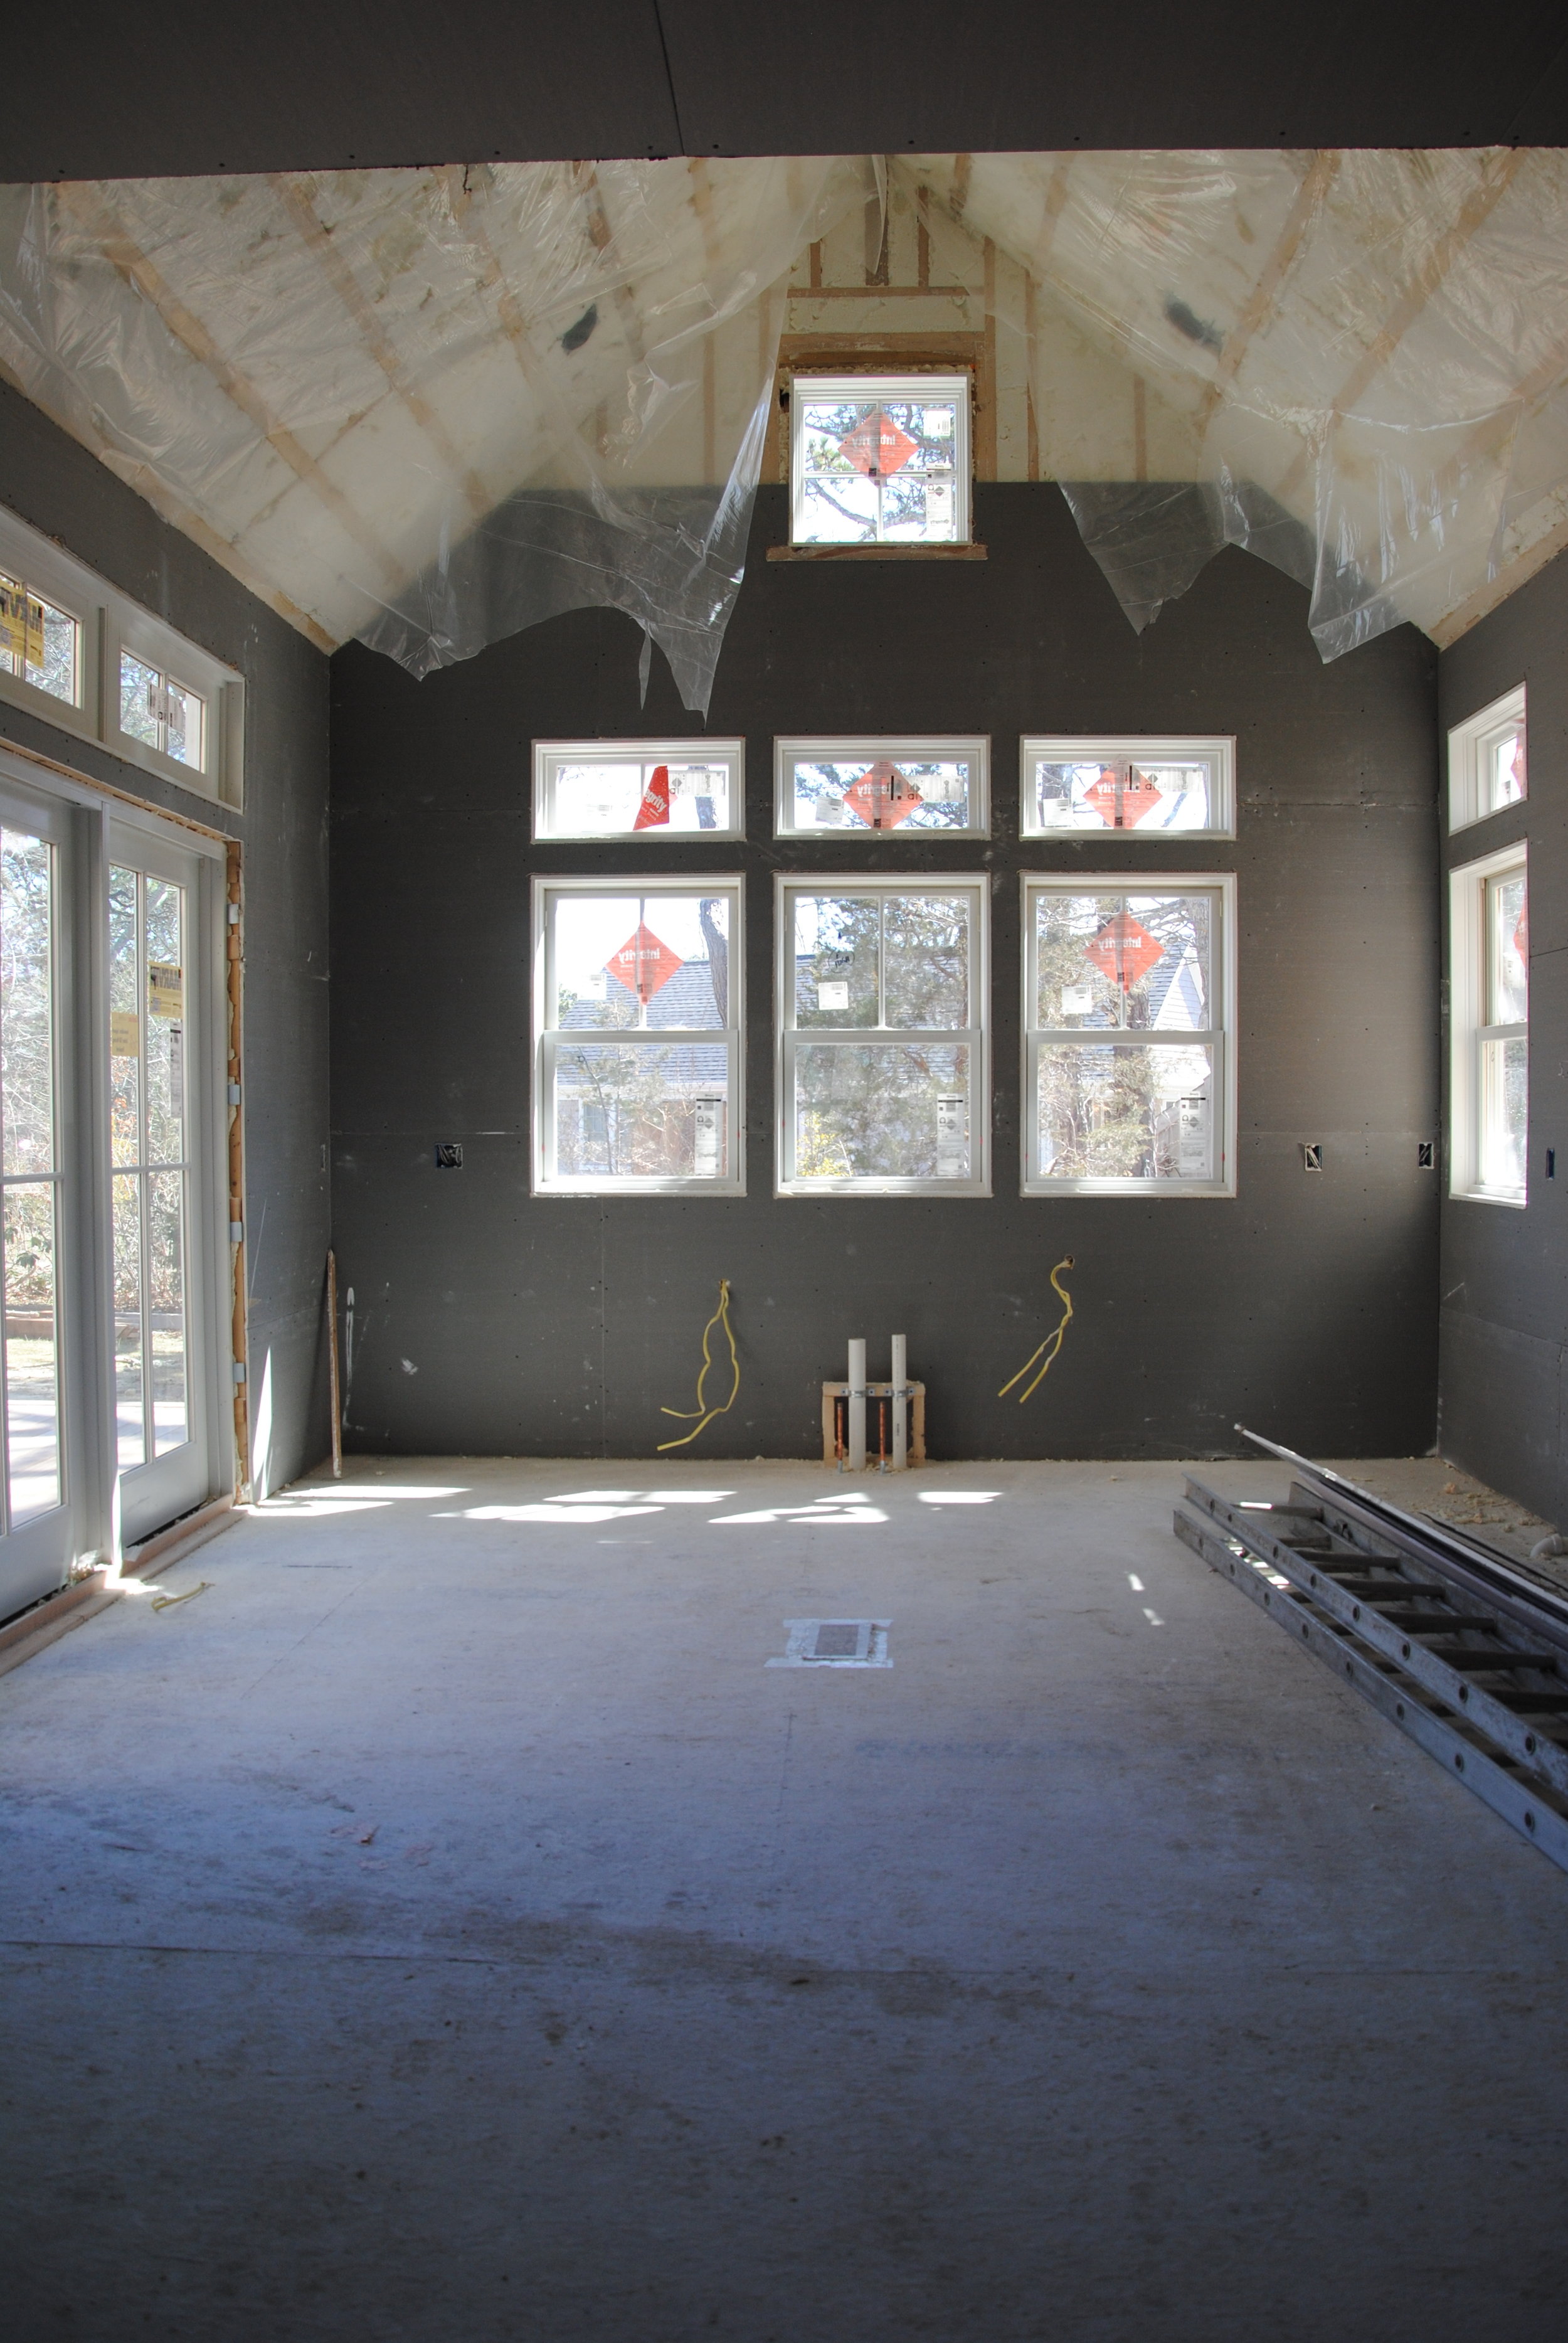
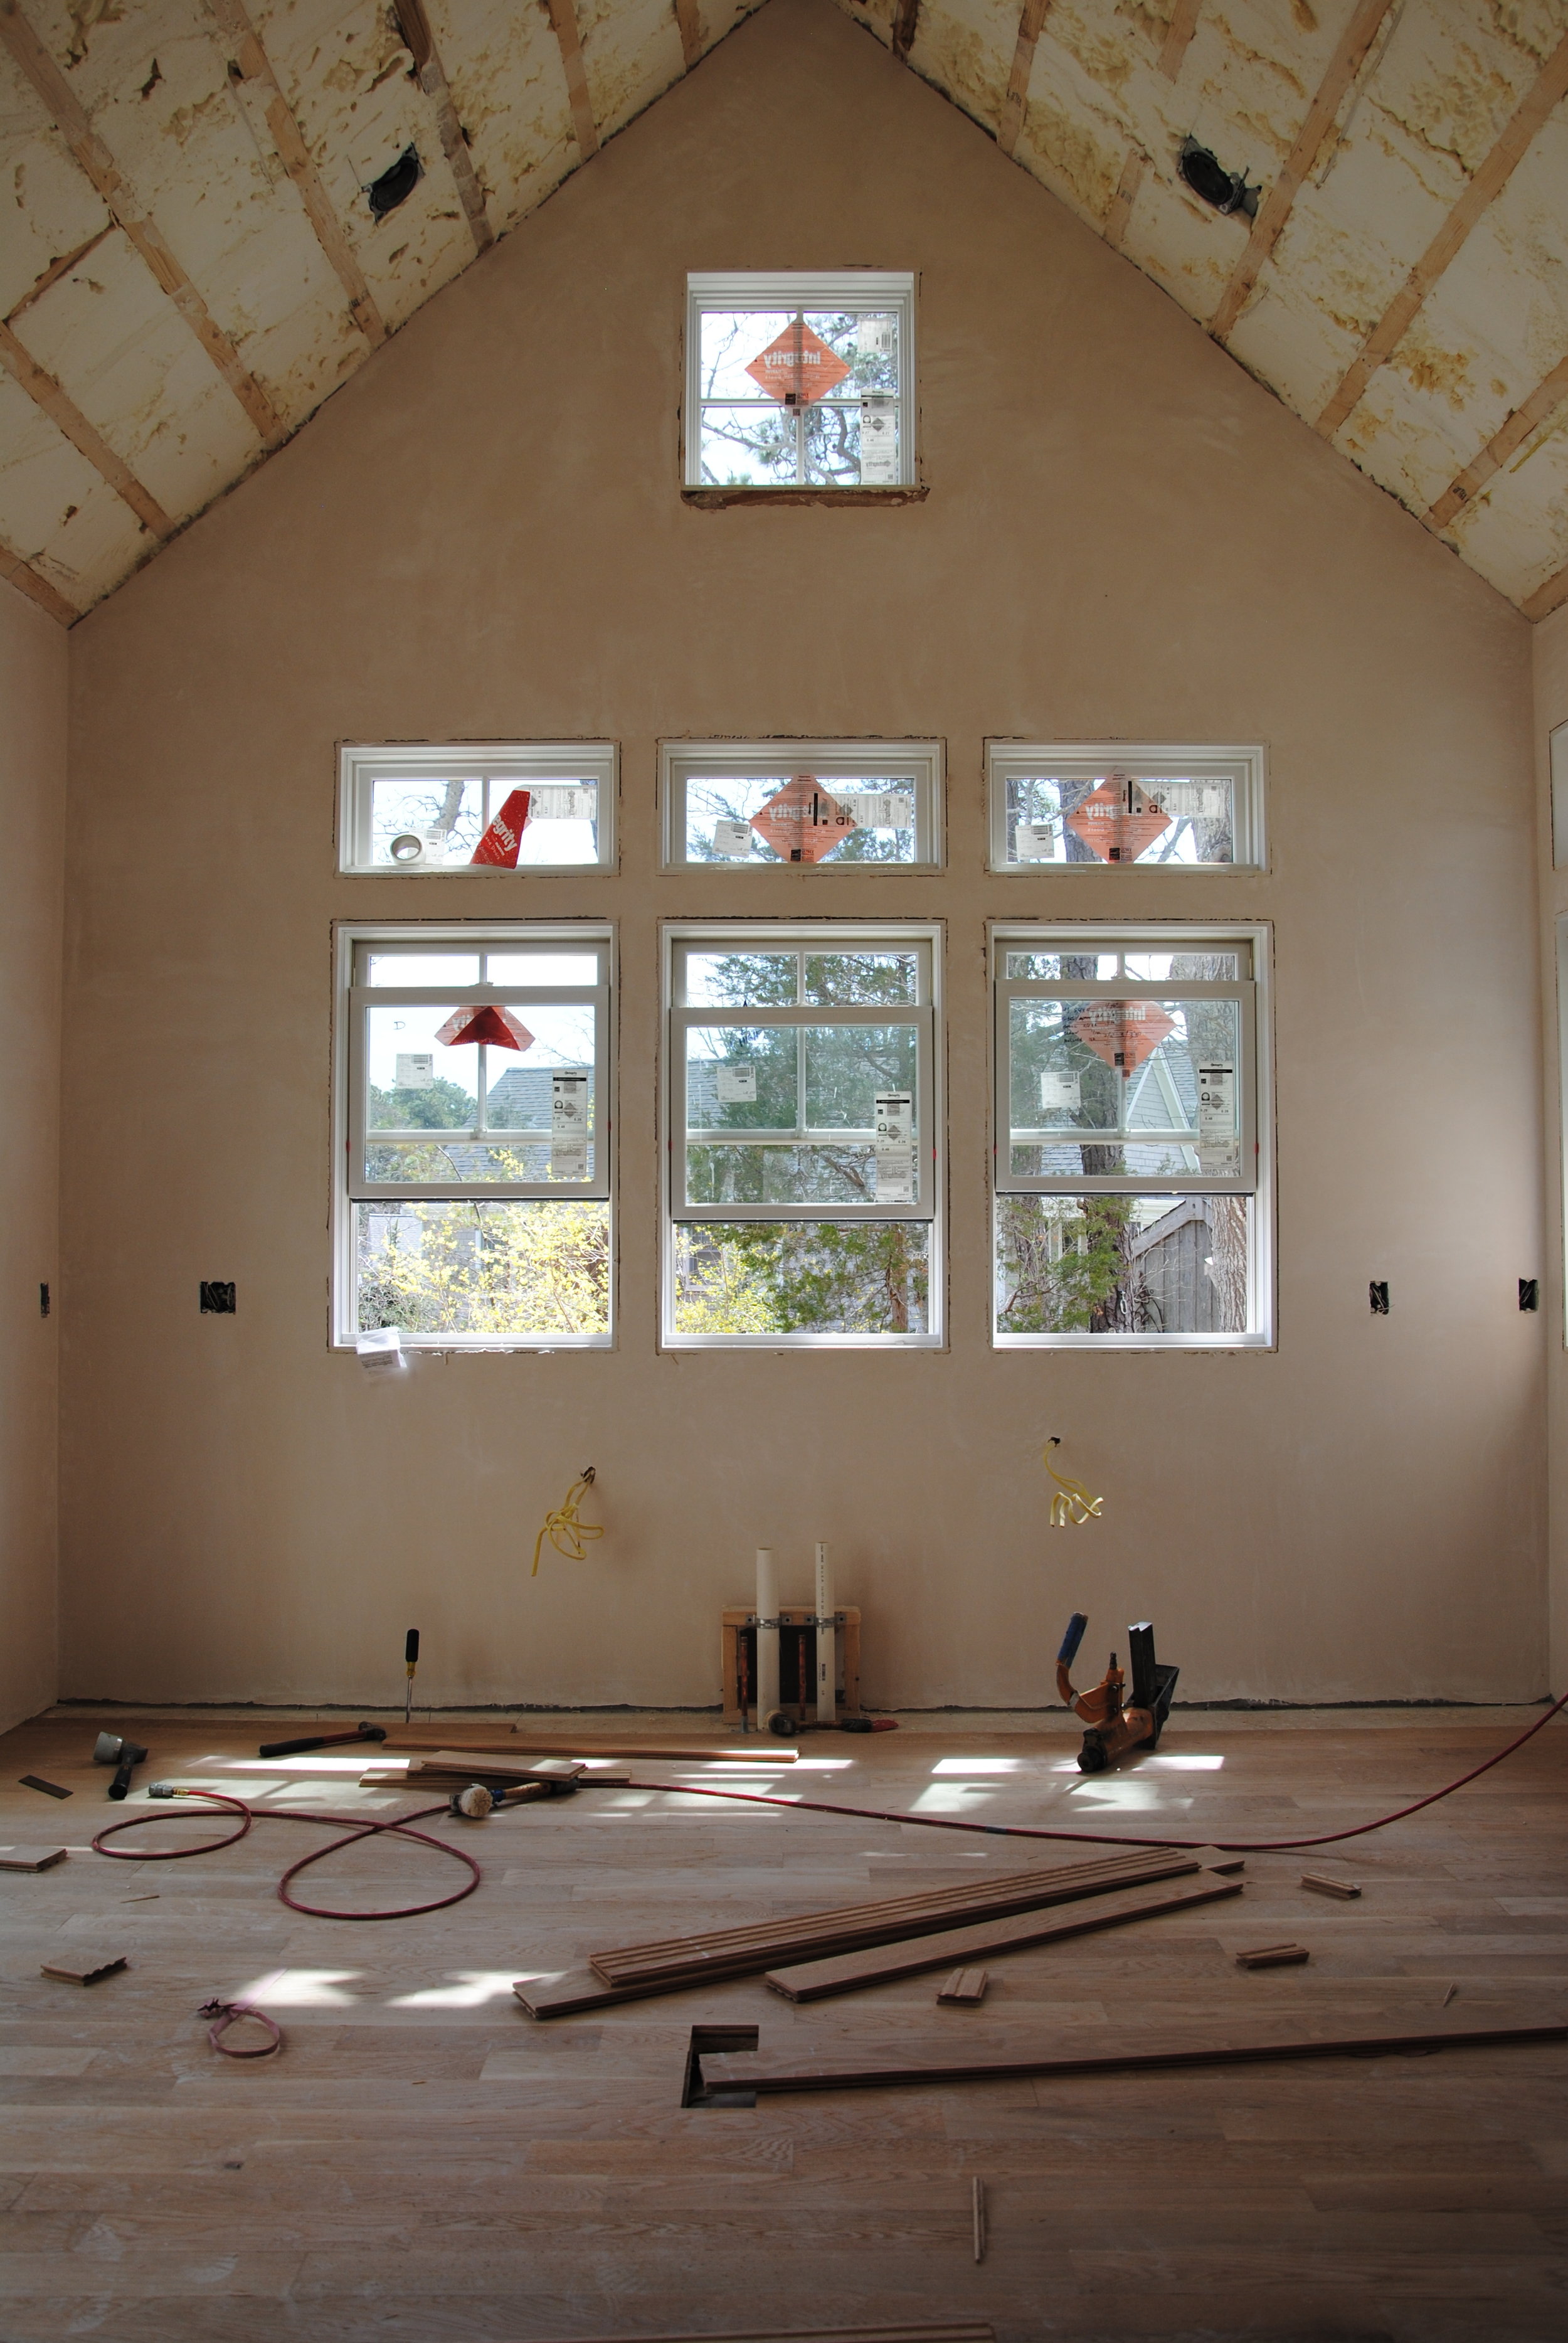
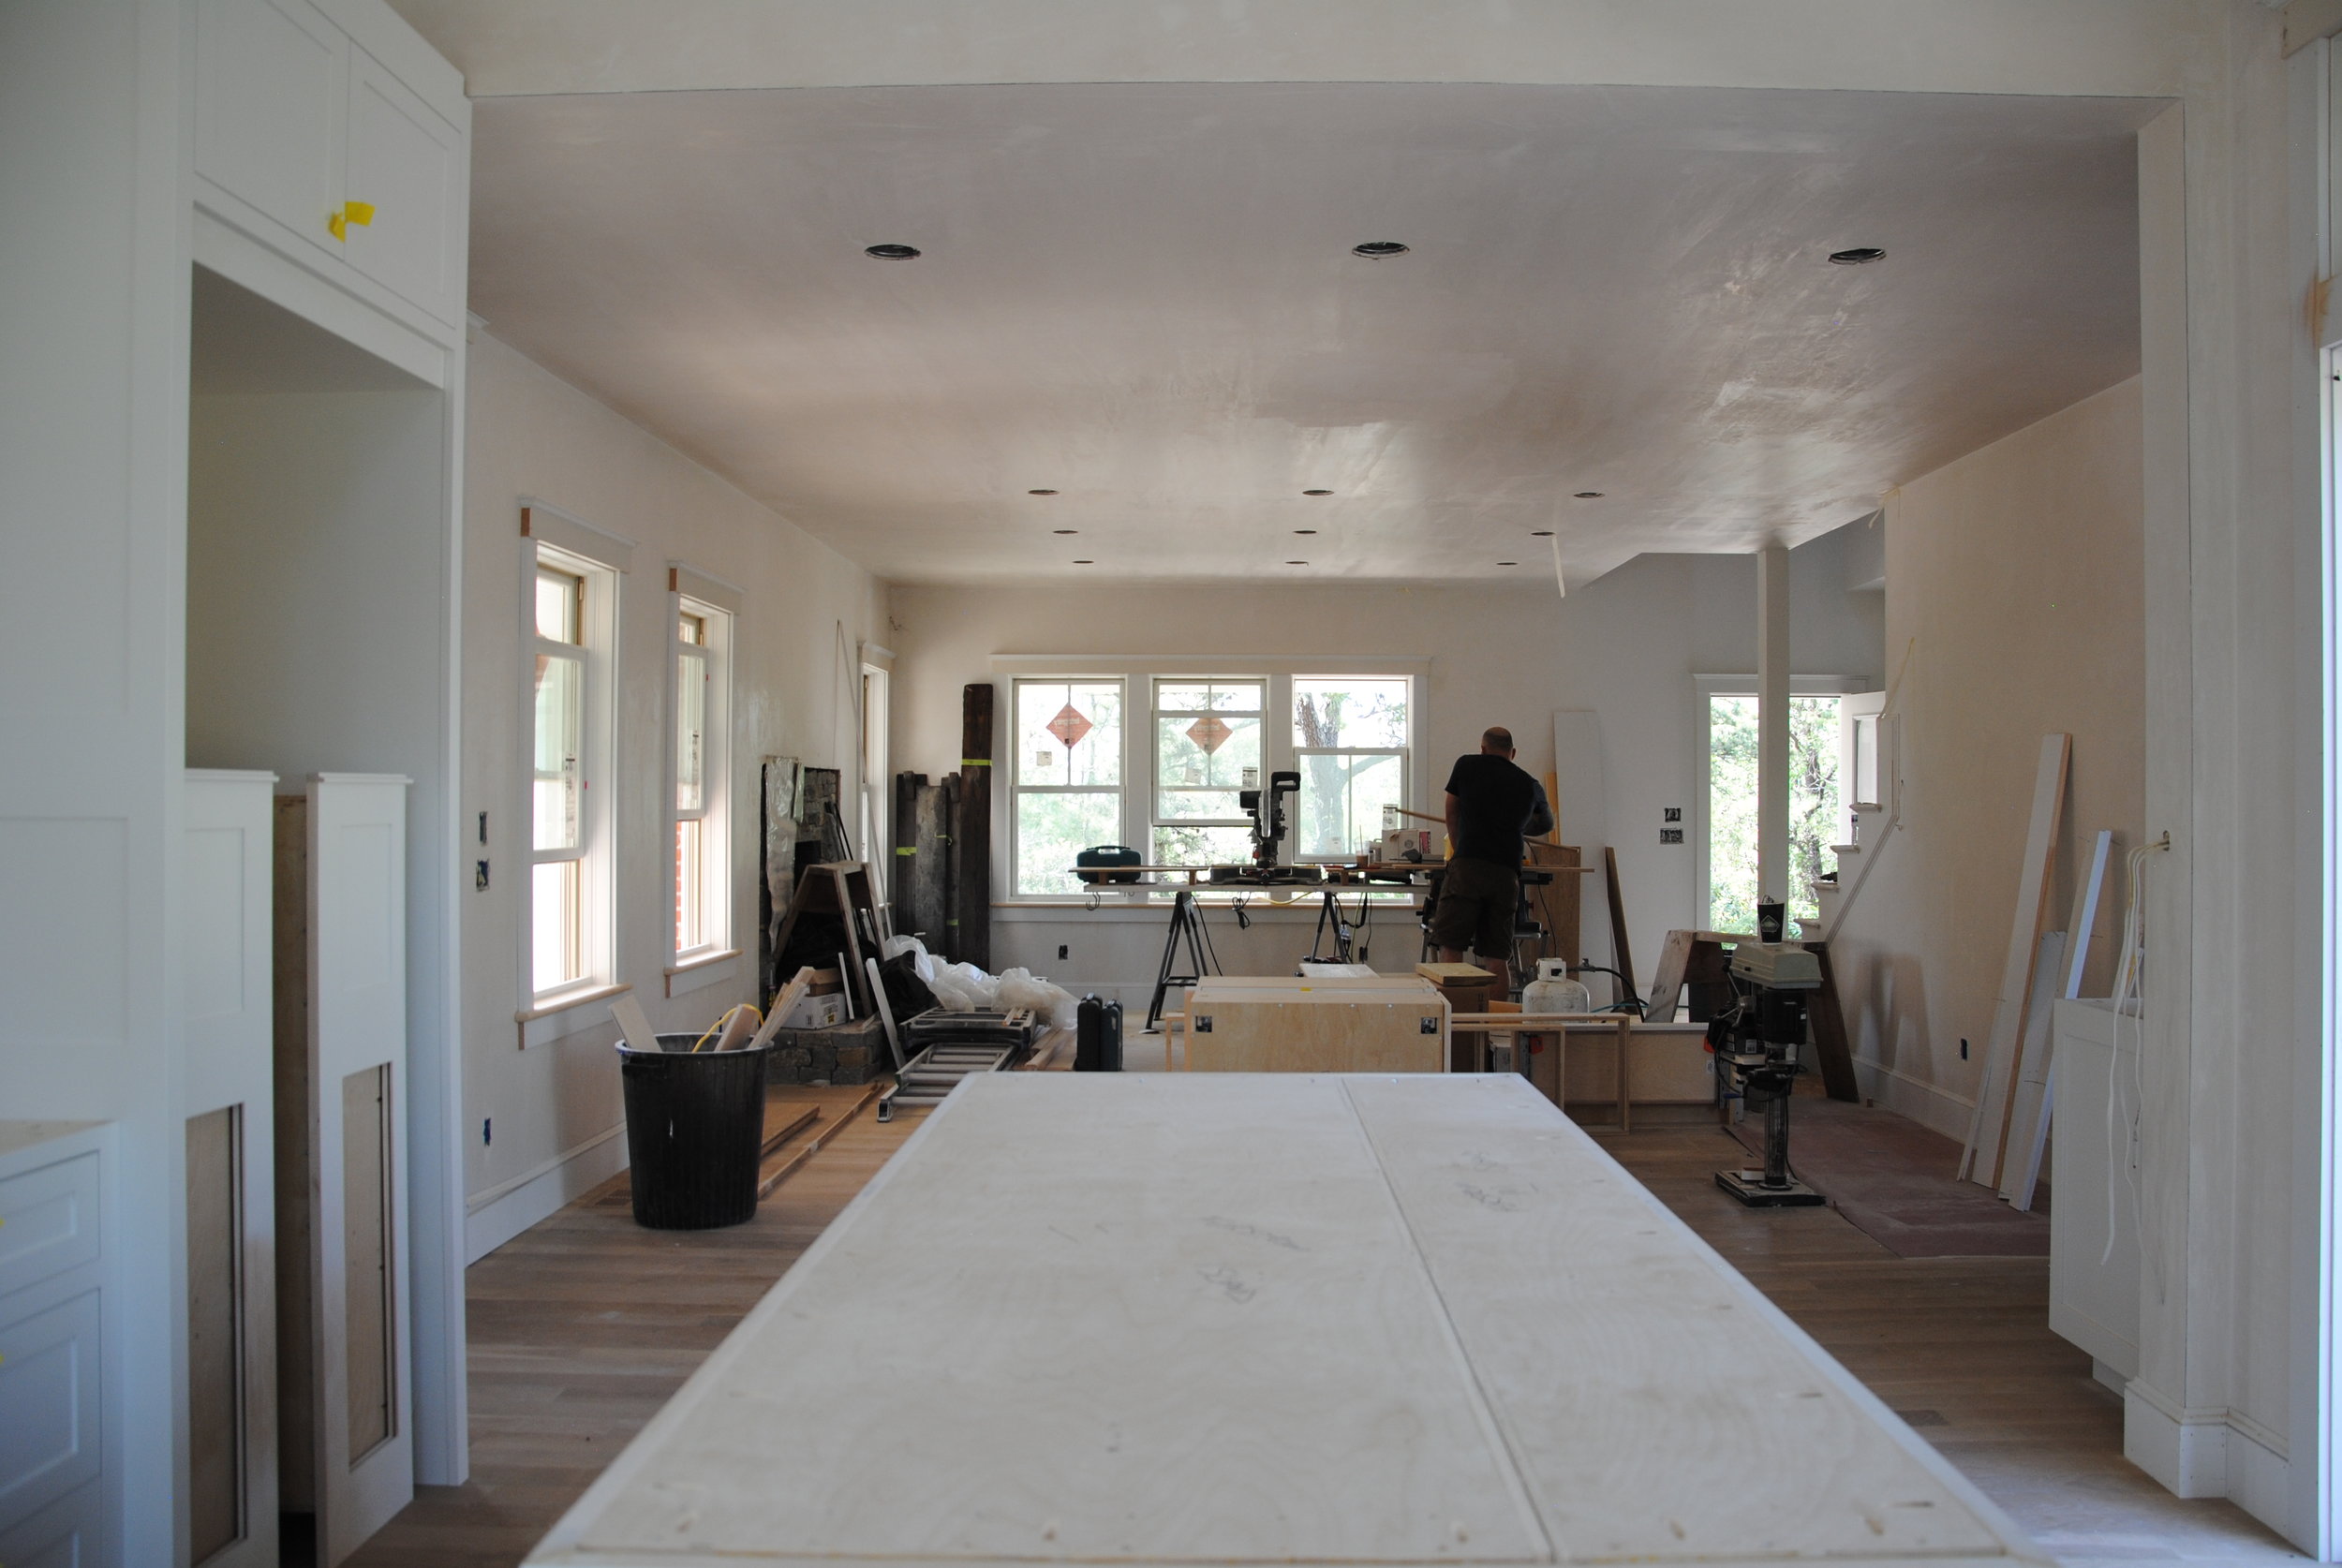
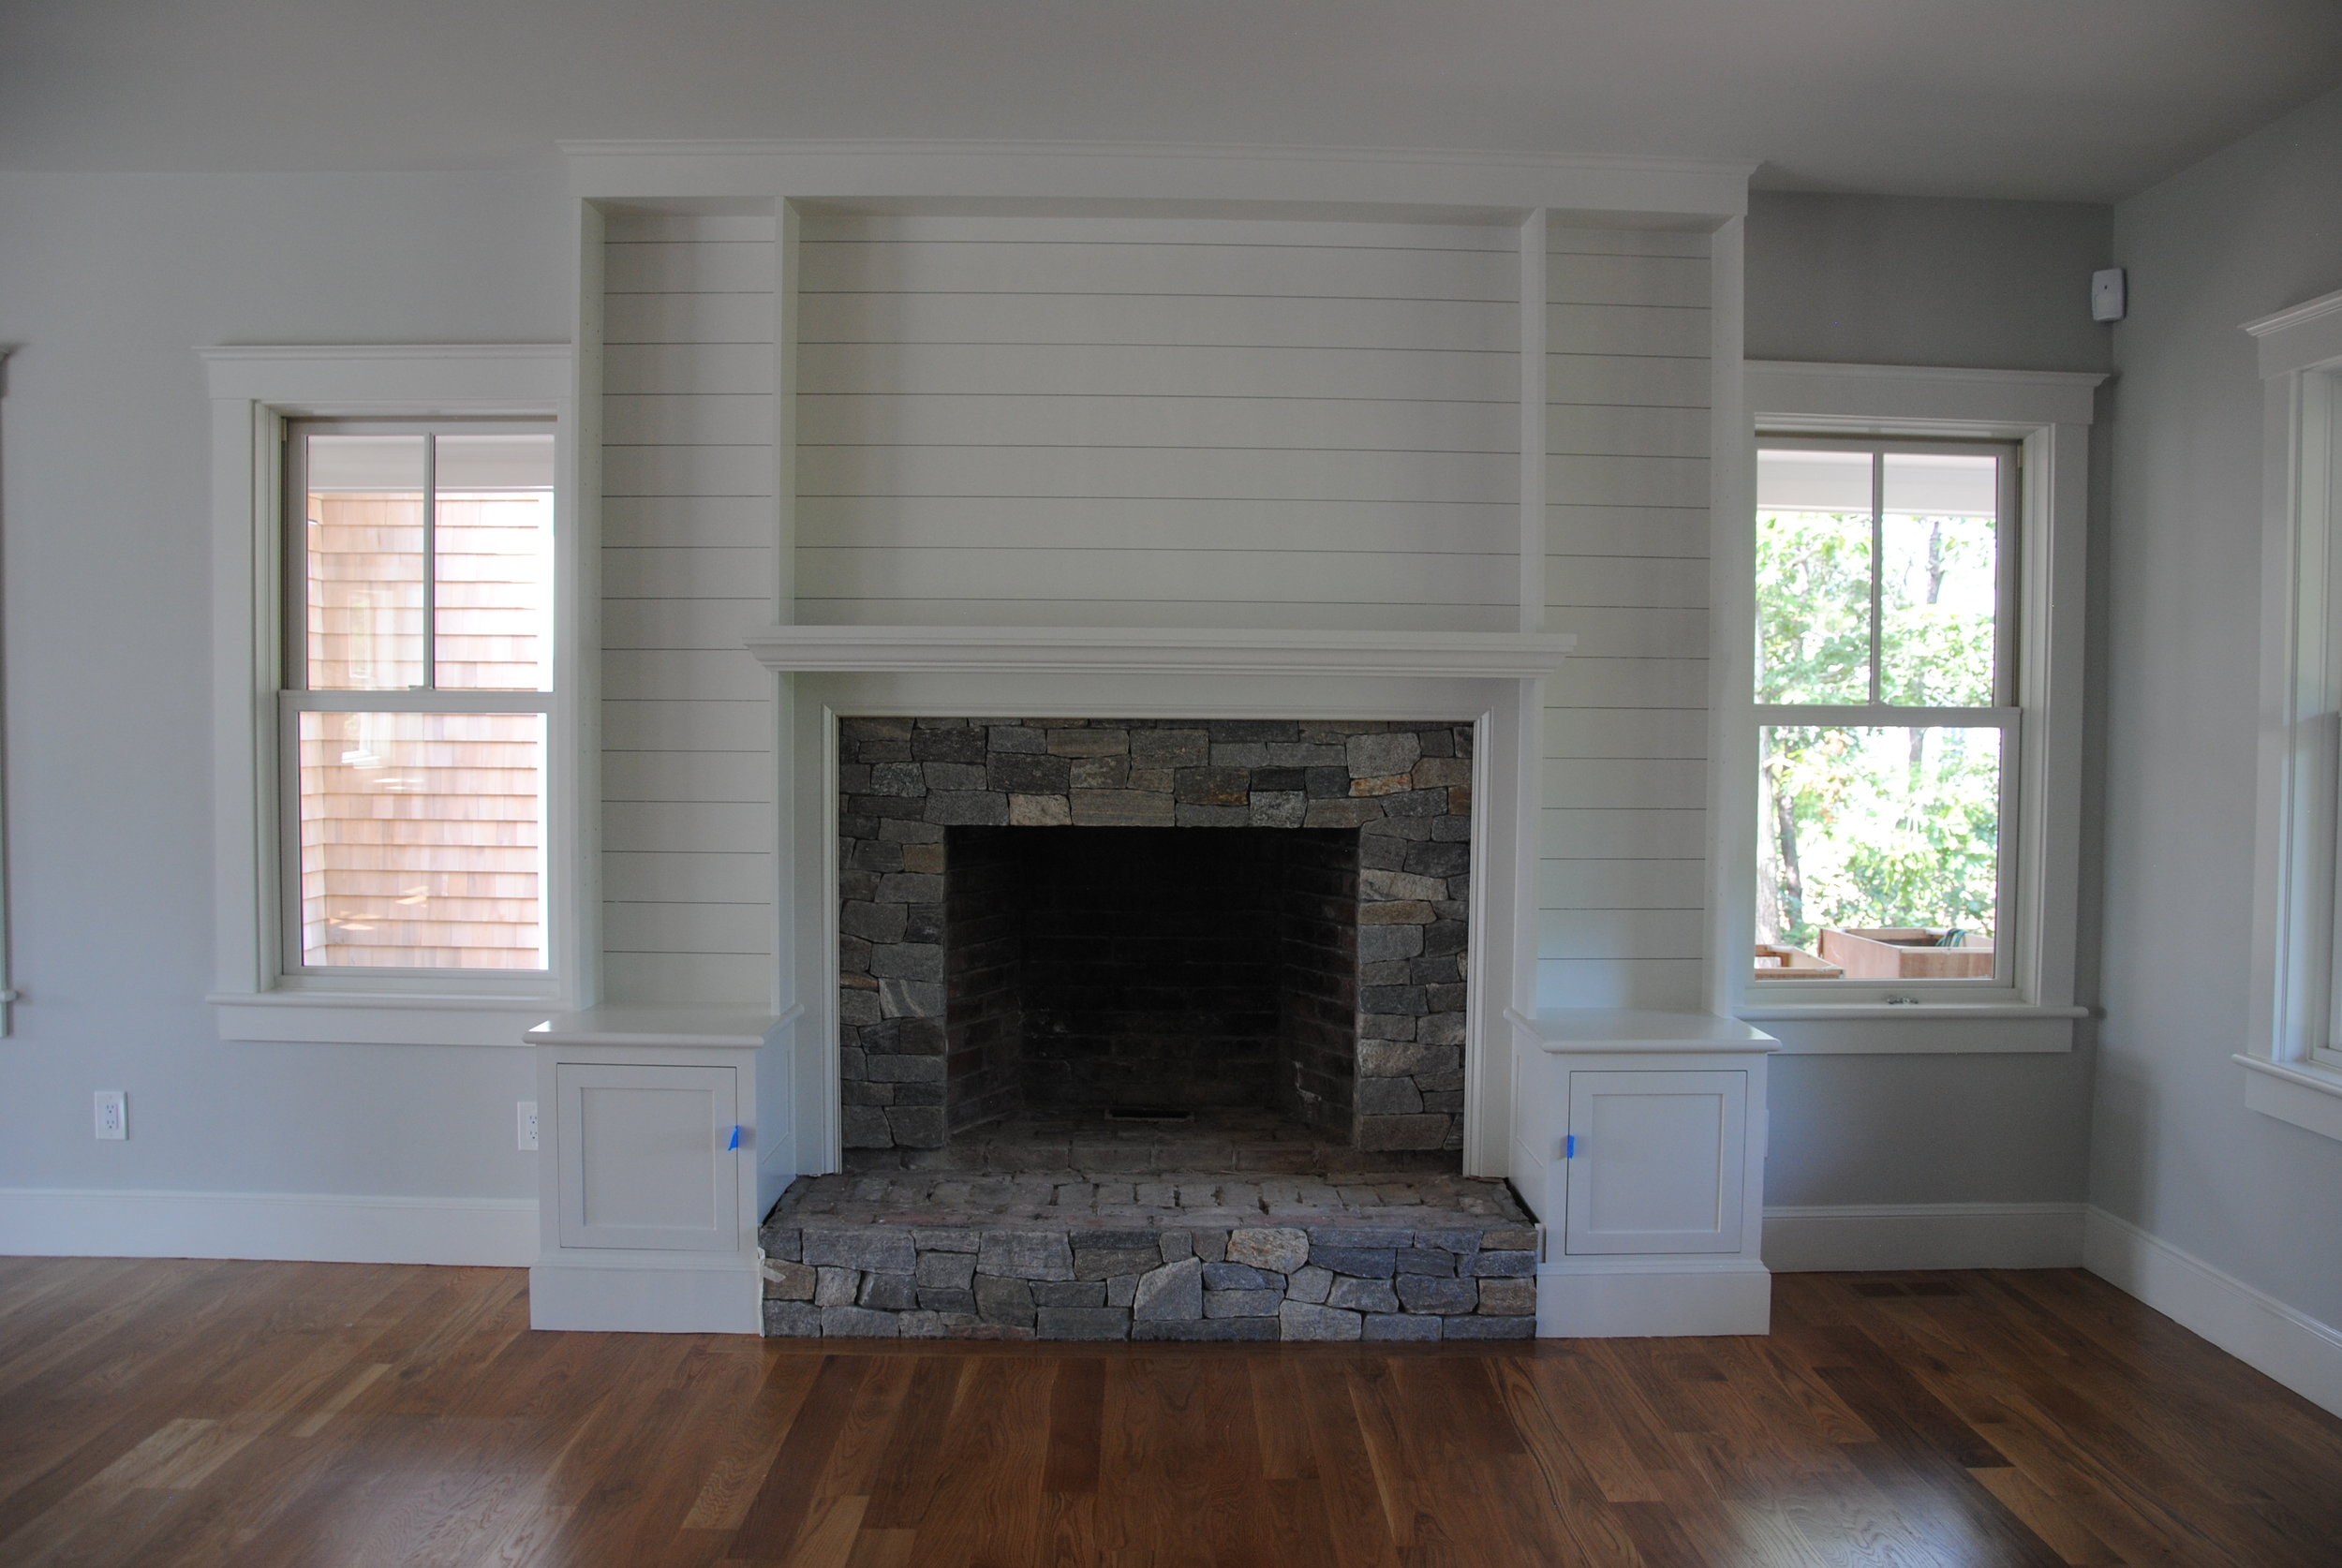
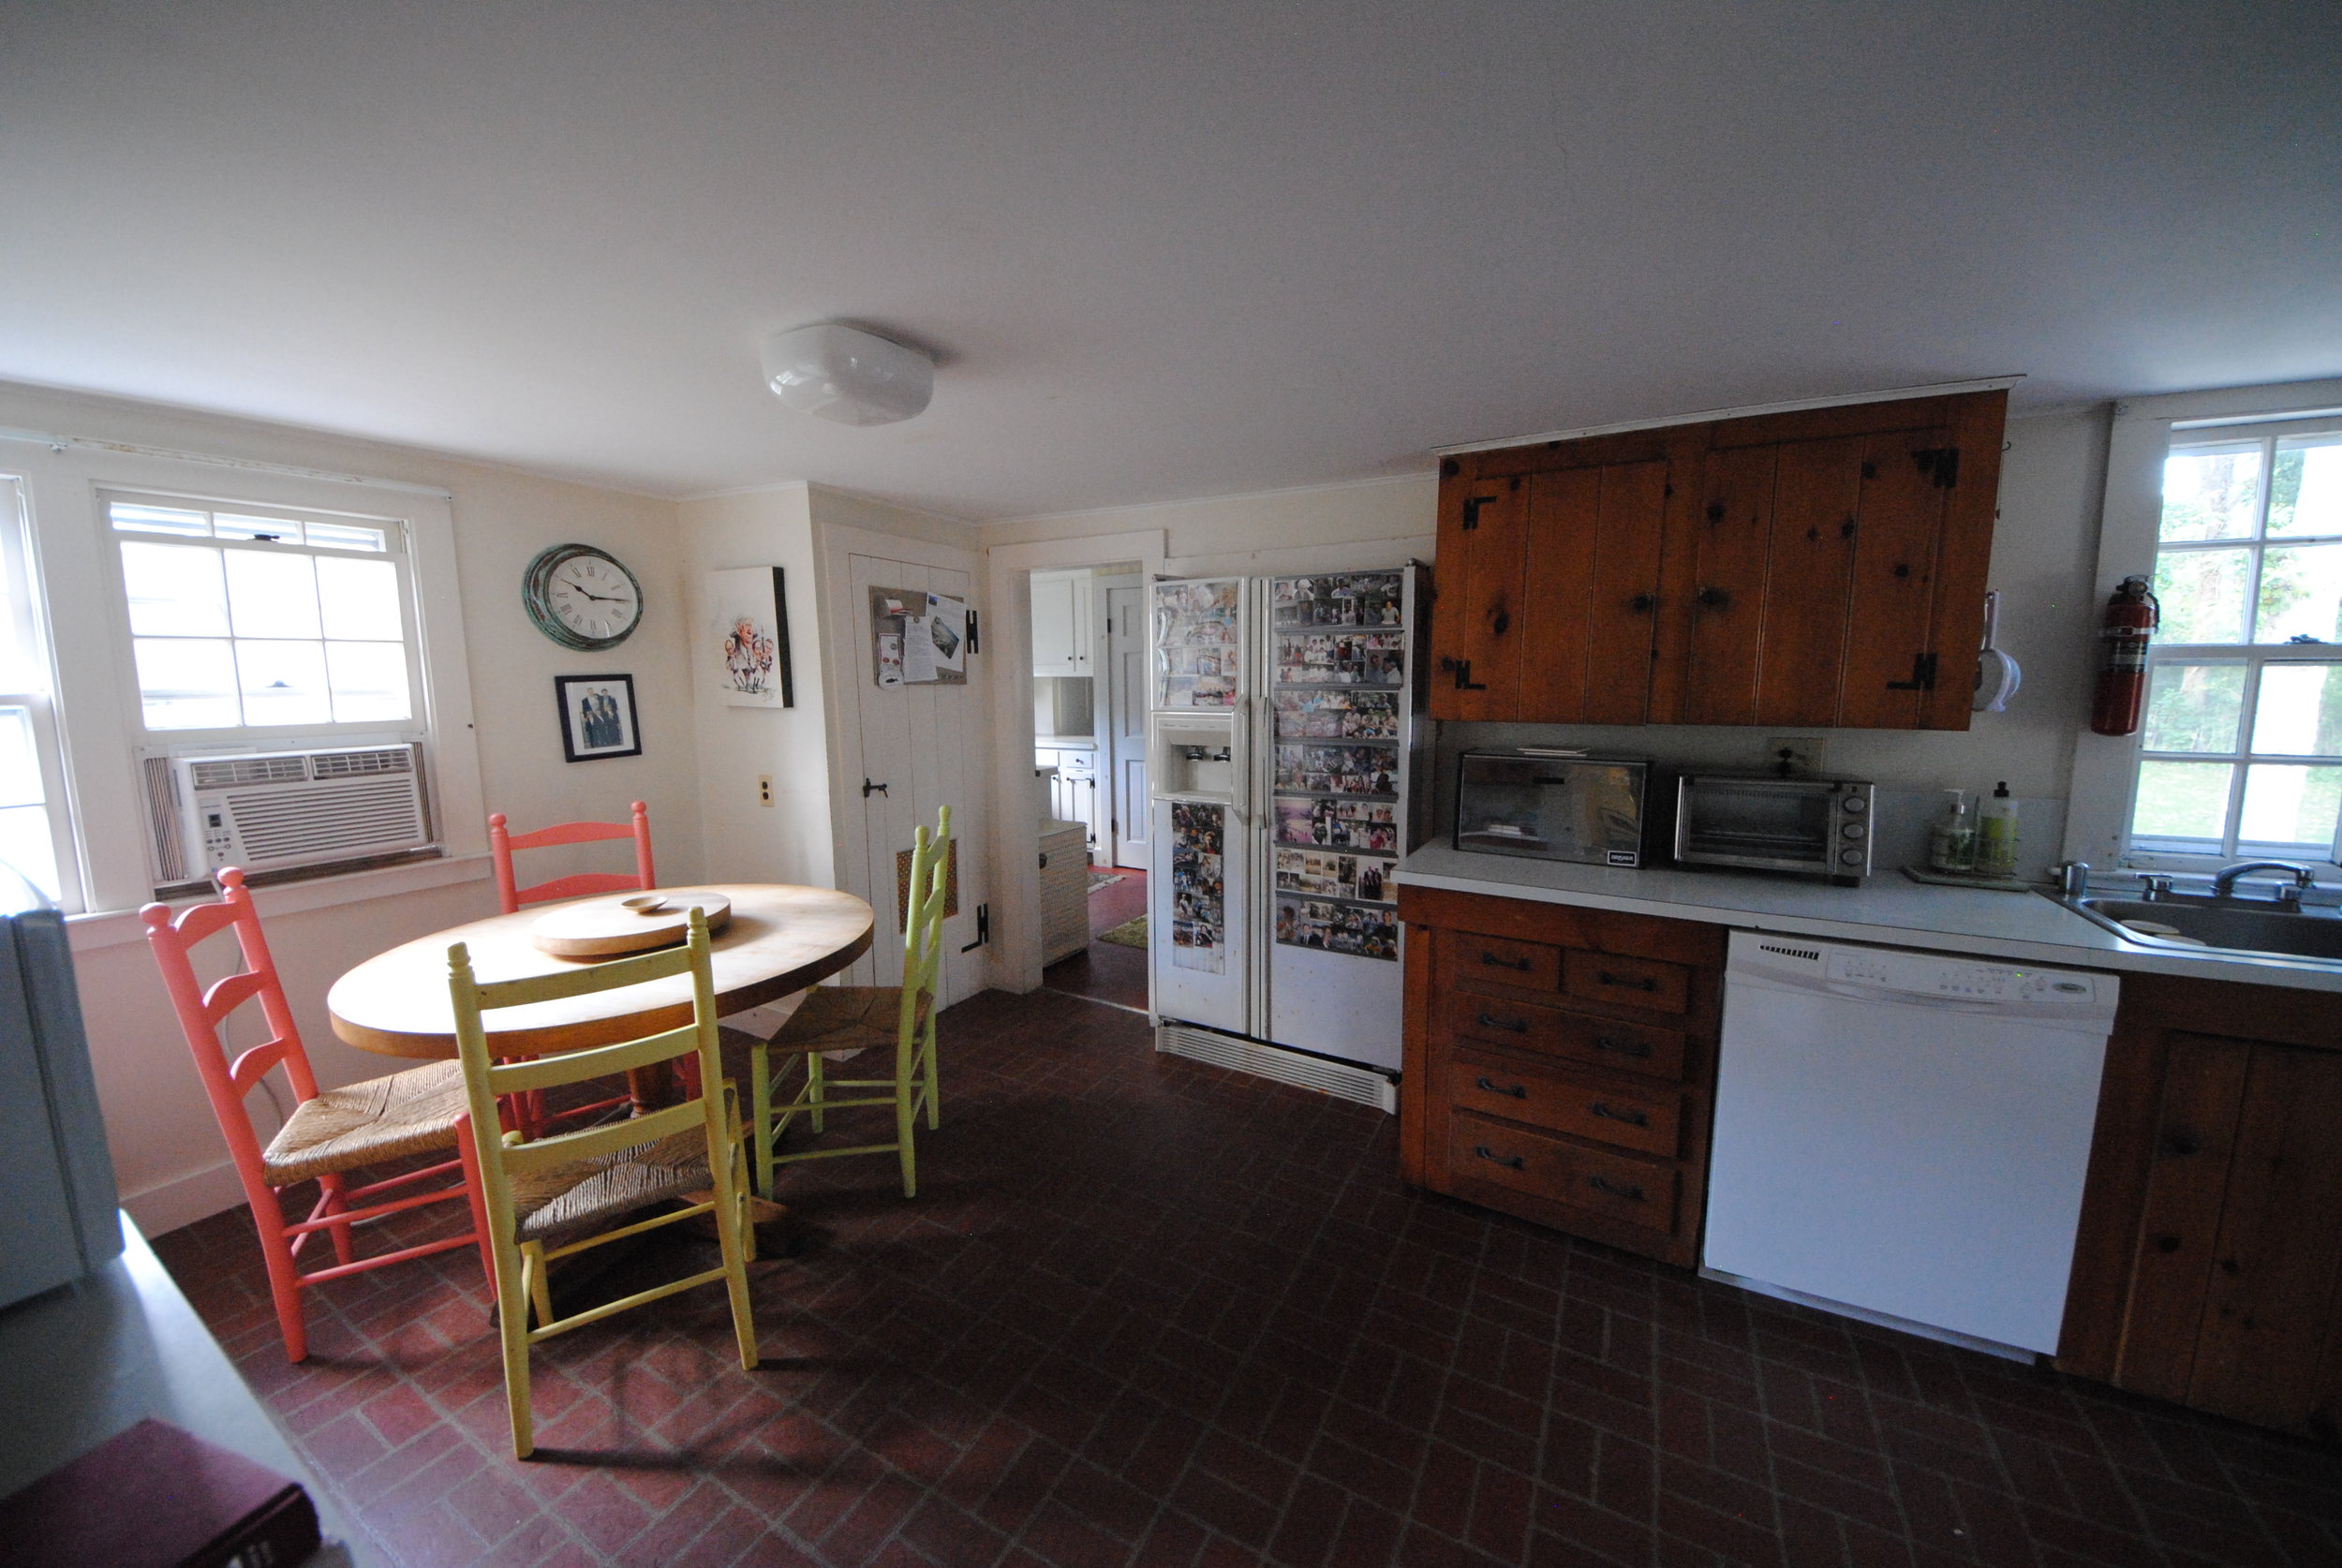
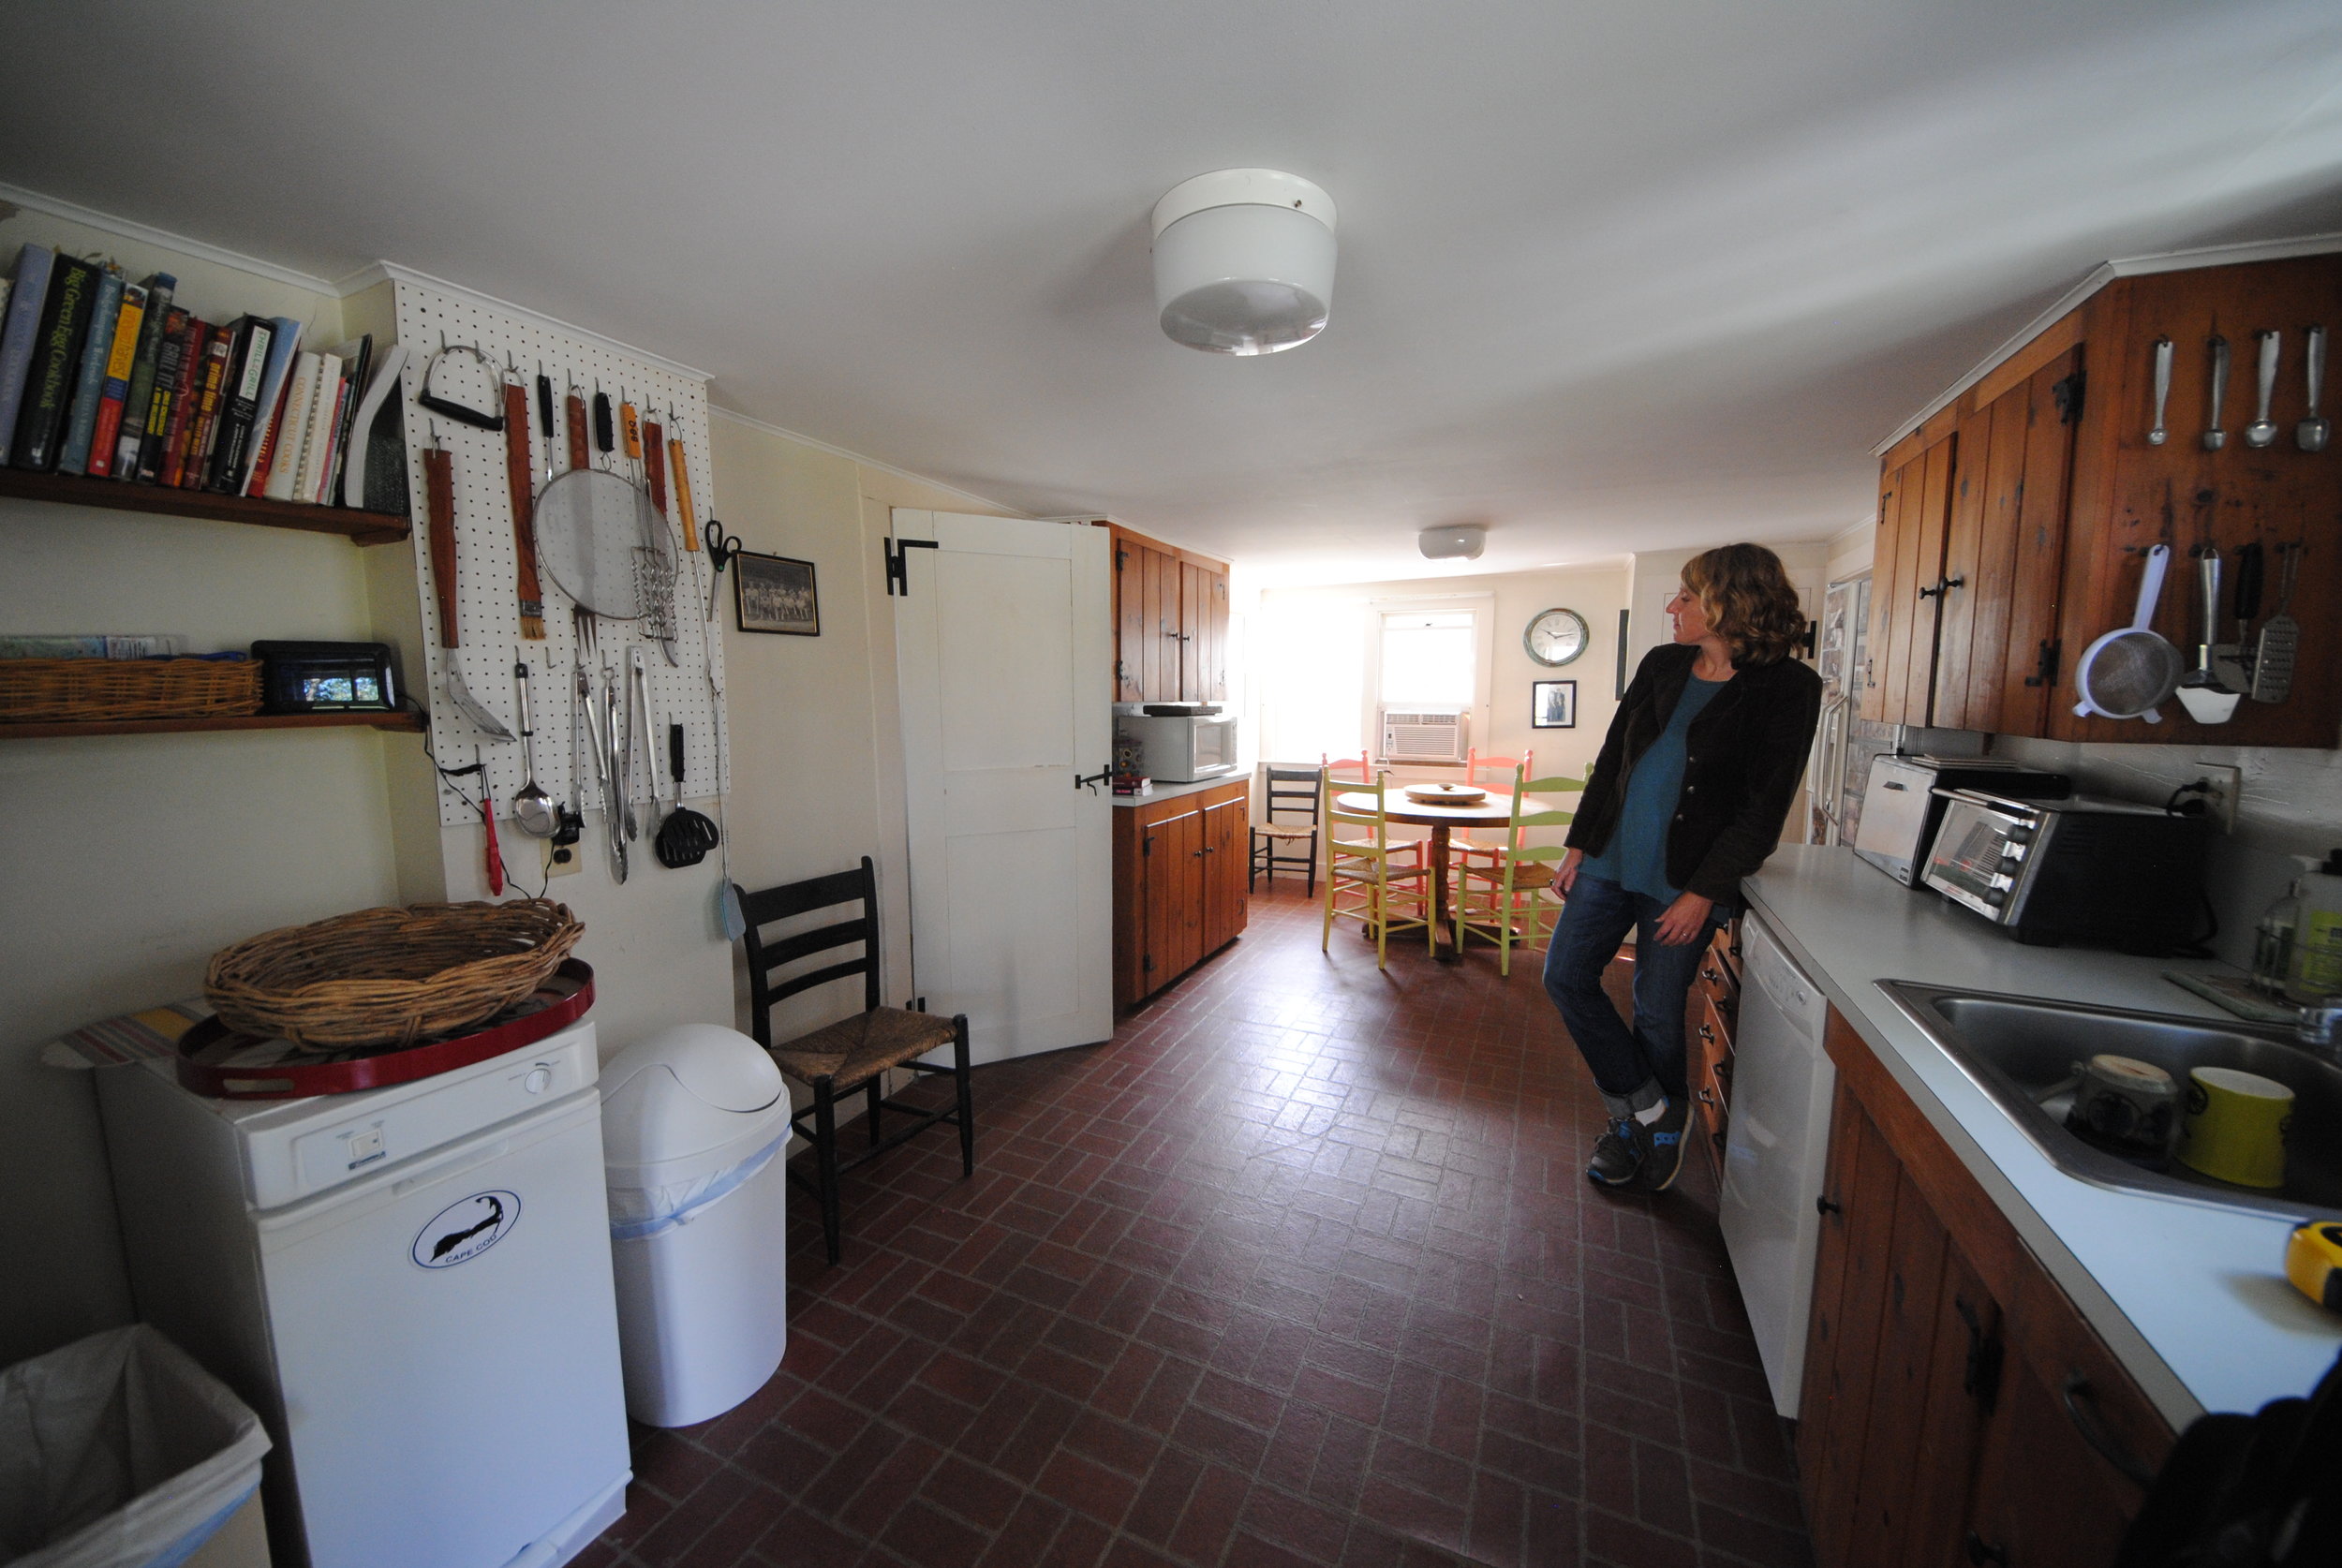
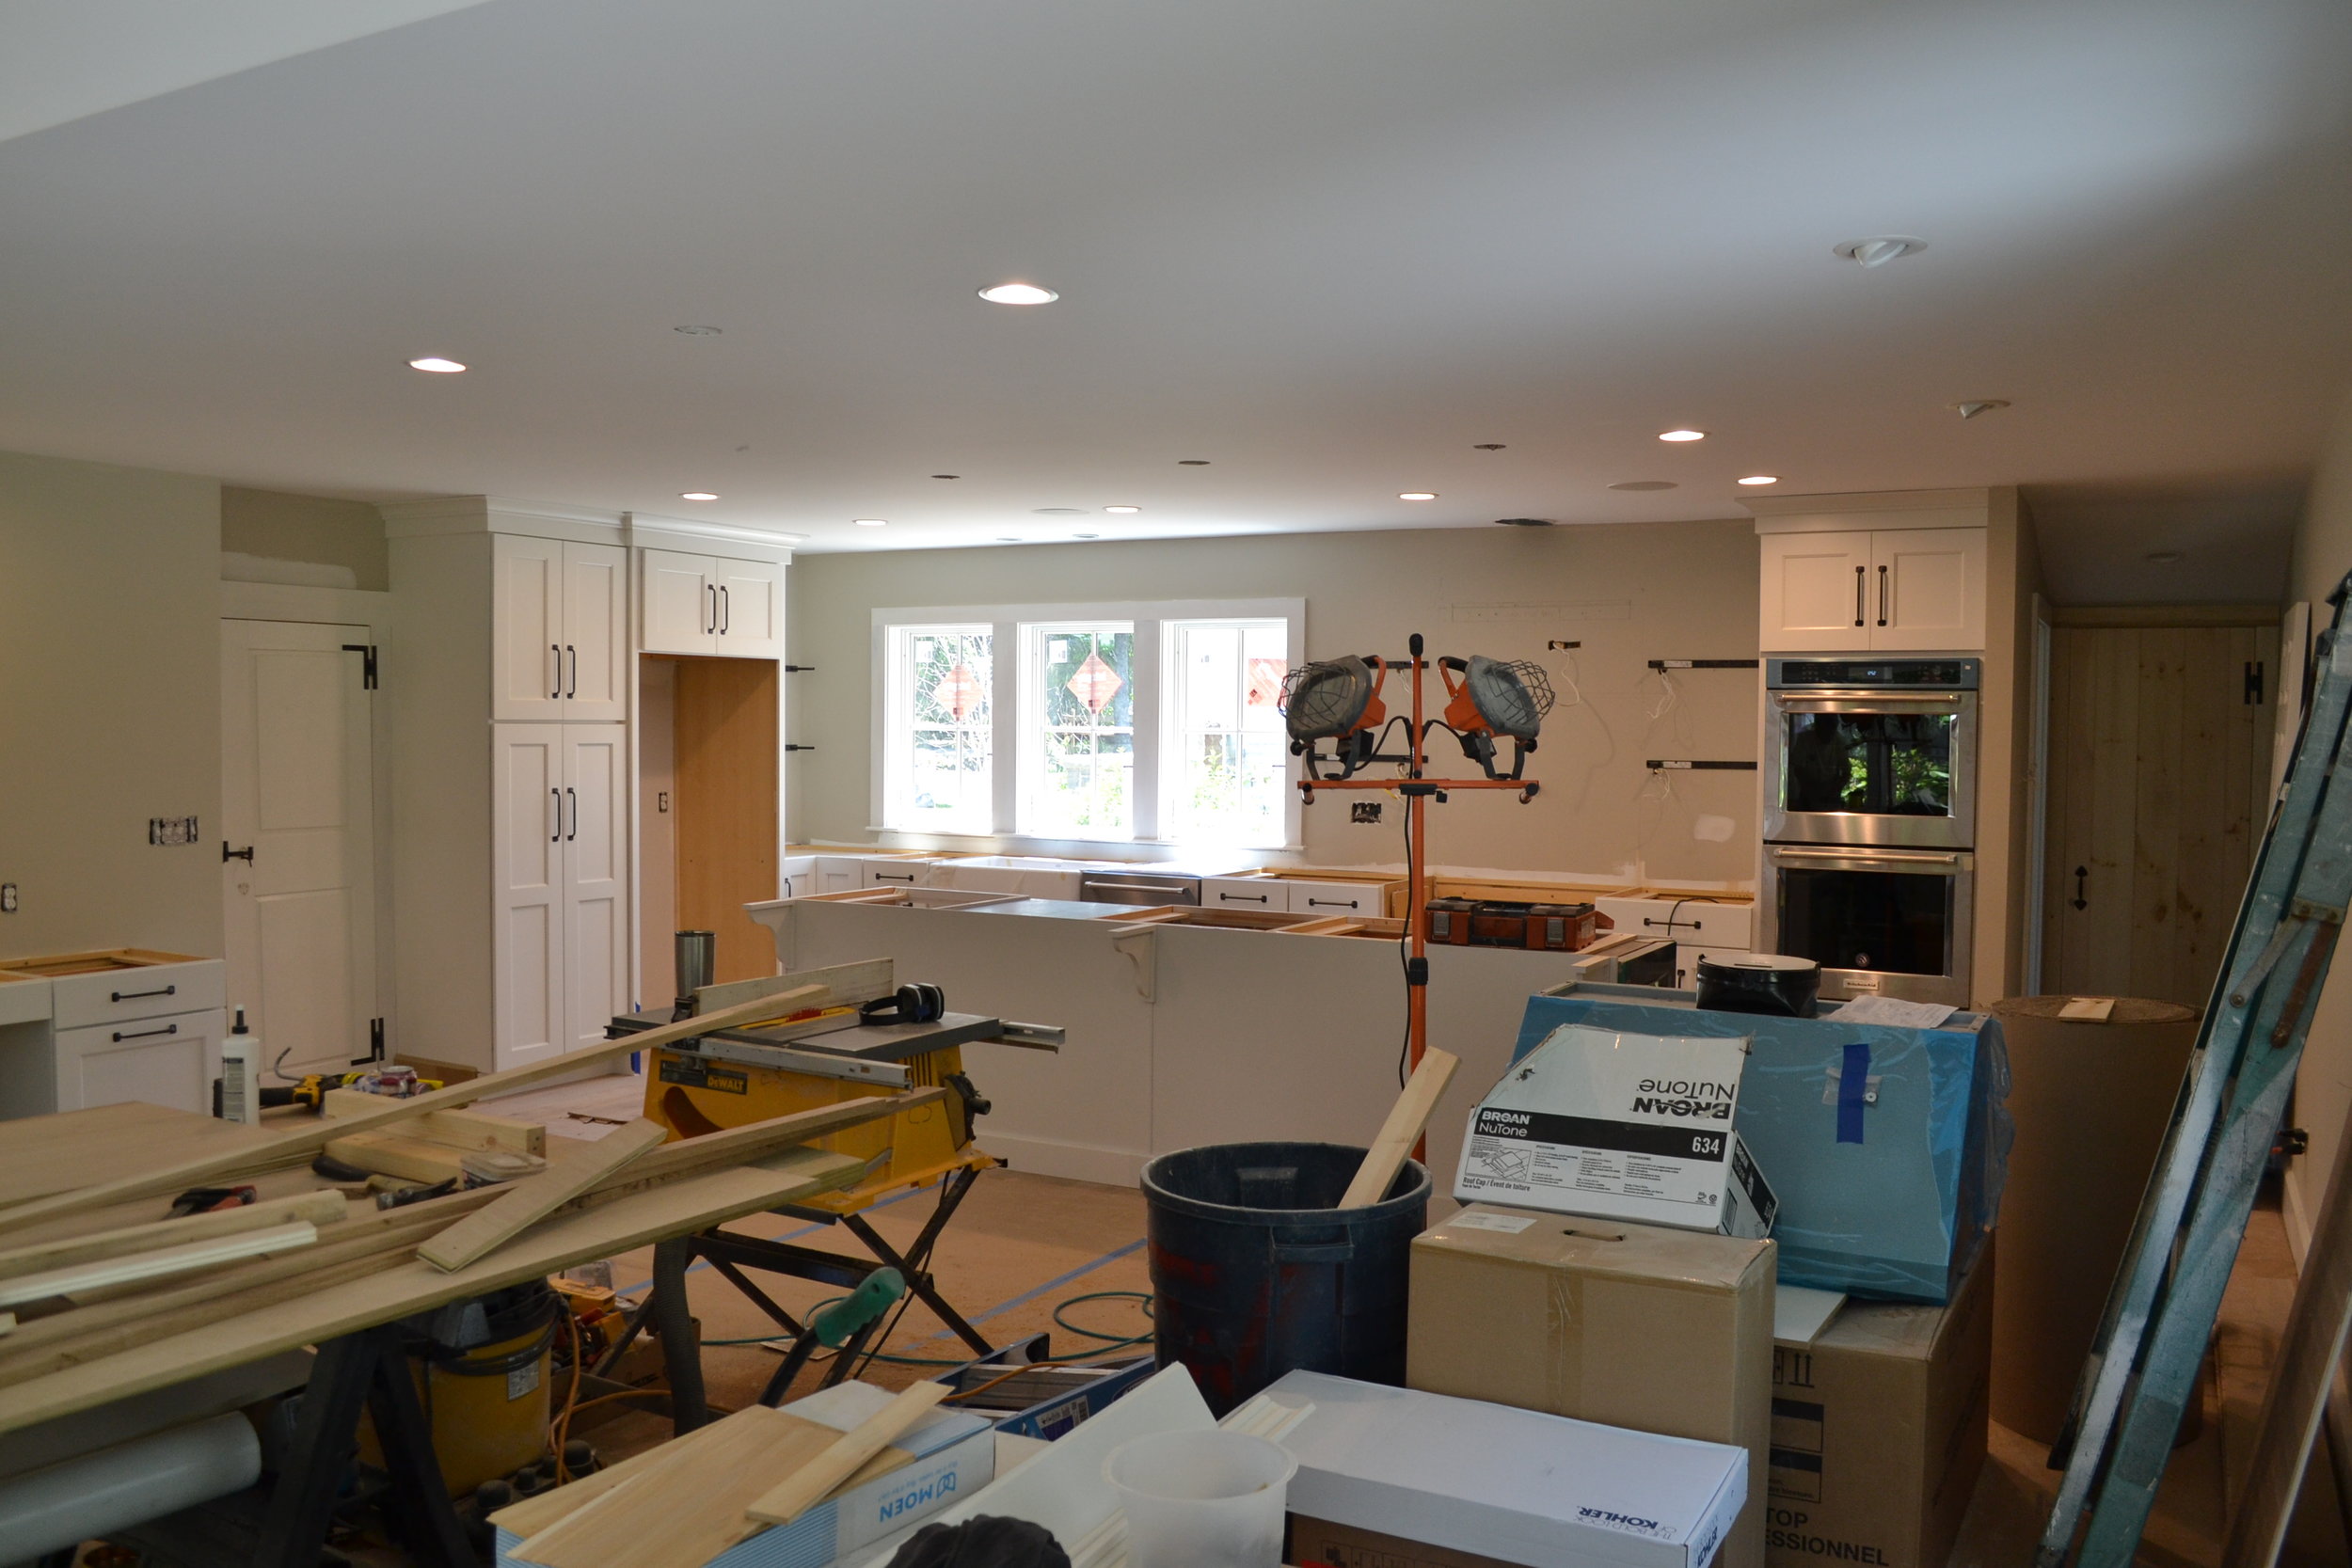
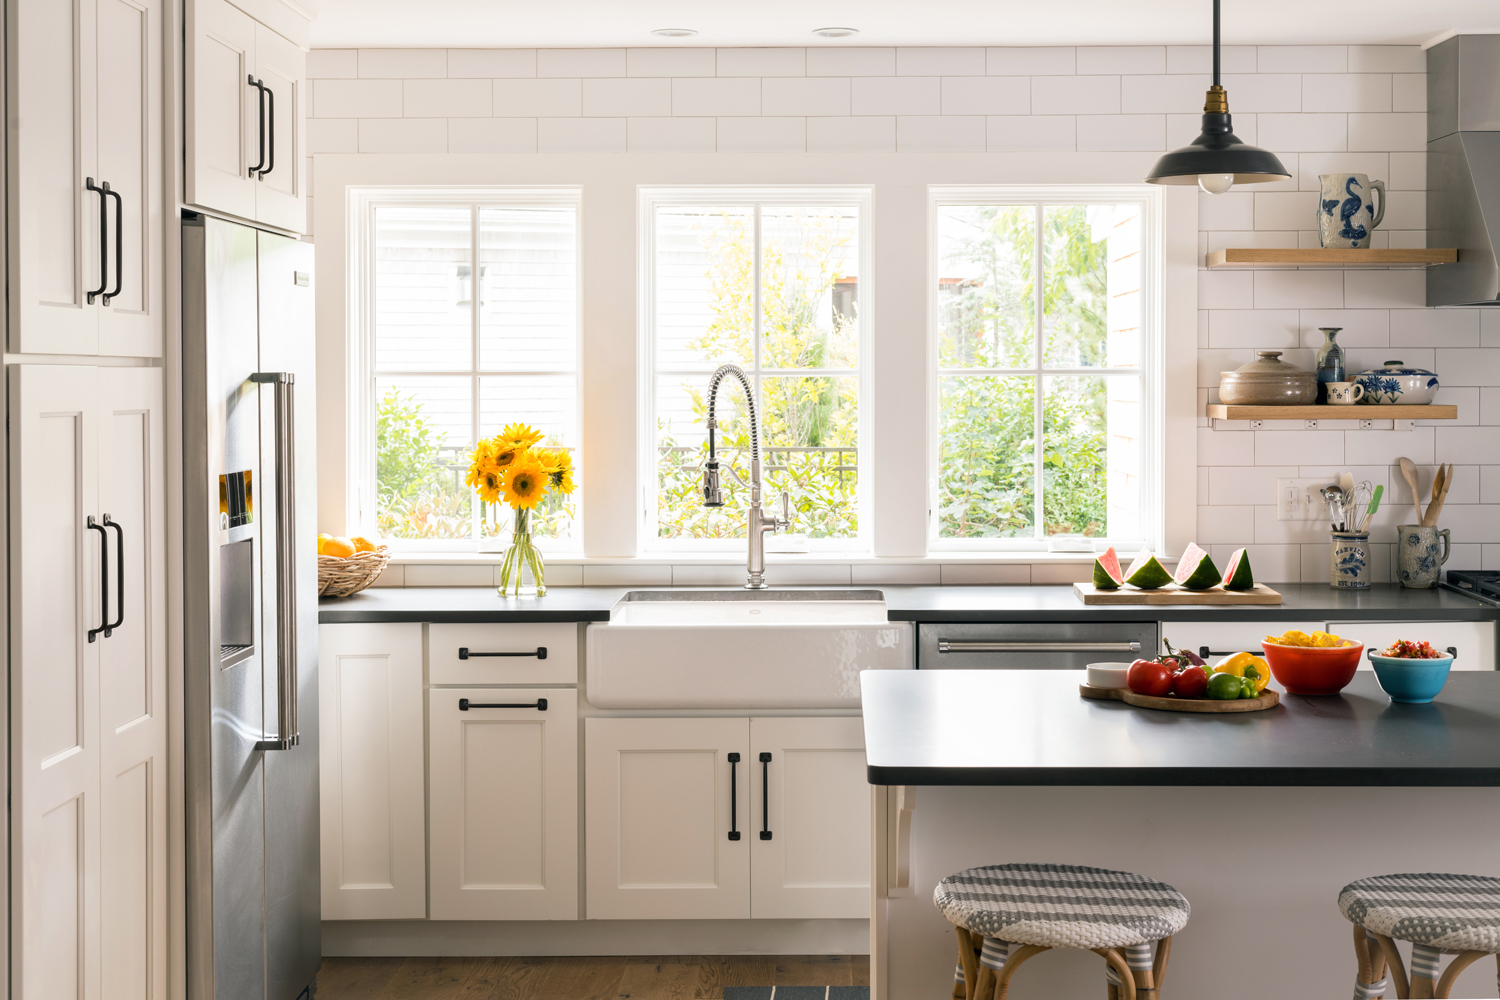
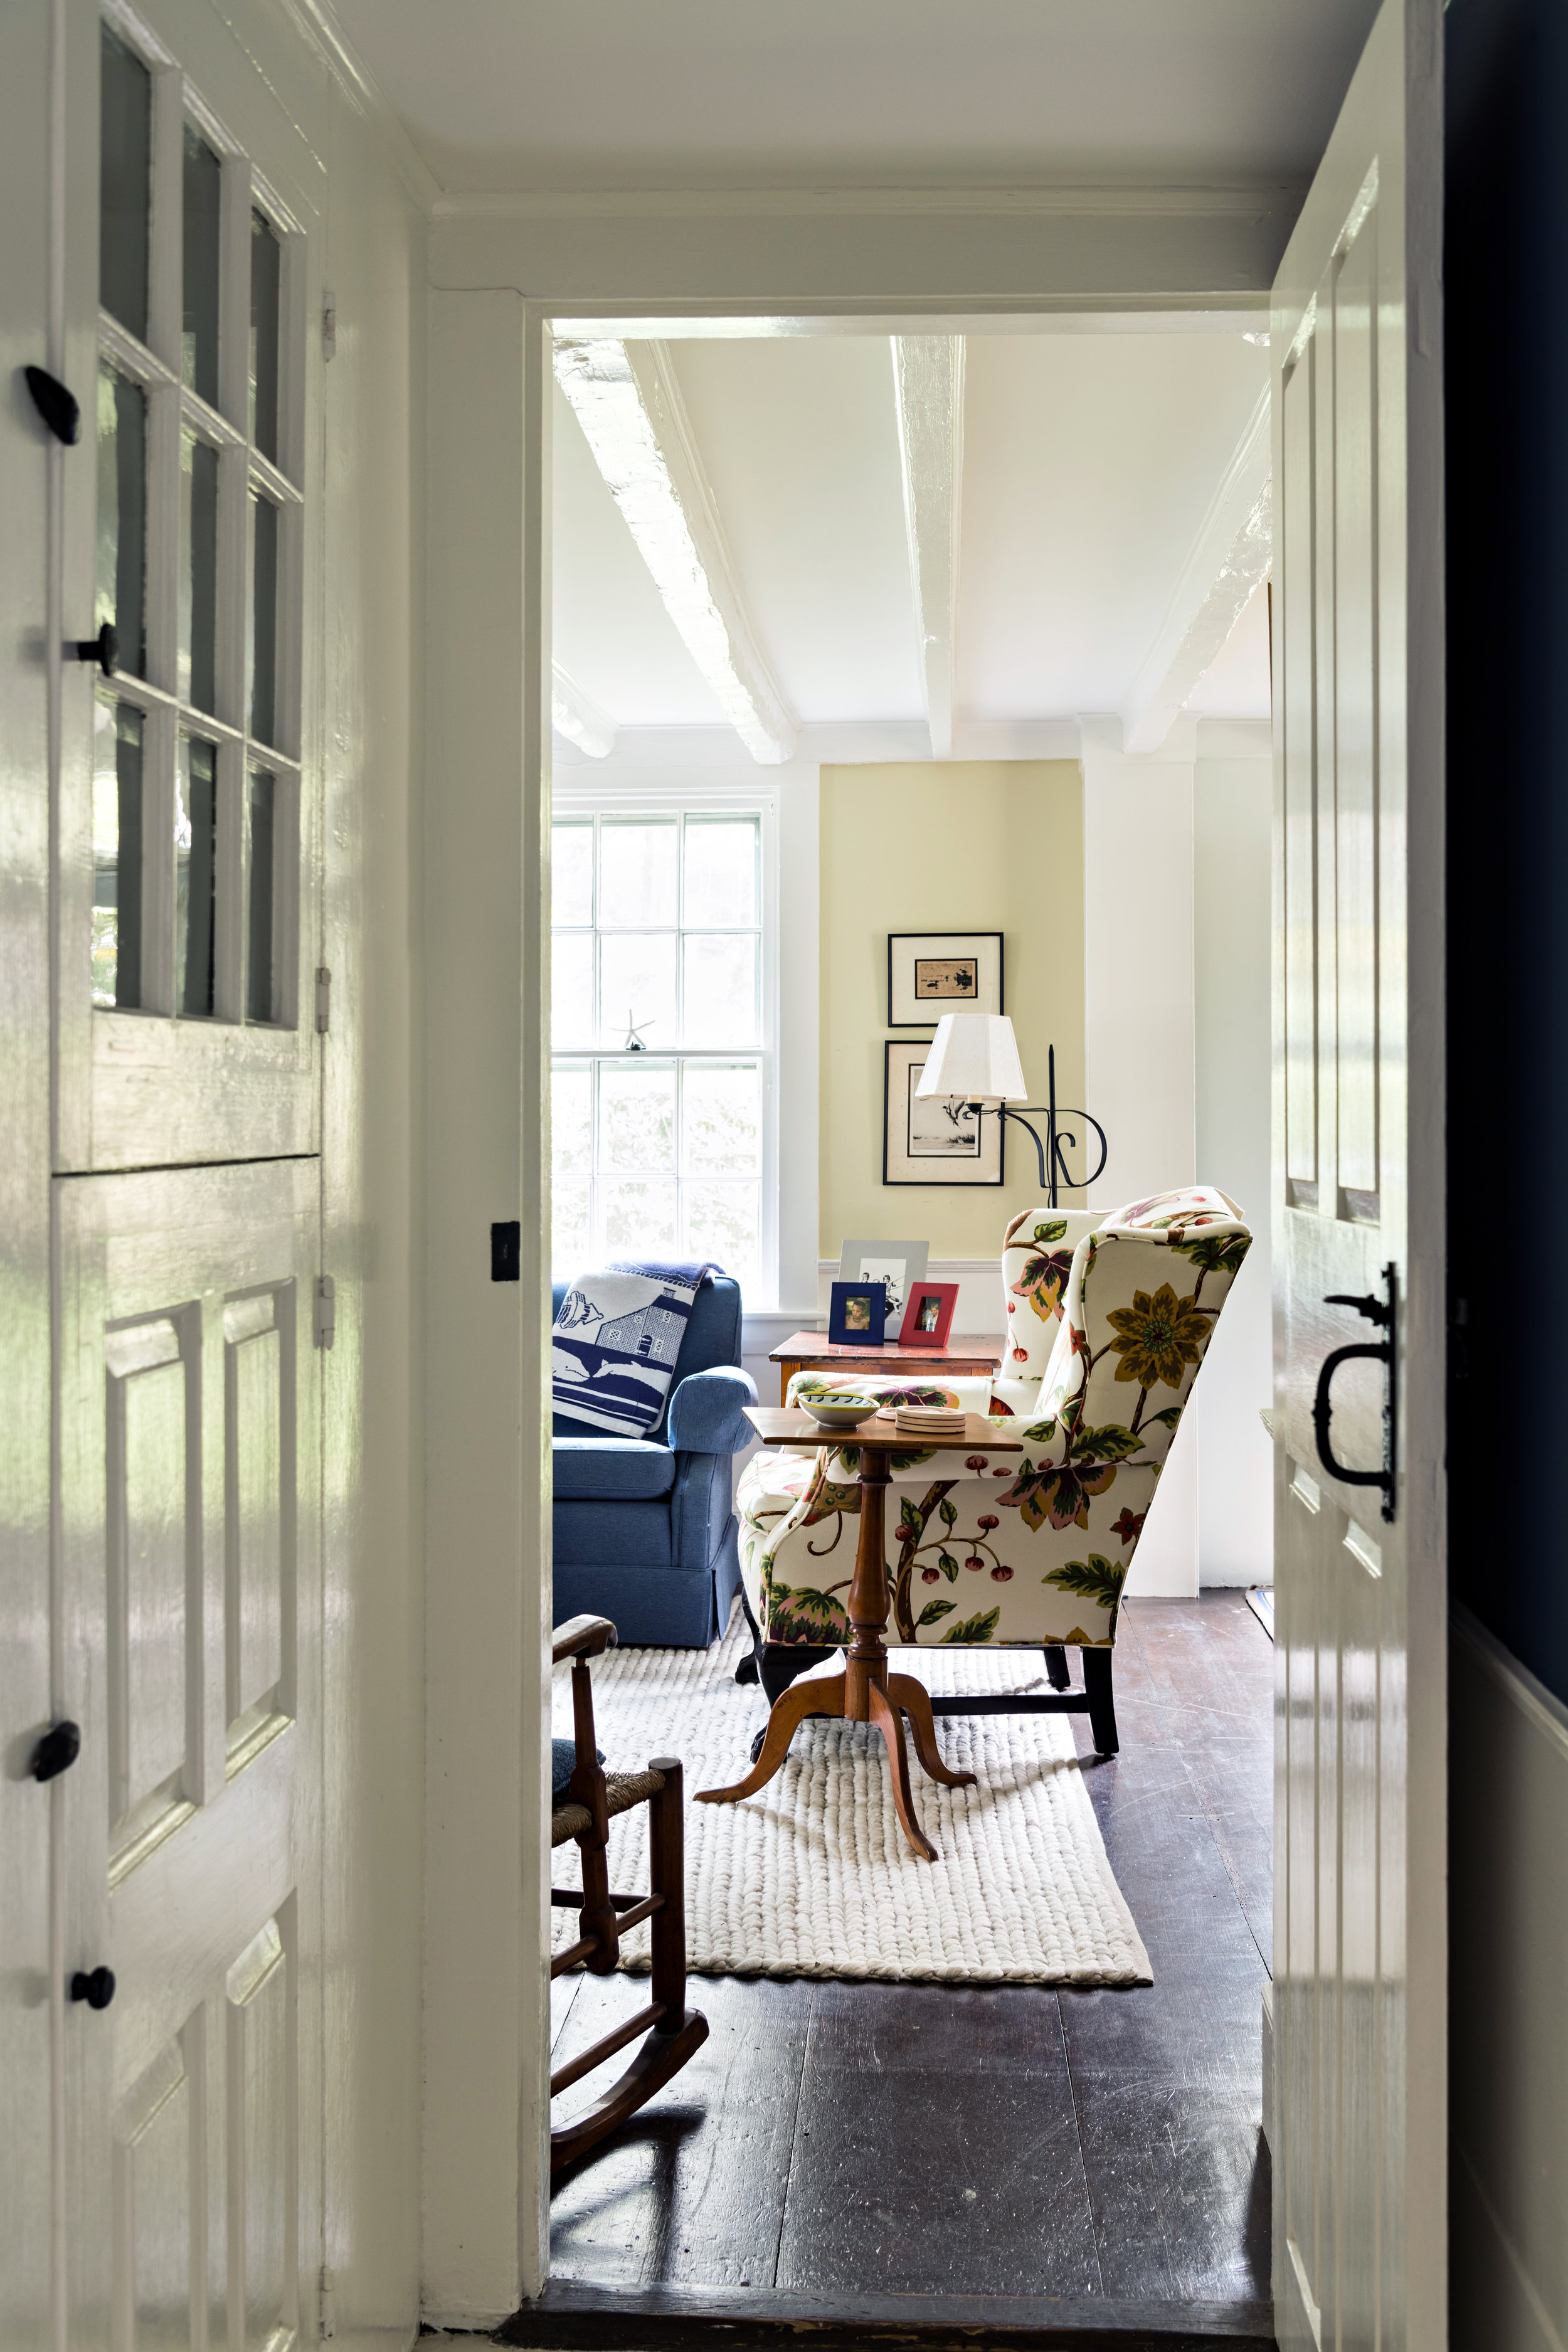
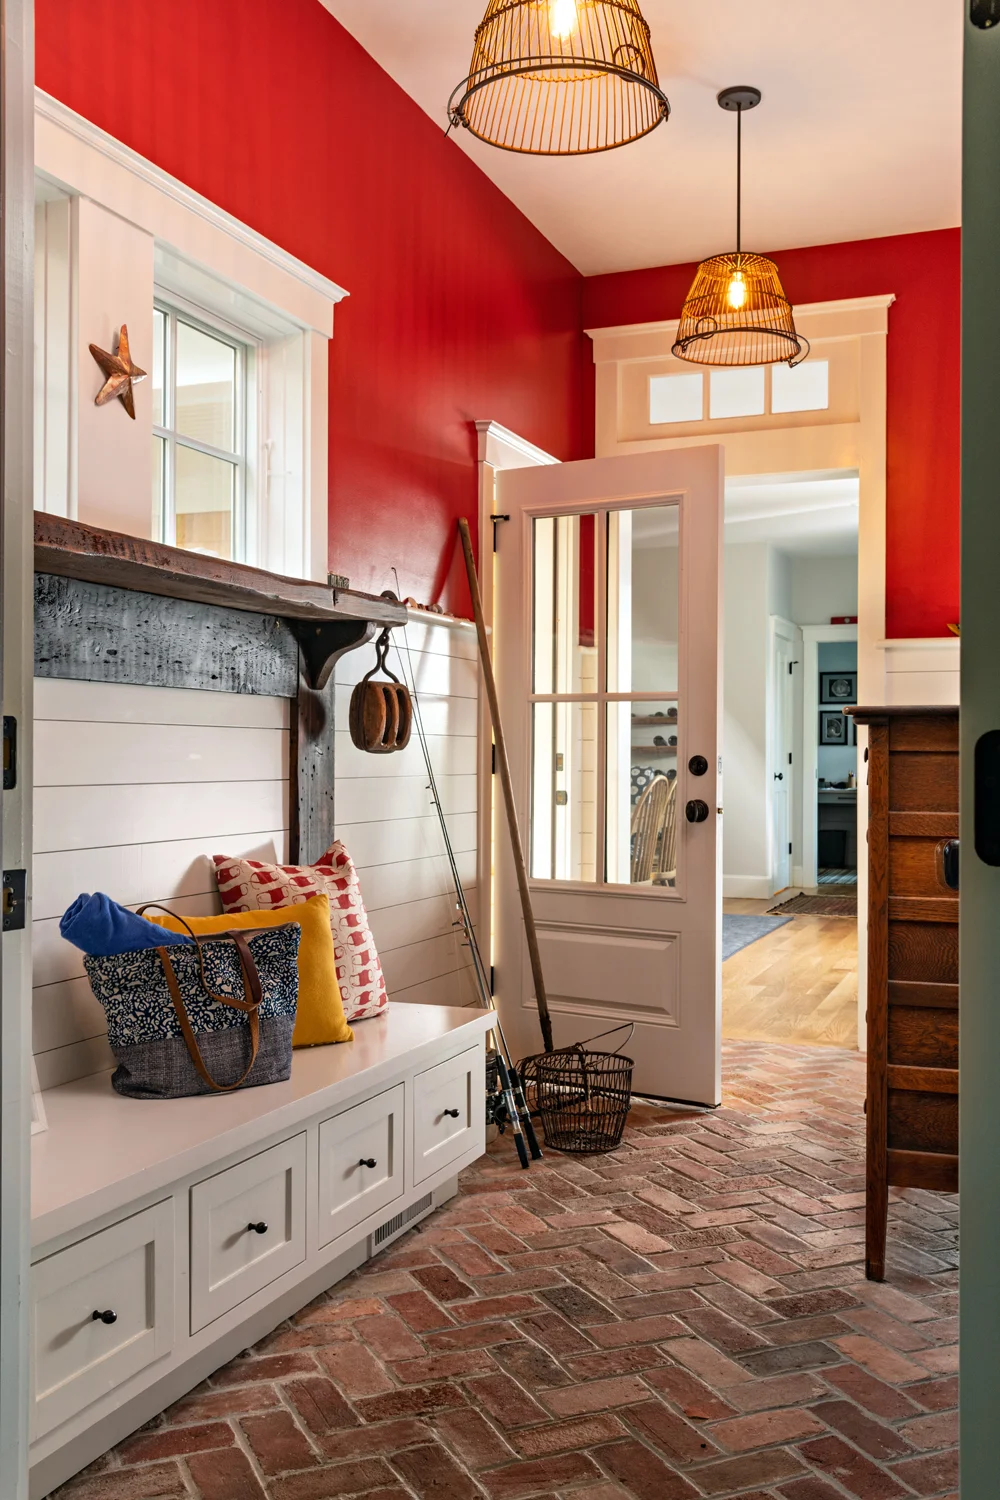
In addition to gathering art from all over far East, the homeowners saved many items from the existing cottage including the brick flooring from the old sunroom to use in the new mudroom. These touches help to remember the old but the new is decidedly more modern. With high ceiling and large double hung windows, the new living room is bright and airy.  The new kitchen facing south has a dramatic vaulted ceiling and more windows overlooking the leafy backyard.

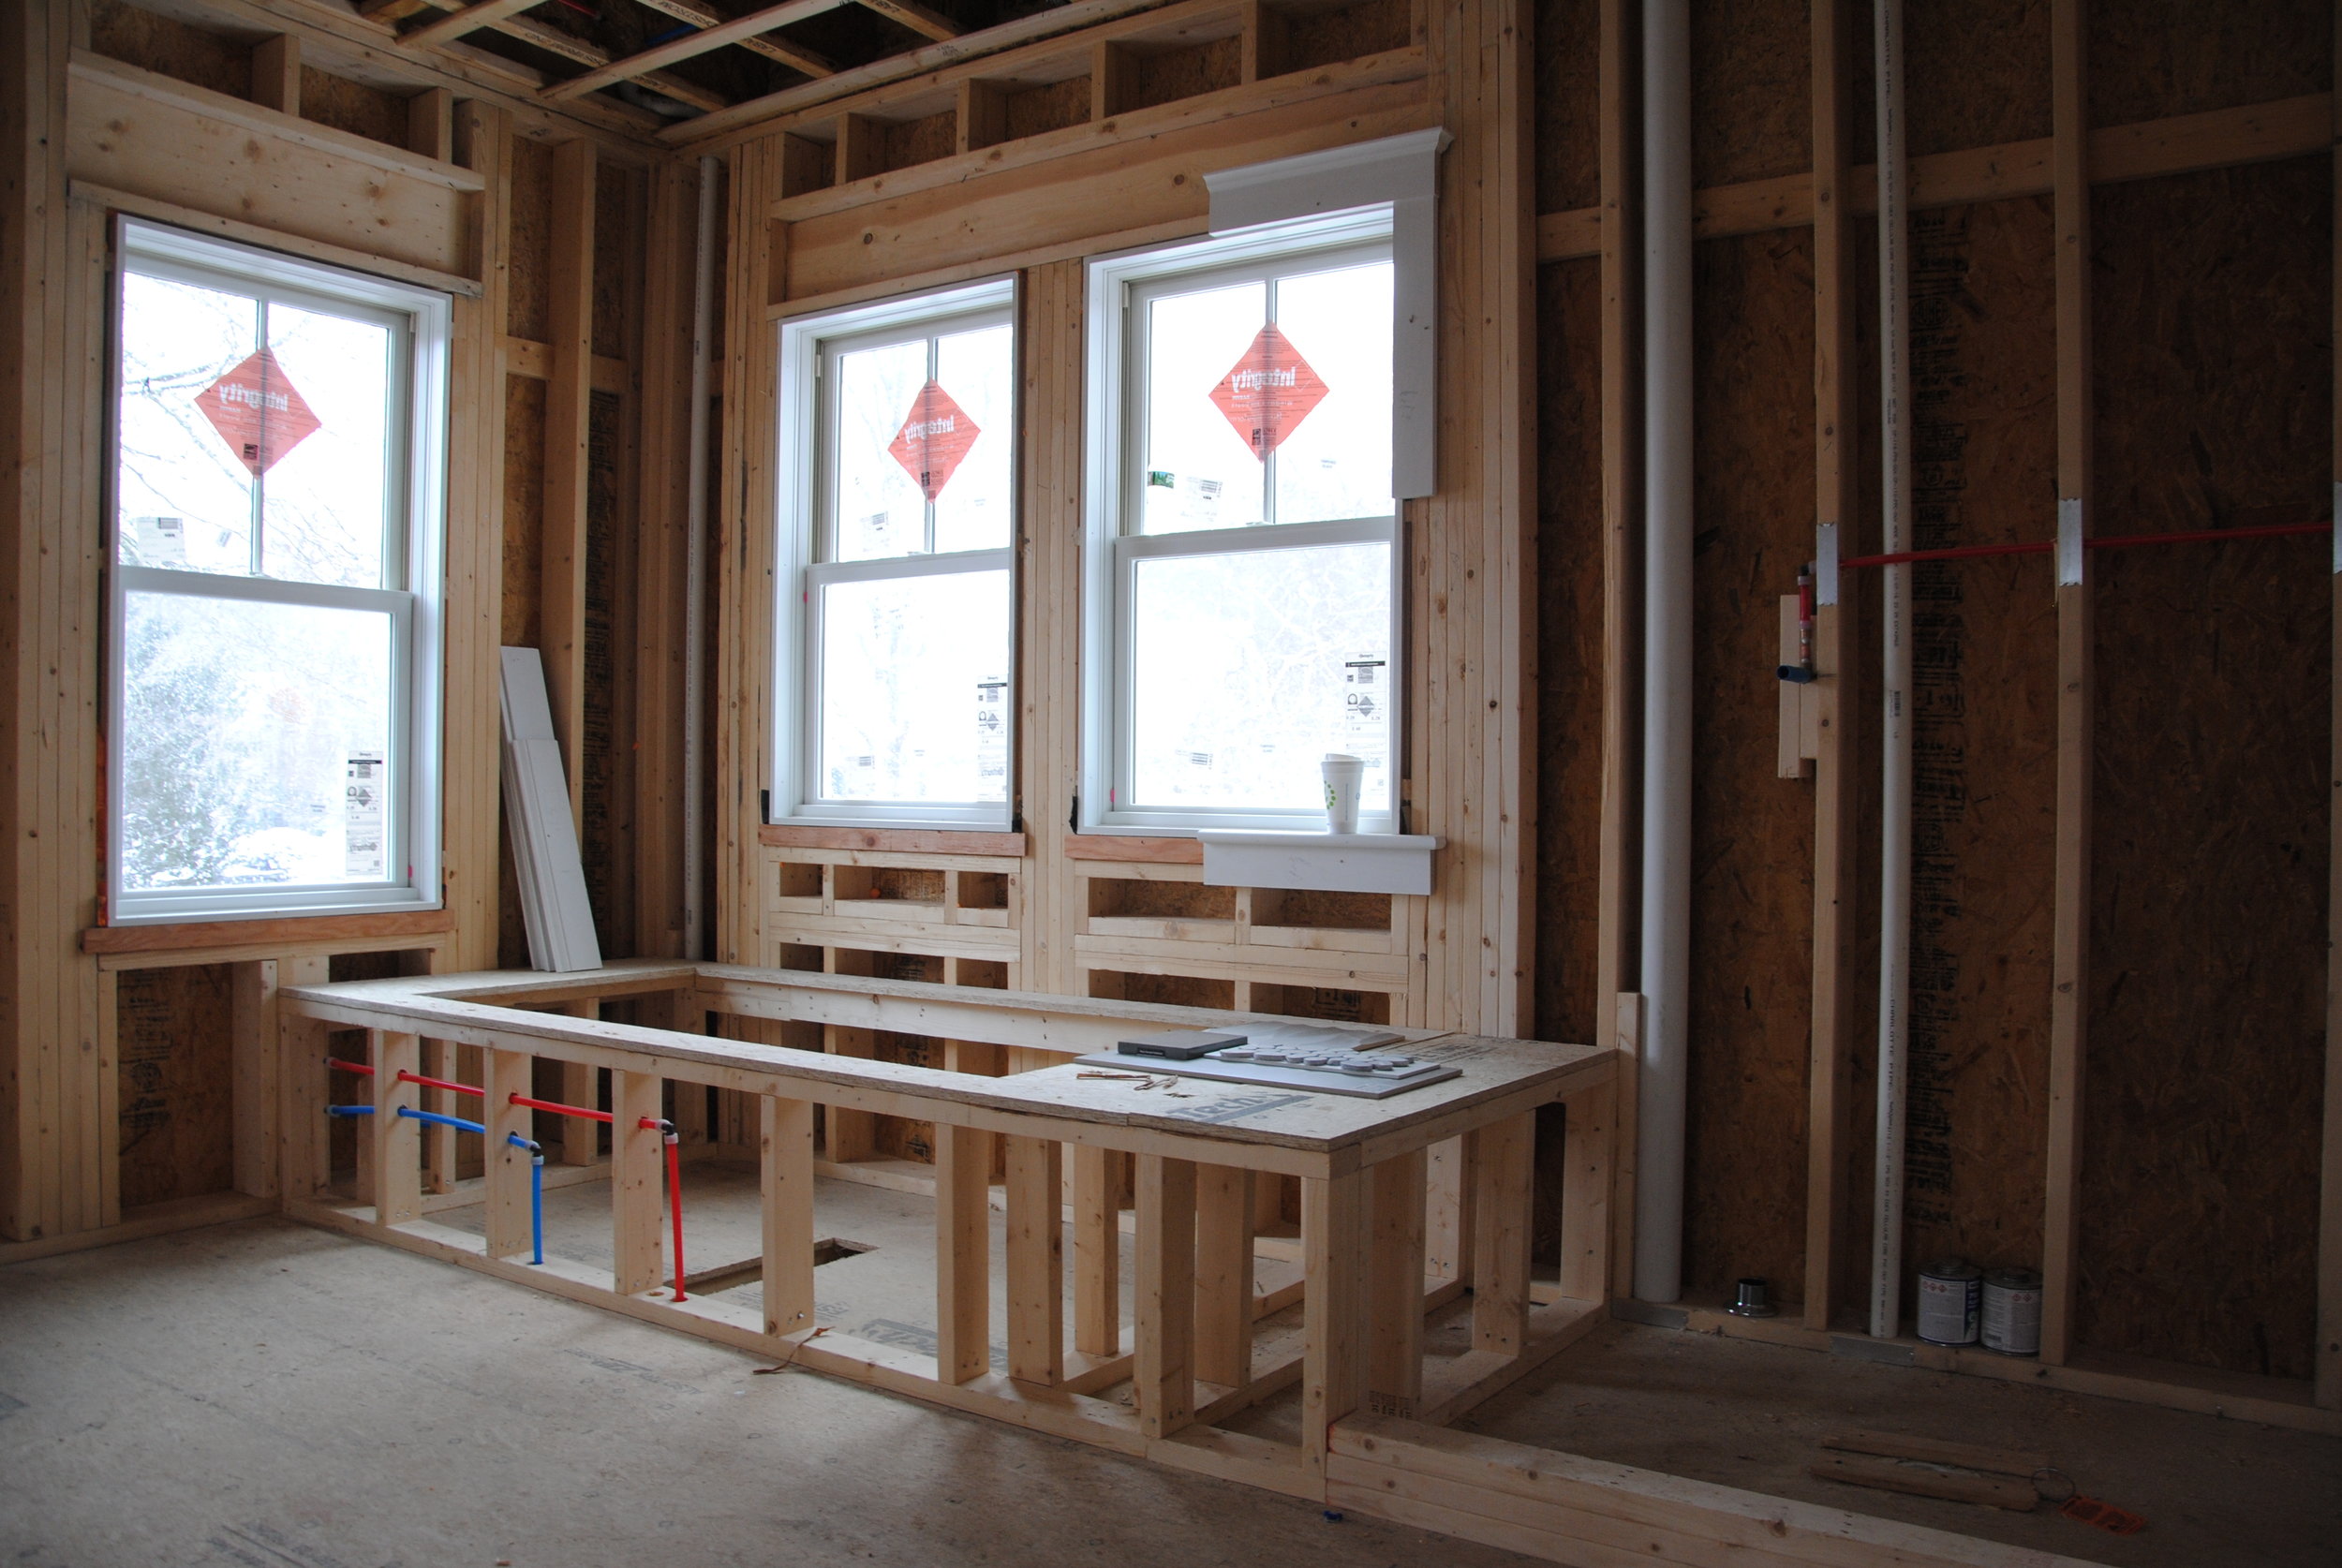
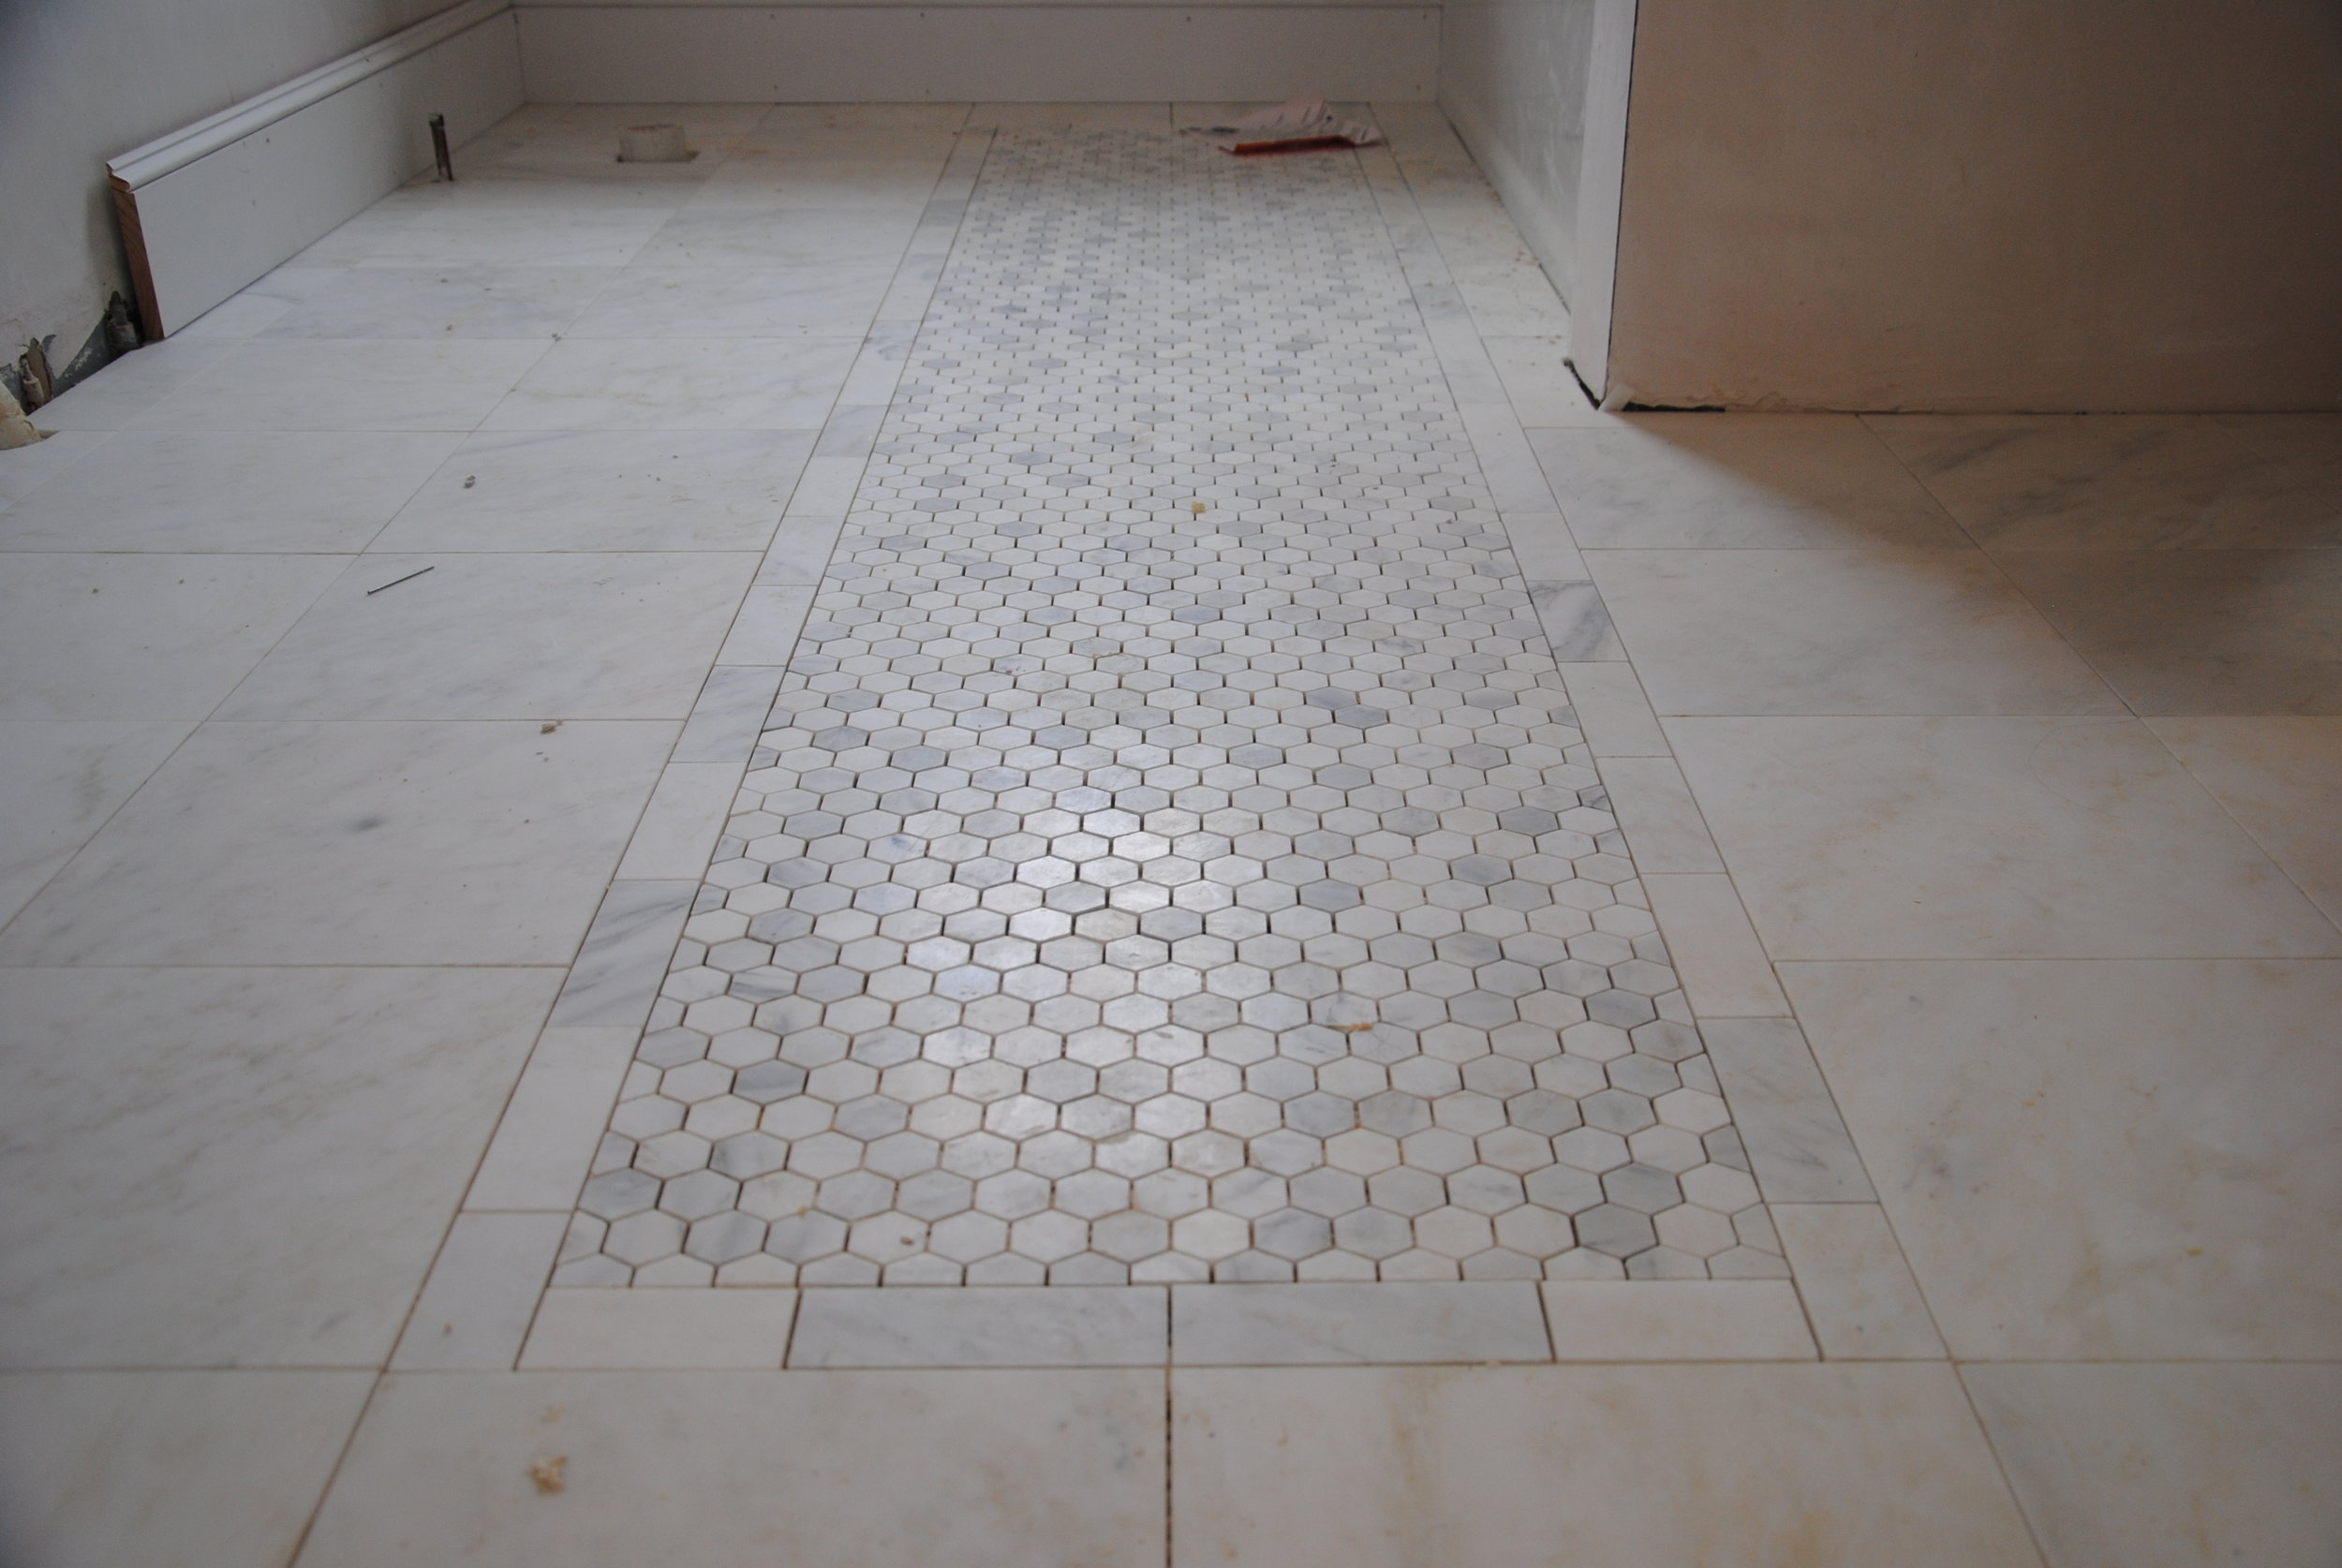
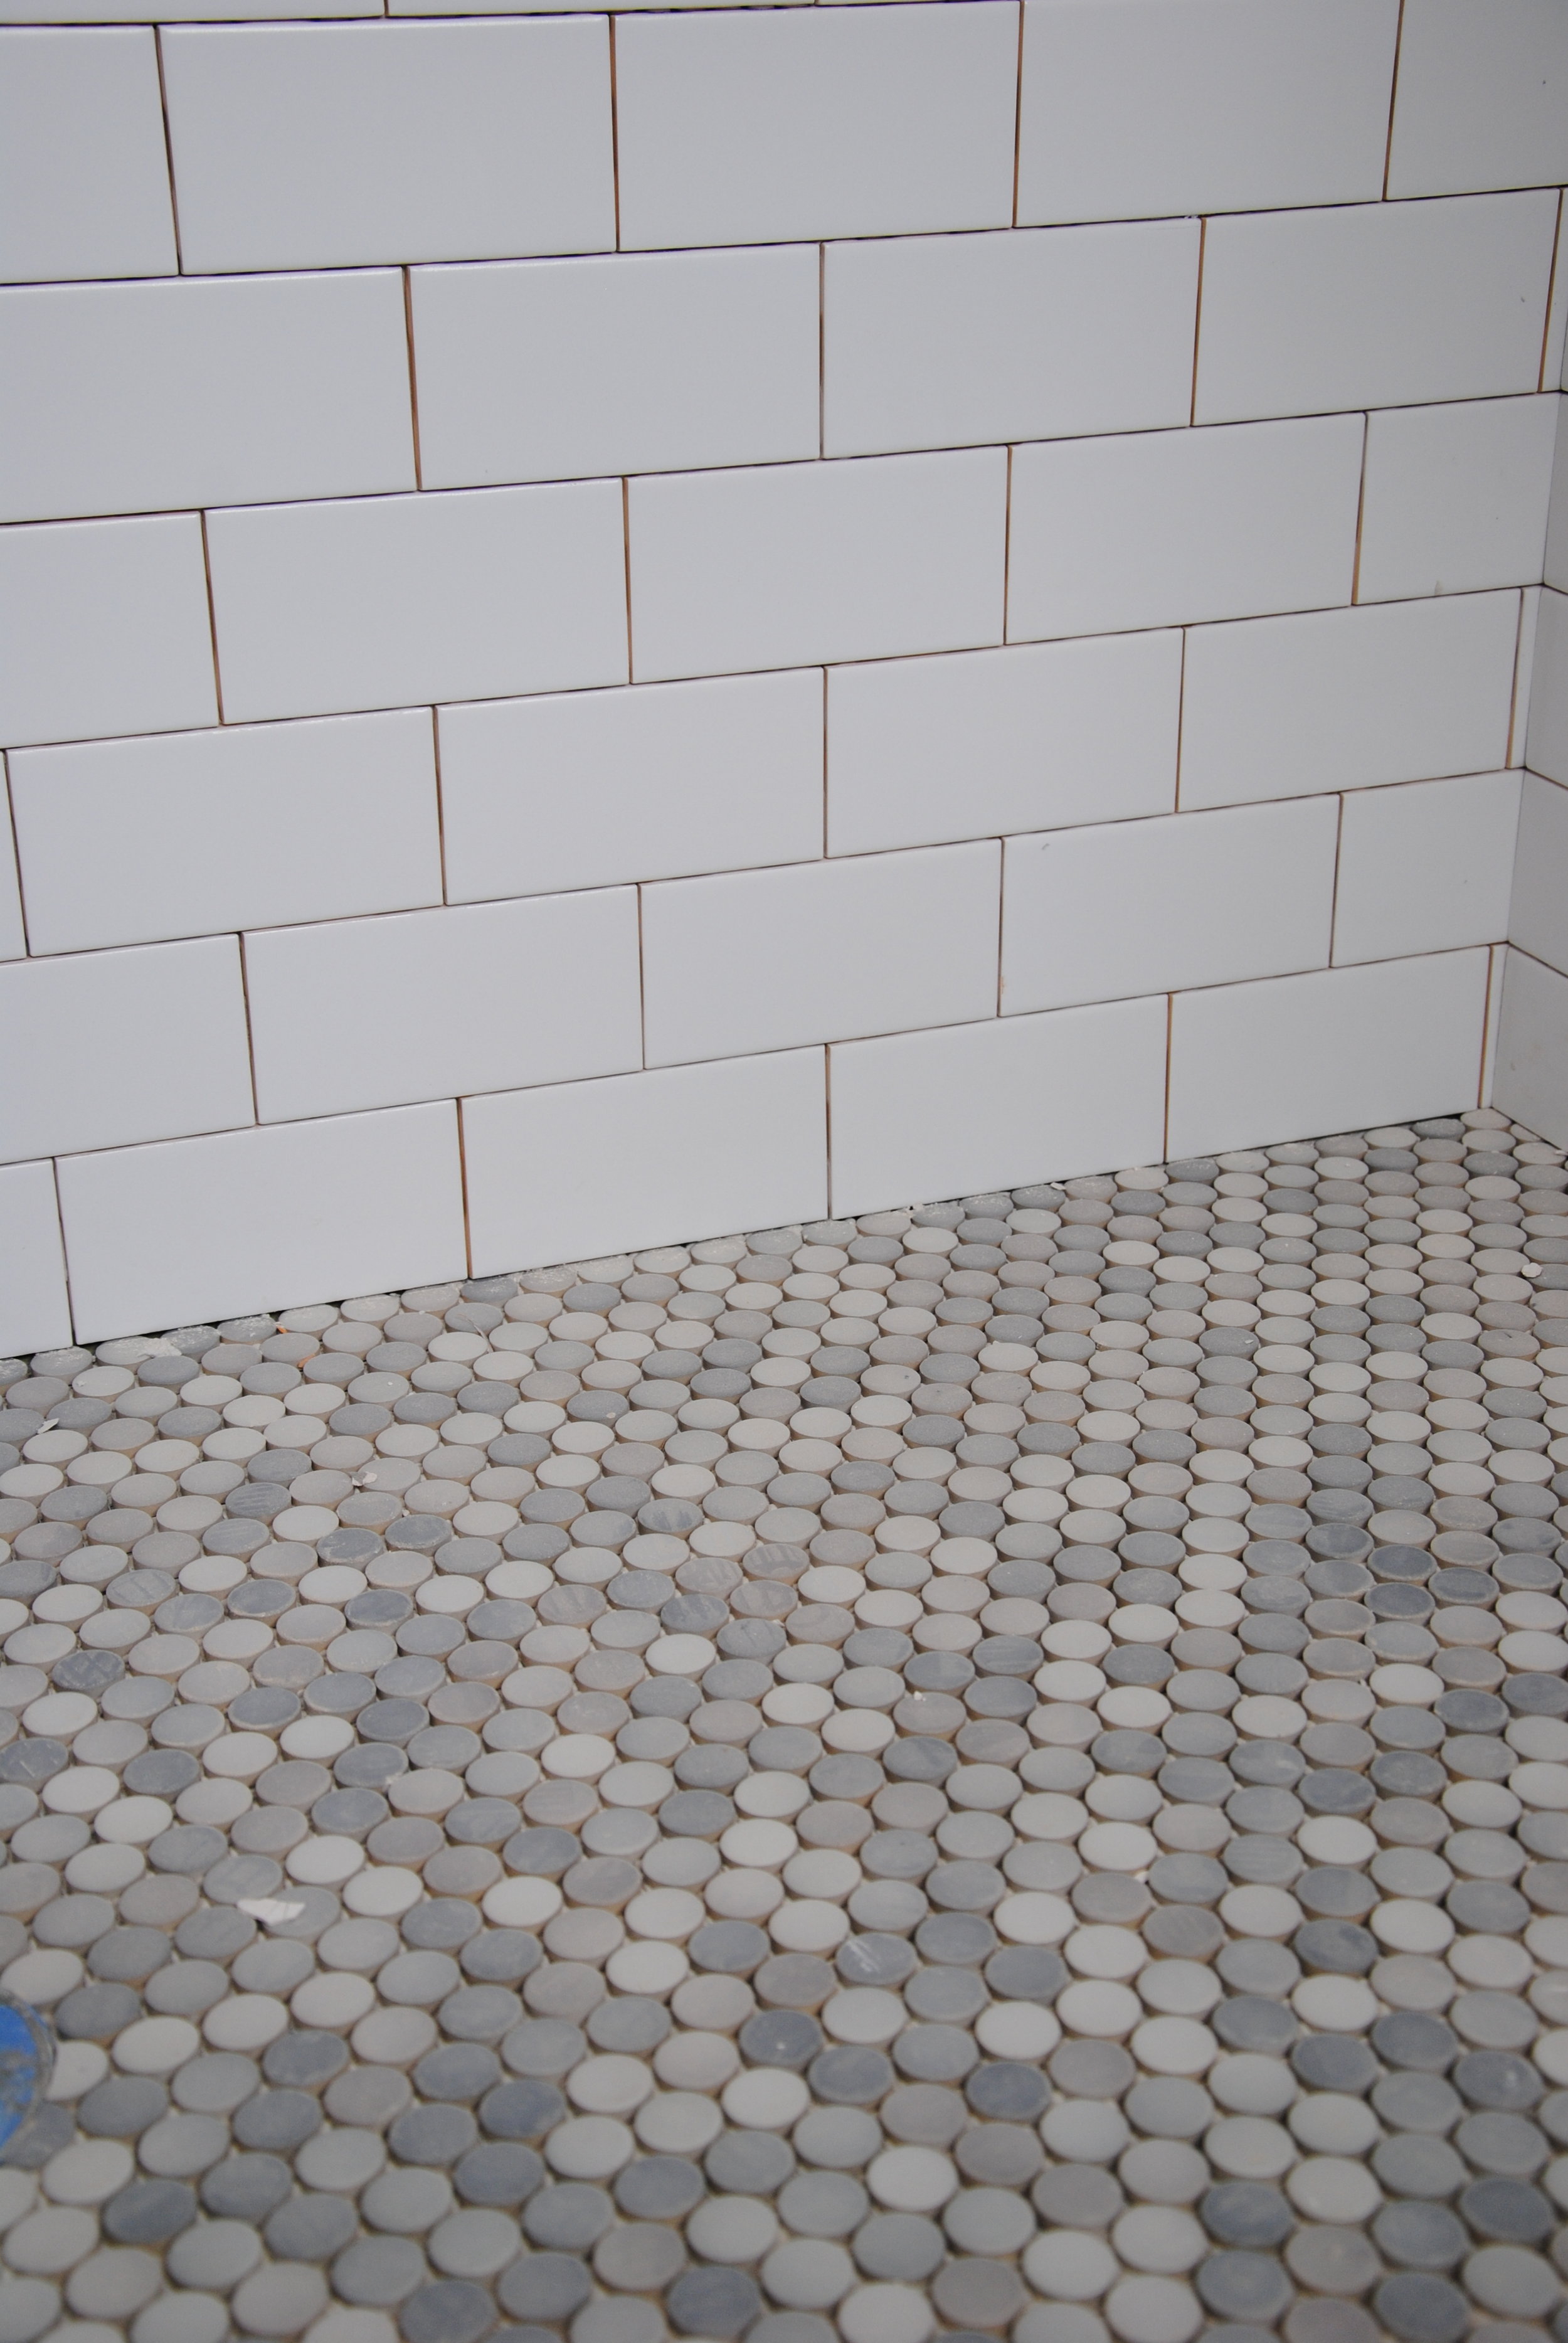
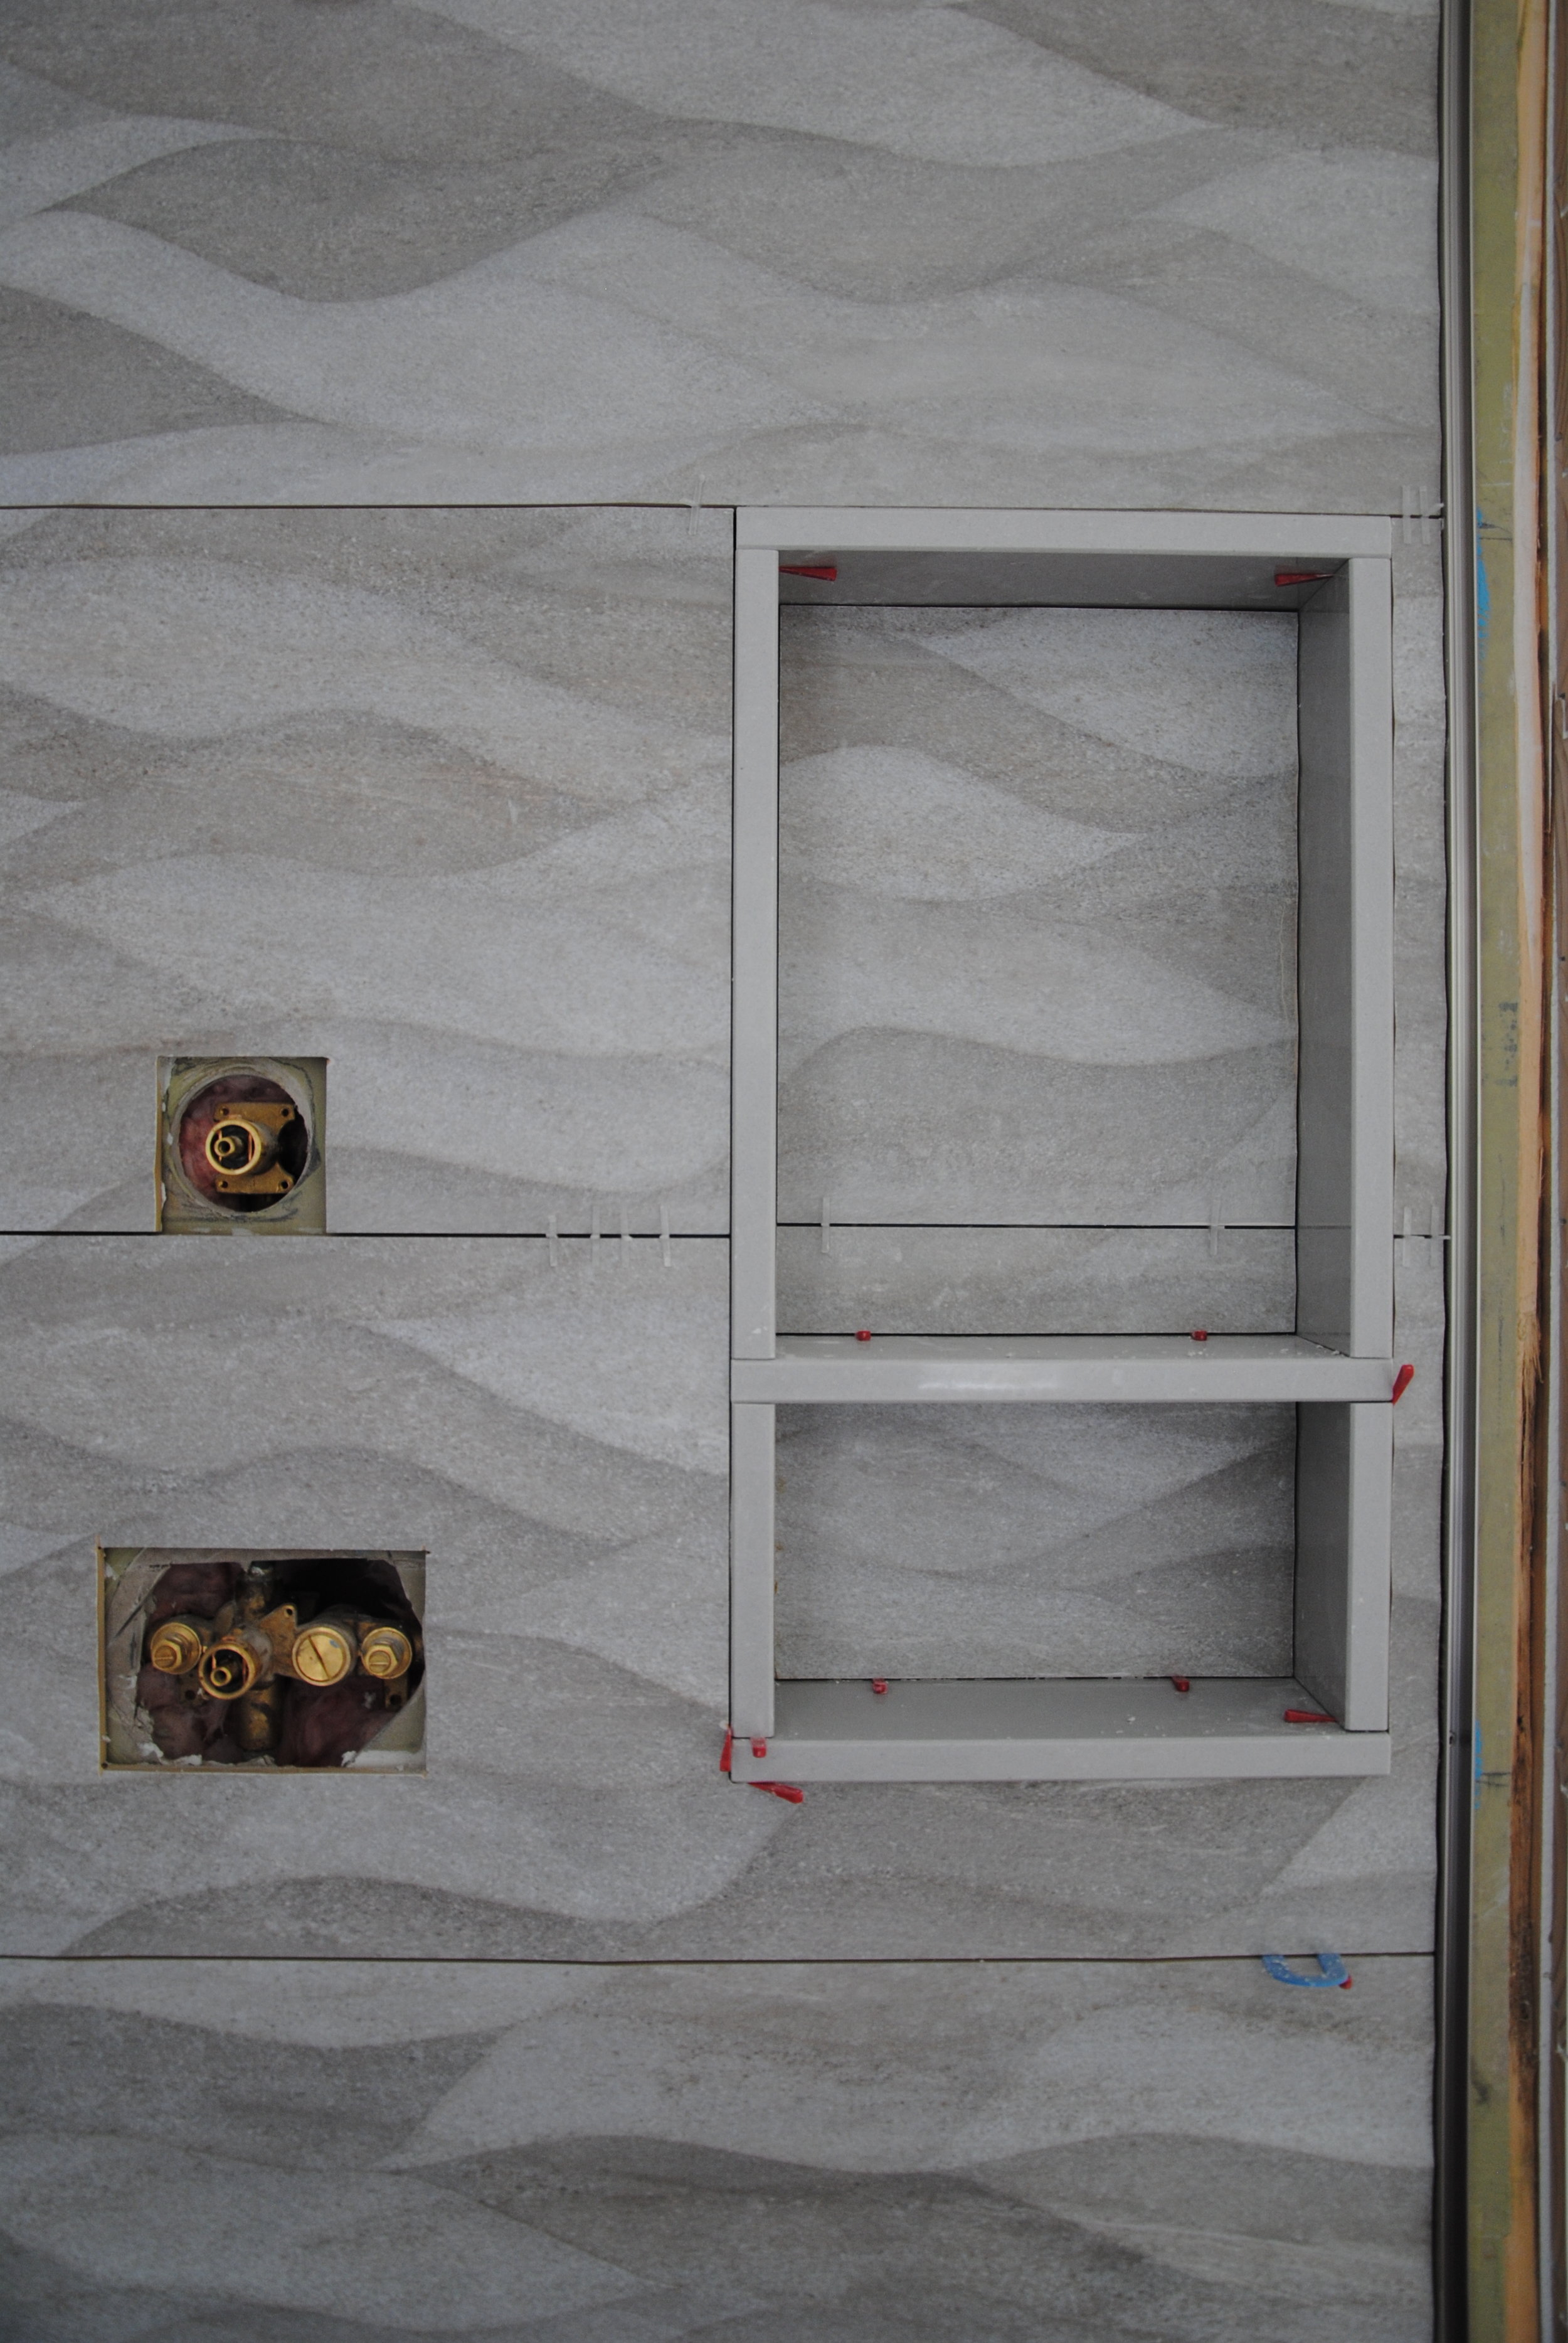
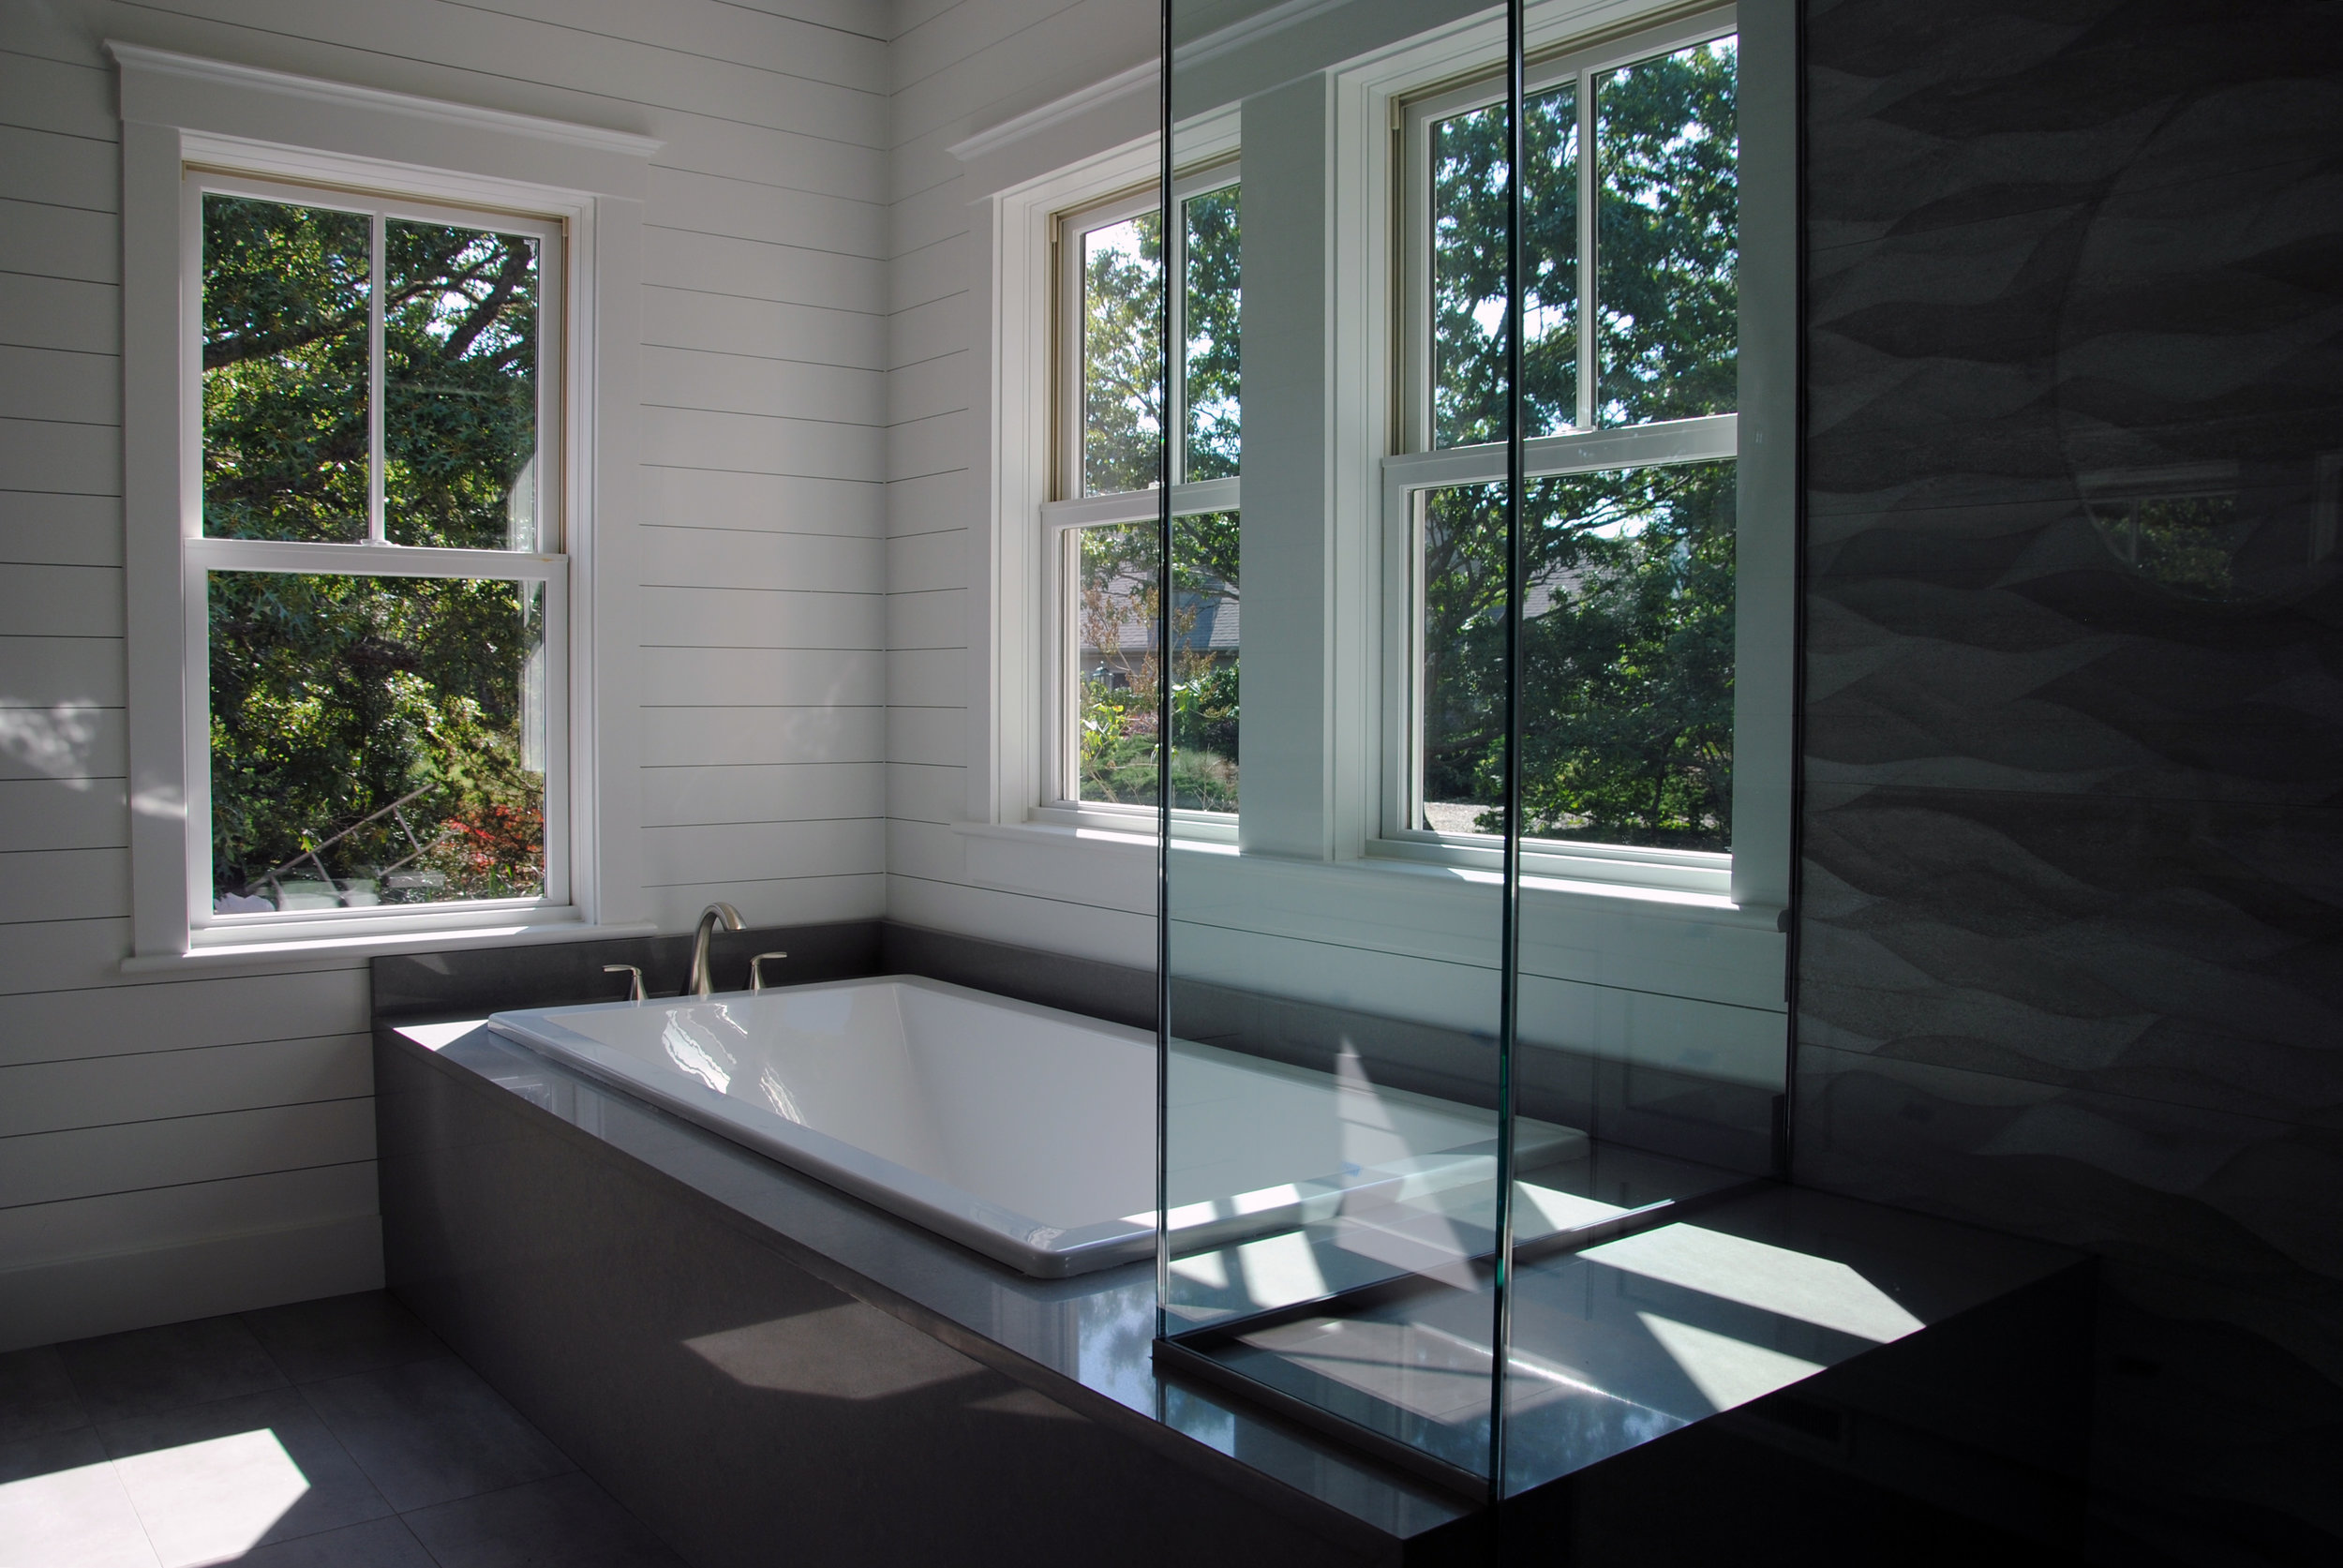
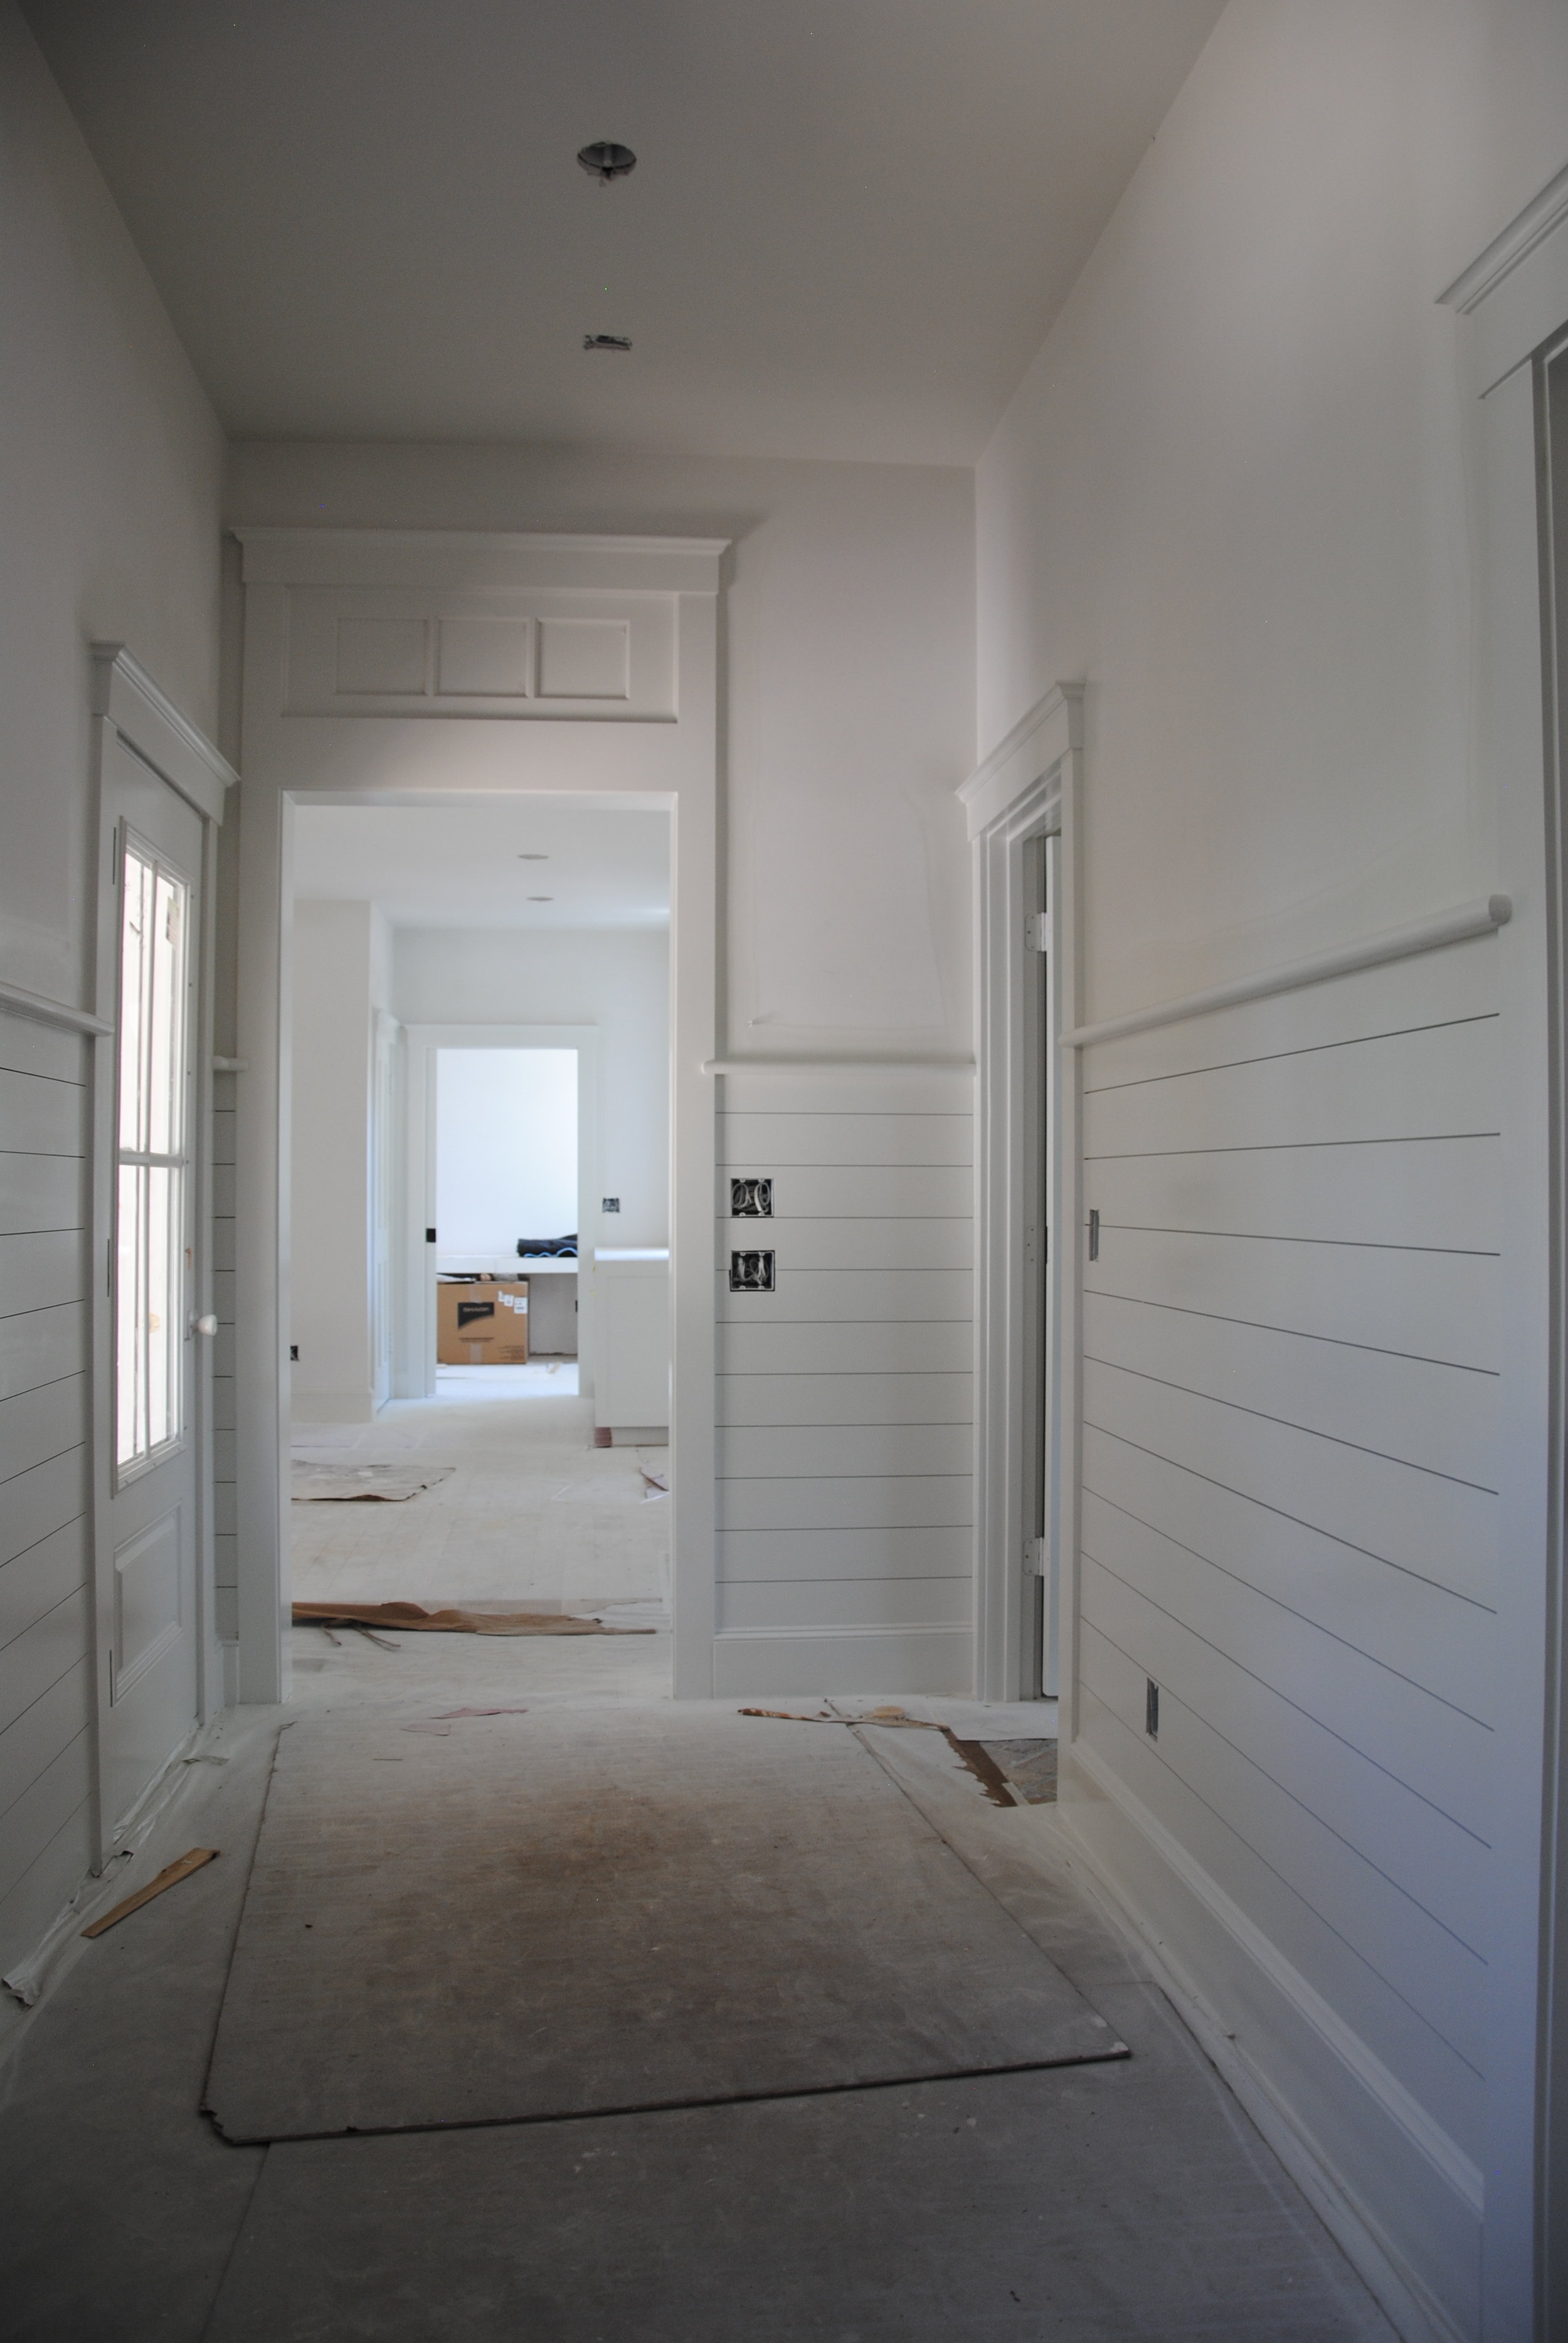
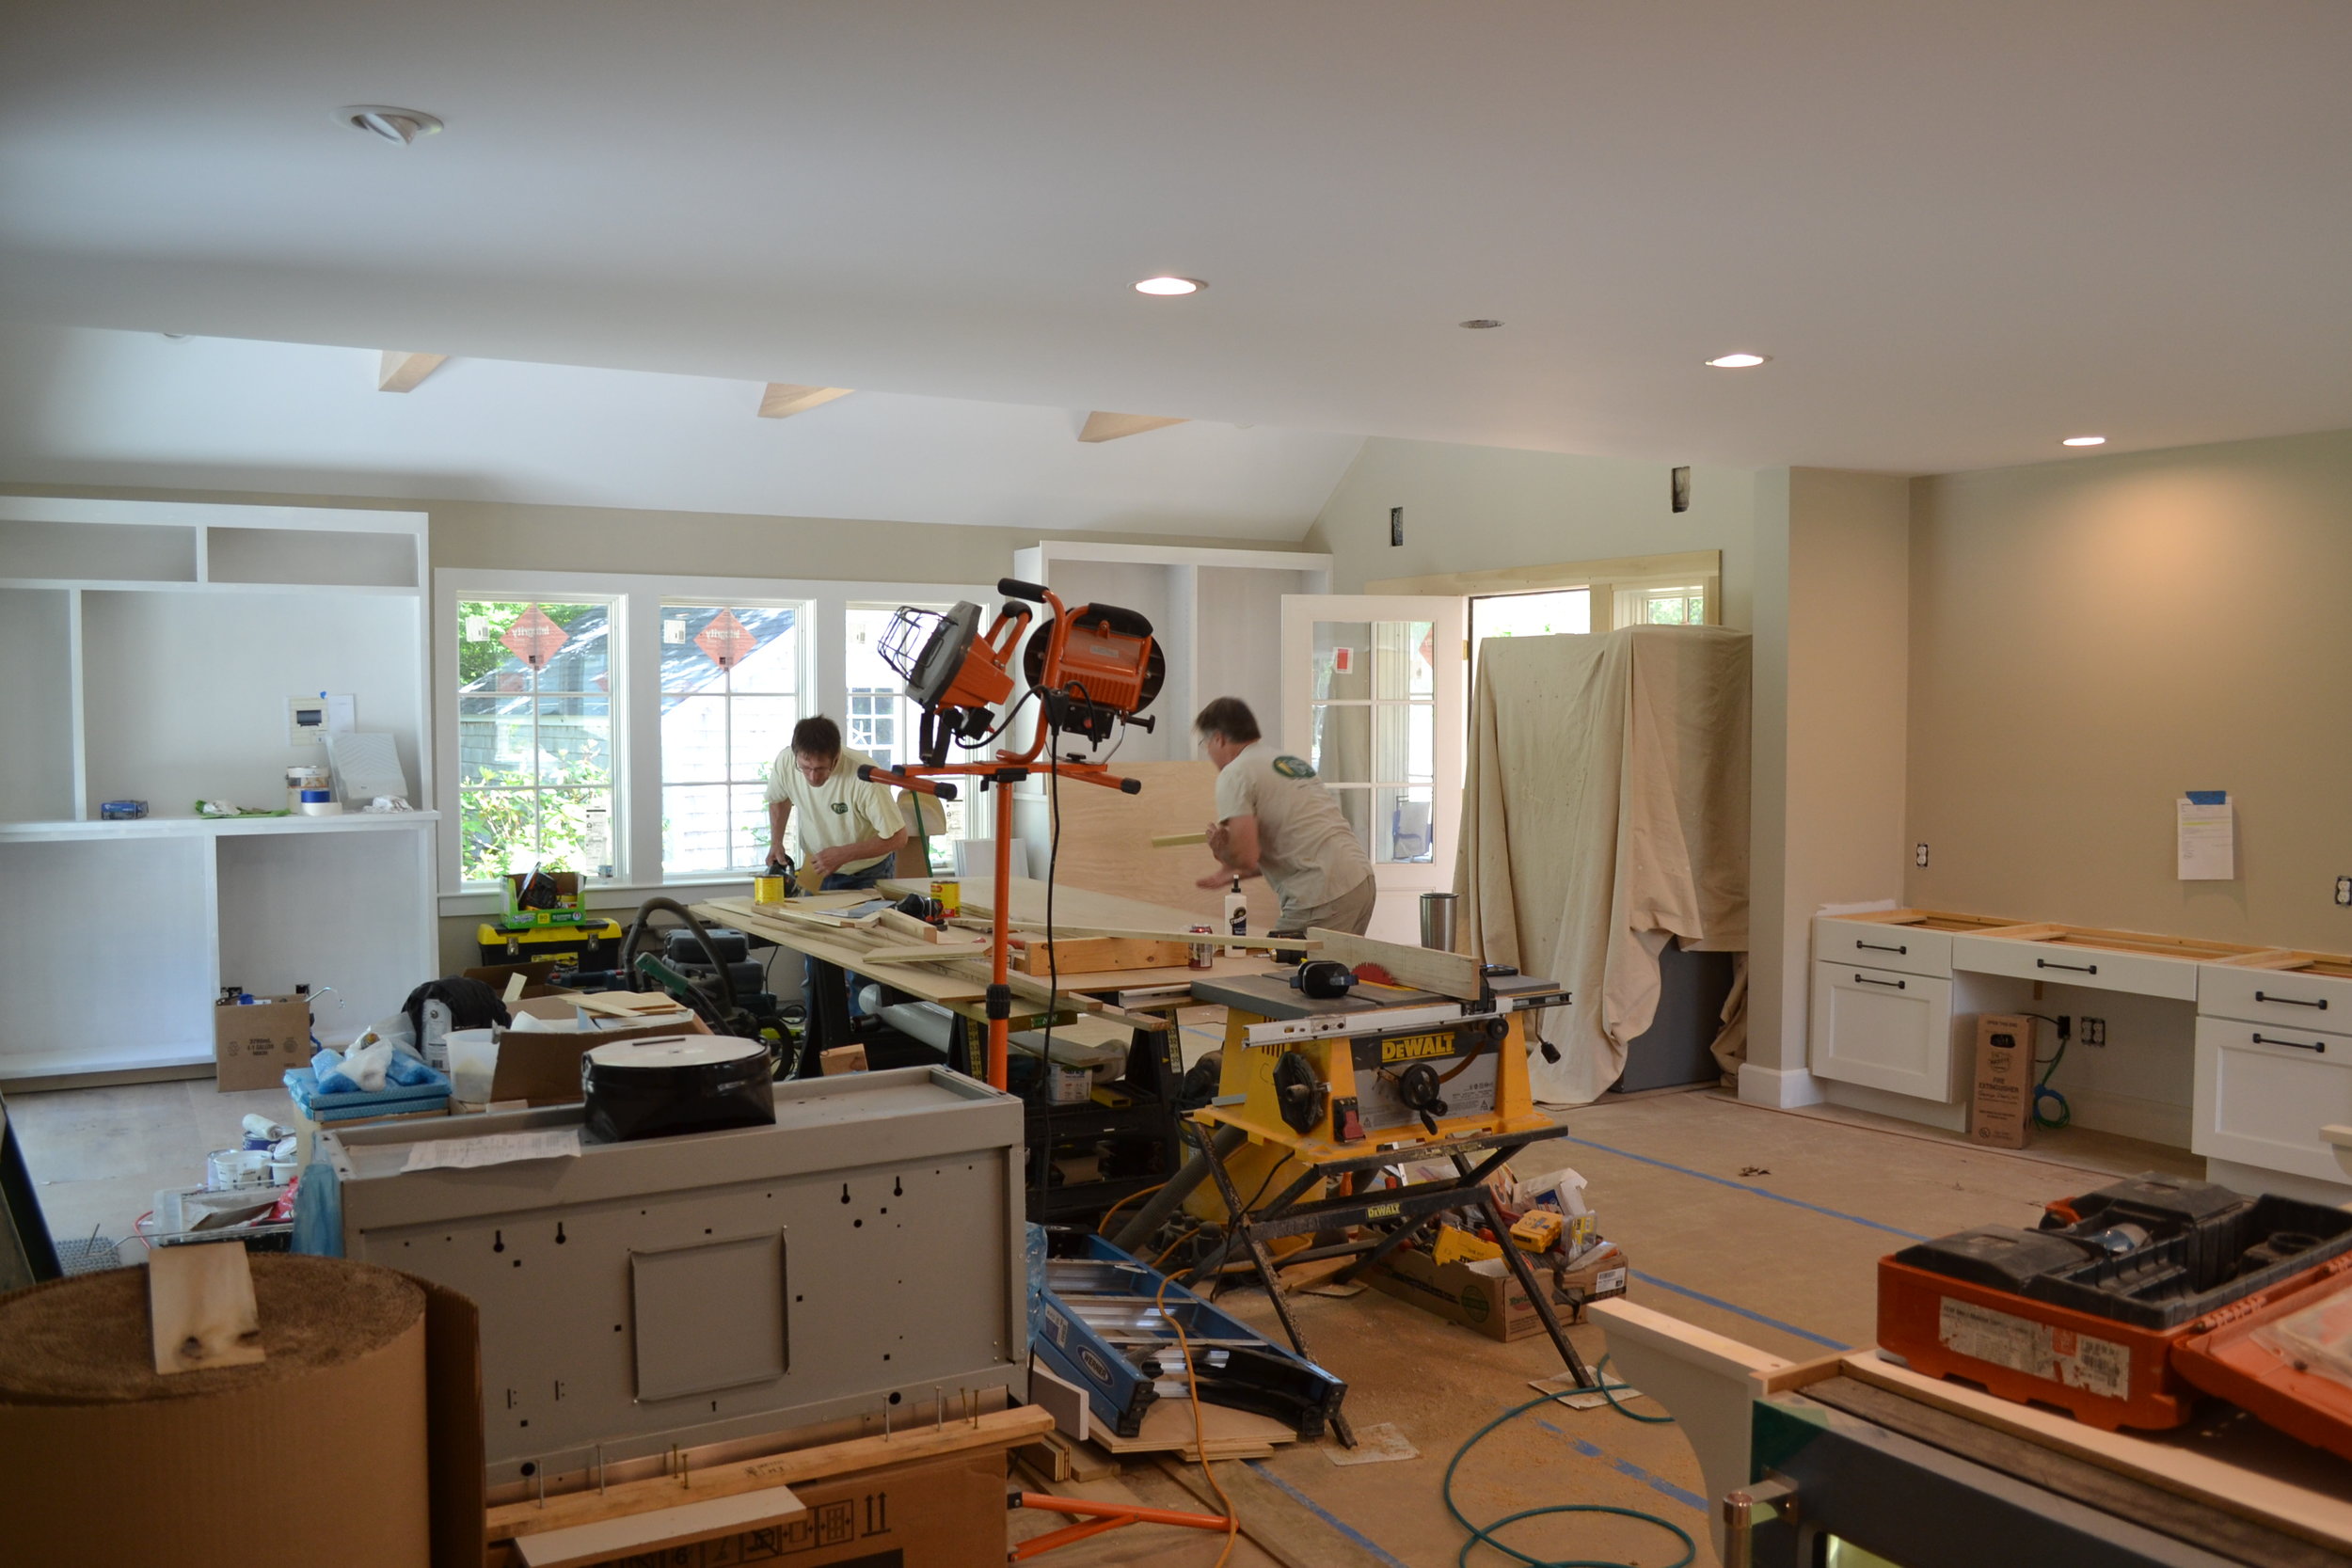
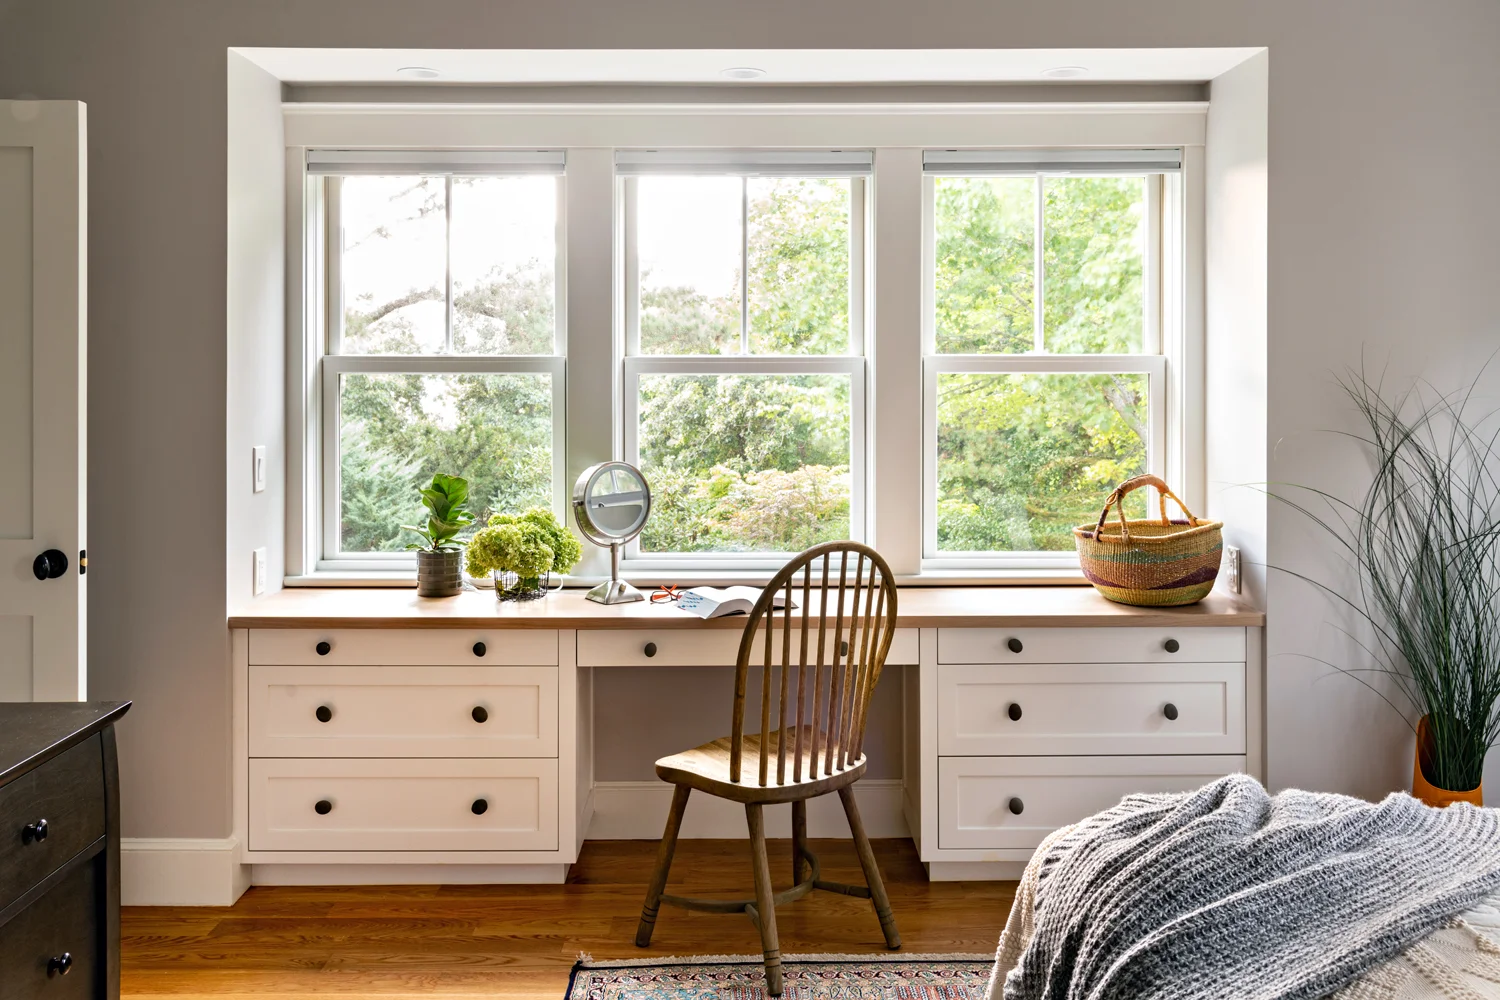
The large open floor living, dining and kitchen have natural light all day, with a small cozy study located off of the dining area.  This office serves are workspace as well as gallery.  The master bedroom is located to the east with a spa-like master bathroom.  The functional mudroom entry connects living areas to garage with functional pantry and laundry areas. The 2nd floor contains 2 additional bedroom and connected bathrooms with high cathedral ceilings.

Project Details:

  • Location: Brewster, Massachusetts

  • House Type: Single Family Residence

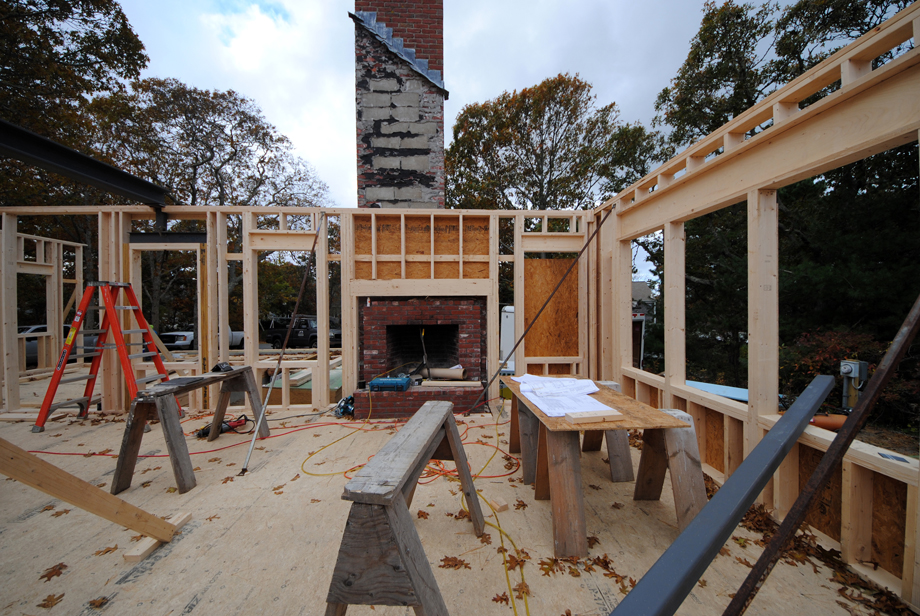
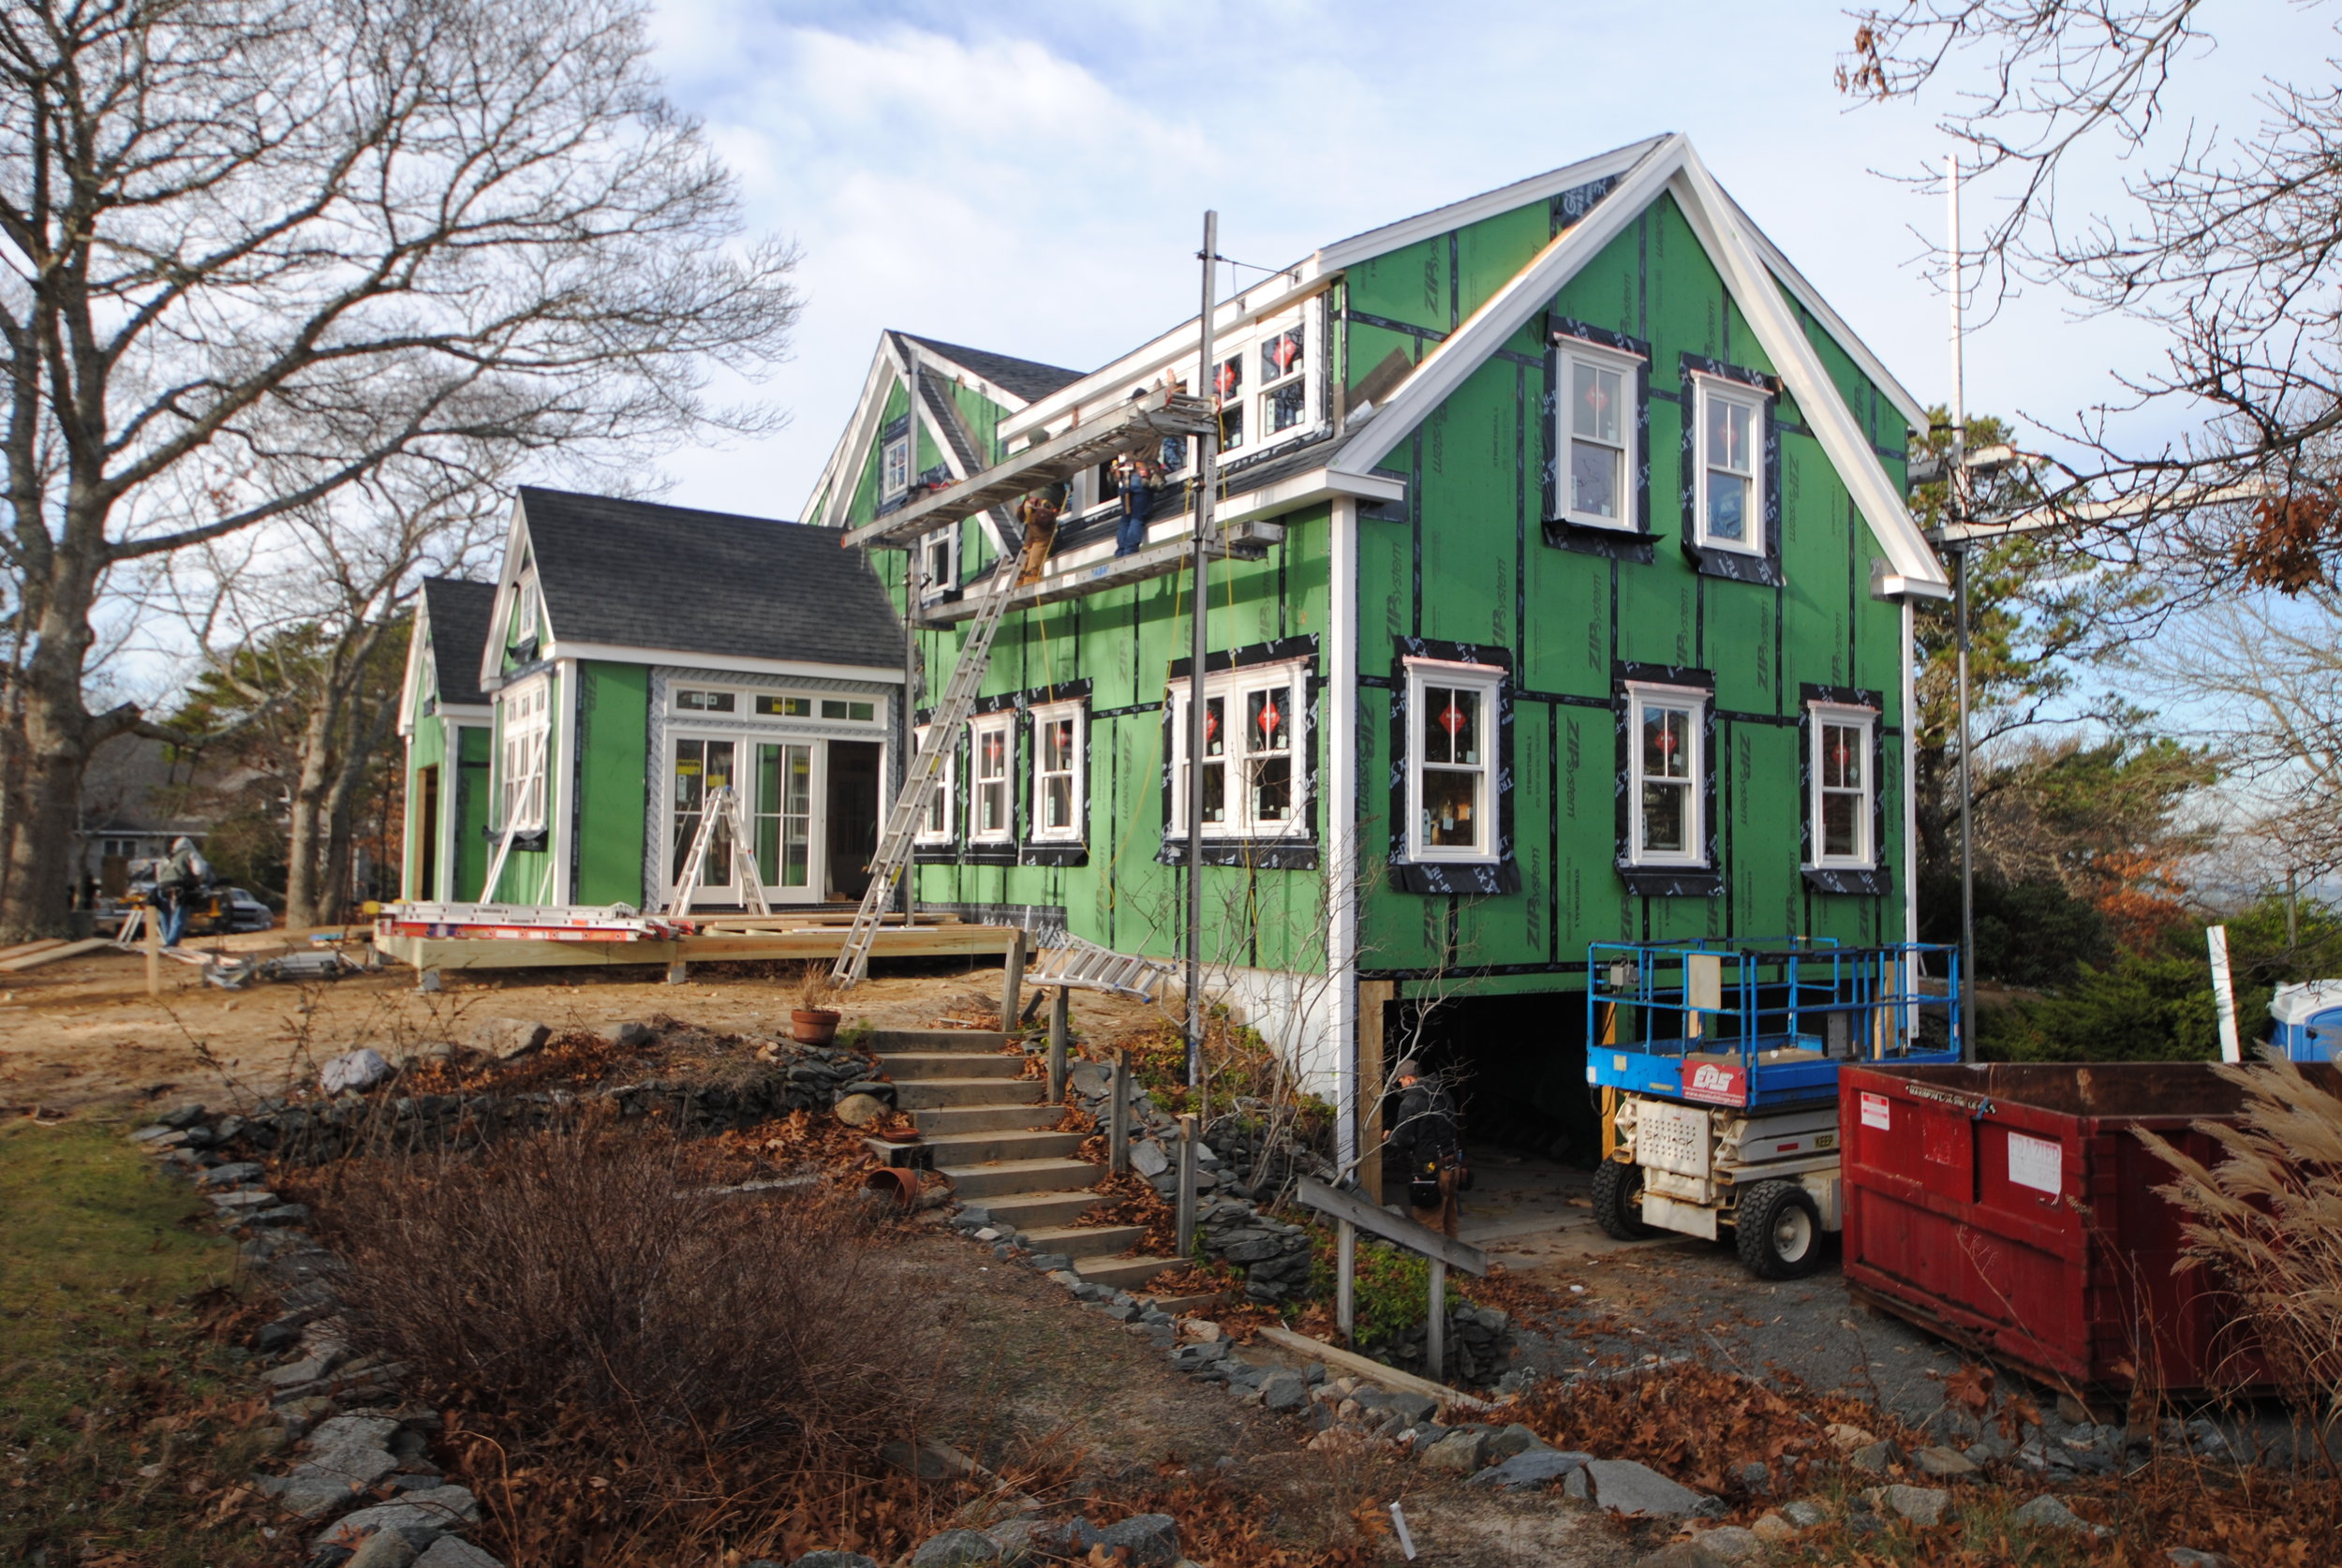
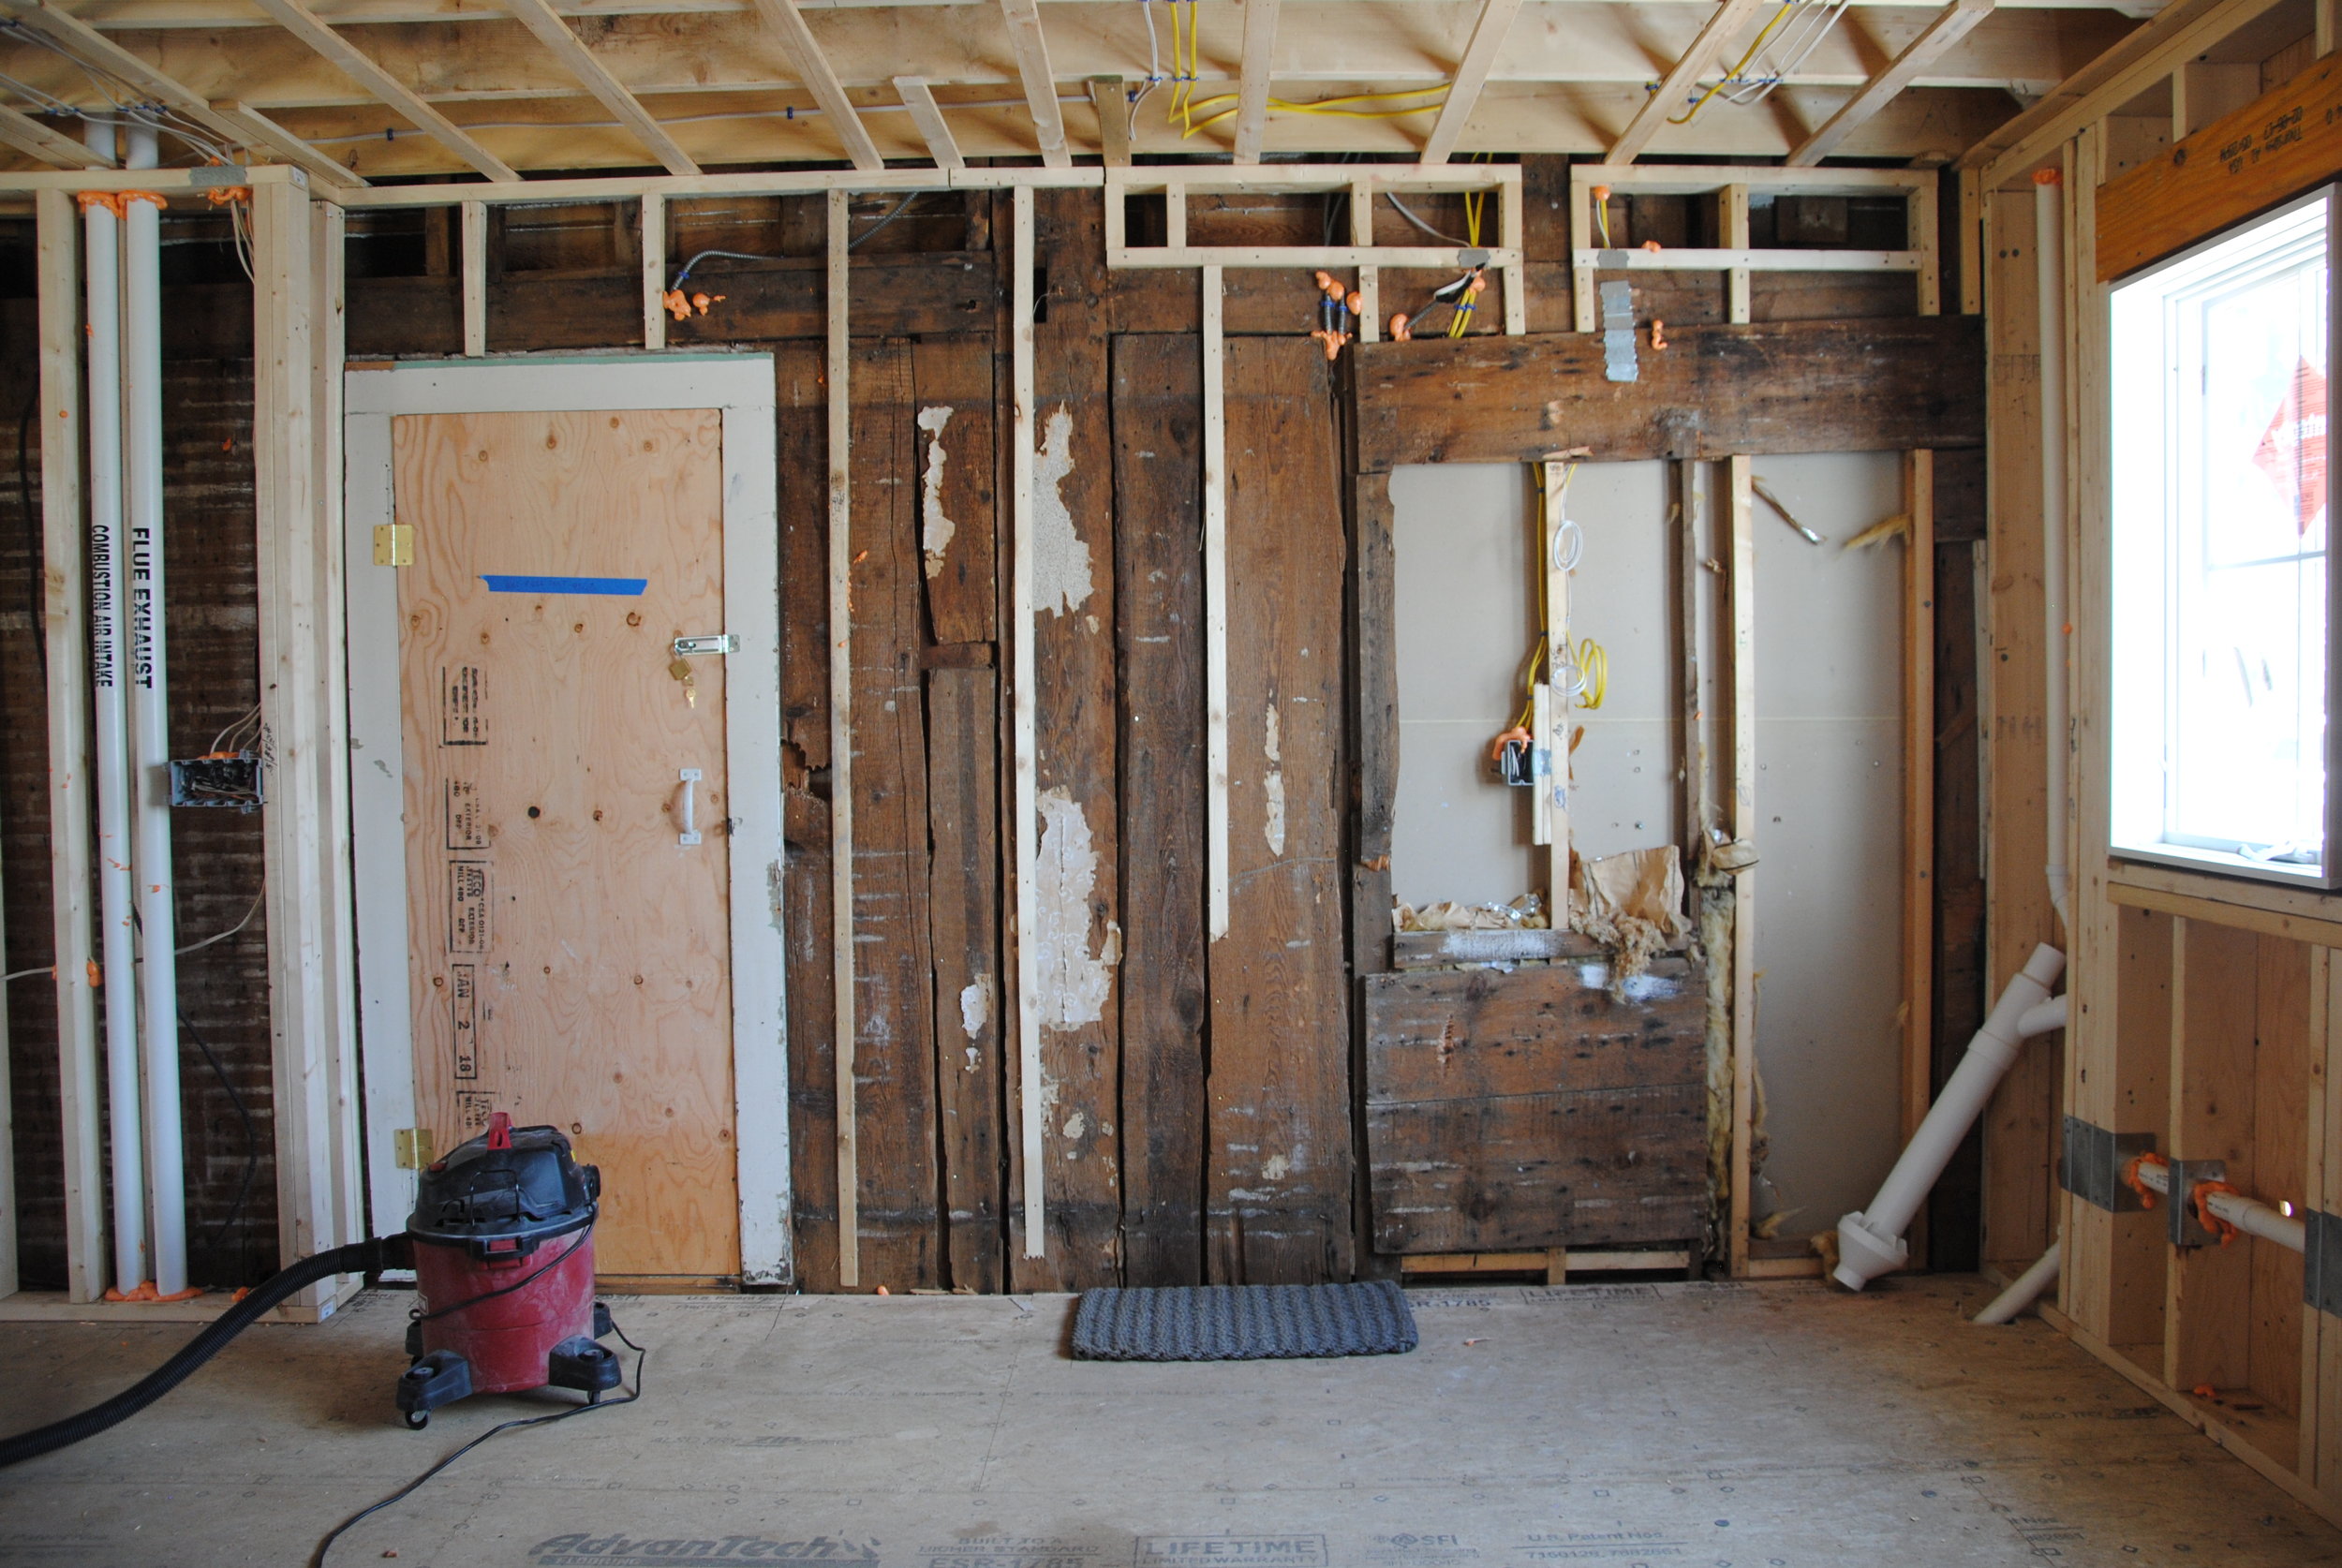
  • Construction type: New Construction w/ salvaged brick fireplace and foundation

  • Extg House sqft (demolished): 1680 sqft

  • Renovated House w/ new addition sqft: 2770 sqft

Builder: TA LaBarge

Photographer:  Dan Cutrona

For more images: Brewster Flats House


2018-09-A3-Brewster©Cutrona-0807.jpg
2018-09-A3-Brewster-©Cutrona-0854.jpg
2018-09-A3-Brewster©Cutrona-0897.jpg
2018-09-A3-Brewster©Cutrona-0993.jpg
2018-09-A3-Brewster©Cutrona-0691.jpg
2018-09-A3-Brewster©Cutrona-0677.jpg
2018-09-A3-Brewster©Cutrona-0922.jpg
2018-09-A3-Brewster©Cutrona-0930.jpg

Brewster Flats house Construction slideshow

Spotlight: Historic Harwichport Cape

2018-09-Harwichport-©Cutrona-7747.jpg

Homeowner’s Steve and Peggy from Dallas Texas asked us to help them create a real family gathering space in their historic Harwichport home. The home, which has been in Steve’s family for over 100 years, consists of an historic half-Cape (the antique), a dated 50s kitchen connector and a 1980s addition (the annex).   Steve grew up coming to Harwichport in the summer and wanted to provide that for the next generation.

We decided to leave the antique and the annex largely intact and worked on connecting them better with a more modern gathering space that could accommodate their extended family.

The modern addition acts as connector – from old to new, inside to out and front to back.  It consists of a large kitchen, dining and living areas.  Since the existing rooms are all small and have low ceilings, we thought the new modern rooms should be expansive and have some height to them. The spaces are all open to one another, but the living room ceiling is vaulted to follow the gabled roof line.

From the exterior the new addition gabled entry signals a more modern approach in the back.  It pulls visitors to the new entry into the new living room.  The new simple bluestone patio in the back is a private oasis for summer parties.

The Clients hope to spend more time in Harwichport moving forward!  

Project Details:

  • Location: Harwichport, Massachusetts

  • House Type: Single Family Residence

  • Construction type: Renovation & Addition

  • Extg House square footage: 2407 sqft

  • Renovated House w/ new addition sqft: 2844 sqft

Builder: George Davis Builders

Photographer:  Dan Cutrona


Kitchen before renovation/addition

Kitchen before renovation/addition

Kitchen after renovation/addition

Kitchen after renovation/addition

Game room/Dining room before renovation

Game room/Dining room before renovation

Game room/Dining room after renovation

Game room/Dining room after renovation

Living room renovation before

Living room renovation before

Living room renovation after

Living room renovation after

Backyard before demo and addition

Backyard before demo and addition

Backyard after demo and addition

Backyard after demo and addition

Historic Harwichport Cape Construction slideshow

Home Remodeling Magazine: Energy Stars

Below is an article A3's Alison Alessi wrote for Home Remodeling Magazine that provides an outline for energy efficient home renovations.  Be sure to visit the Home Remodeling Website and pick up a copy of their magazine for inspiration on your next renovation project!

All photography is by Dan Cutrona. 

Home Remodeling Magazine

Home Remodeling Magazine

8 Tips for renovating a home with energy efficiency in mind

There are many advantages to renovating your home, from increasing value to creating a space that fits your lifestyle perfectly. But a less obvious opportunity also exists: the chance to assess and address energy efficiency within the home. When wall and roof cavities are open, it is easier and more cost effective to tighten an older house or fix insulation problems. Add in rebates and tax credits for the energy-efficient updates and homeowners stand to save even more money along with reducing their energy bills and carbon footprint.

While renovation projects can be more challenging to make energy efficient, in comparison to new construction, there are still many opportunities. Consider the following:

1.  Start with an energy audit

No matter the scale of the project, start with an energy audit.  An energy audit is quite simply an assessment of the mechanicals and insulation levels in your home. Locally, the Cape Light Compact provides comprehensive energy audits with free LED light bulbs. They also fund up to 75% of recommended incentives. There are programs available for commercial, institutional and renters as well as home owners. These incentives are available every year, so even if you’ve had an audit recently, there may be more that you can do.

2.  Diagnostic testing during construction can ‘catch’ mistakes

If you are doing a significant renovation or addition, you might also consider HERs rating. Home Energy Rating is required by code for most new construction. We find working with a HERs rater to be invaluable. During design they create energy models to predict energy performance. We typically ‘test’ multiple types of insulation and mechanical strategies. Then, during construction, a HERs rater can diagnose duct and air leakages that are very difficult to find and repair when the home is finished. We have detected many serious leaks during construction that were fixed to save homeowners thousands of dollars in future energy costs.

3.  Insulate from the outside!

Another strategy for renovation projects is blown-in insulation: cellulose, which is locally produced using 90% recycled content from newspapers, is the preferred material. It can be blown in from the exterior to make sure all bays are filled with insulation. It can be much neater to attack this problem from the outside. For roofs, adding spray foam insulation can be great for air sealing, especially for more complicated rooflines. If your house has mechanicals in an un-insulated attic or basement, you should consider getting these mechanicals in conditioned or at least insulated spaces. Usually the easiest way to accomplish this is by insulating the sloped roof rafters of the attic or the basement walls. 

Scargo Lake Cottage - Energy Star for Homes Renovation

Scargo Lake Cottage - Energy Star for Homes Renovation

4.  Windows can make a big difference

While it’s impractical to reproduce a true divided light historic window, many double-glazed higher performing windows have simulated divided lights and spacer bars and historic profiles that replicate historic windows with higher performance. However, before you consider replacing all windows, blower door test the house and seal the gaps around the window and under the trim. The return on investment for new windows is really high! That being said, new double-glazed windows help with energy loss, cross ventilation, sound mitigation and thermal comfort.

5.  Continuous insulation eliminates thermal bridging

A thermal bridge is a gap in insulation. Each stud is a thermal bridge compared to the bay between filled with insulation. Heat is transferred more easily by wooden studs than by insulation. If you are replacing your roof or siding (something we consider a ‘once in a lifetime opportunity’ for most roofing and siding materials), consider adding a continuous exterior layer of insulation under the new siding or roofing.  We have done projects with even as little as one inch of rigid insulation on the exterior of the sheathing.  This gives a nice tight continuous air barrier and enhances the insulation level of wood-framed houses.  The continuous layer helps eliminate thermal bridging for walls and roofs.

Solar Panels By E2 Solar on our Net Zero Scituate House

Solar Panels By E2 Solar on our Net Zero Scituate House

6.  Getting to net-energy zero

A net-energy-zero house is a building that produces as much energy as it uses. This is a very simple definition but it gives quite a bit of leeway for different approaches. Passive house is another energy standard, one of the most rigorous ones in the world. The standard was developed in Germany but is based on building science from the 1960s and 70s passive houses built in North America.  The basic principal is to insulate a house enough so the mechanical load is dramatically reduced. In our climate zone, to achieve near net-zero or near-Passive house standards, insulation levels would have to be R:40 walls, R:60 roof, triple-glazed windows, R:20 basement wall and R:10 under slab foundations.  While this certainly requires an initial cost for upgraded insulation, and a serious strategy about where and how to accommodate this additional insulation, the upgrade comes with a significantly reduced mechanical load and monthly energy costs. In many cases, the heating could be as simple as one mini split heat pump. The final piece to achieve net-zero is adding renewable energy, typically photovoltaic panels that produce electricity.

8.  Heating with electricity makes sense!?

Many Cape residents no longer or never had access to natural gas for heating.  We can’t make natural gas on our roofs, but we can make electricity by utilizing solar photovoltaic panels. If we are serious about getting to net-zero, it’s important to heat/cool/heat water with electricity. Fortunately, there are great options for heating these days. We use mini-split heat pumps for heating and cooling as well as heating hot water for most projects. They are two-to-three times more efficient than the electric resistance baseboard heating of the 1970s and 80s. There are options for ducted and ductless units. 

9.  Ventilation is VERY important

Finally, a note about ventilation. The first question we often get is “Don’t you want the house to breathe?” Yes, of course we do. However, we want to control that. We don’t want the house to breathe through walls and windows. If you add insulation and don’t consider ventilation there can be problems.  We want ventilation – whether from a simple exhaust-only Panasonic bathroom fan or a more sophisticated intake/exhaust whole-house ventilation system that controls how the house exchanges air. Old houses breathe, but new energy-efficient house do too. They do it in a smarter more efficient way.

About the author:

Alison Alessi is a architect with A3 Architects, Inc. in Dennis MA. She is a Certified passive house designer and is passionate about creating low-energy projects for the Cape and Islands and beyond.

ADDITIONAL RESOURCES:

http://energy.gov/eere/energybasics/articles/air-source-heat-pump-basics

http://www.phius.org/
http://selfreliancefuelcoop.org/

http://energycodehelp.com/

http://www.capelightcompact.org/

http://www.masssave.com/